Difficulty
Beginner
Duration
Under 2 hours
Home maintenance often requires caulking to complete a project. Caulk can fill gaps when installing moulding or when weatherizing a door or window. Caulk is also used to seal showers, bathtubs and sinks. This guide explains how to caulk and includes caulking tips.
Gather Supplies and Prep the Area
As you get ready to learn how to caulk smoothly, gather the tools and materials for the project.
You will need:
- Caulk
- Caulk gun
- Caulk tool, razor blade, putty knife or scraper
- Caulk finishing tool or caulk edger
- Rags
- Rubbing alcohol or disinfecting spray
- Foam tape
- Painter’s tape
- Scissors or a utility knife
Note: The type of caulk you should use will depend on what you’re caulking.
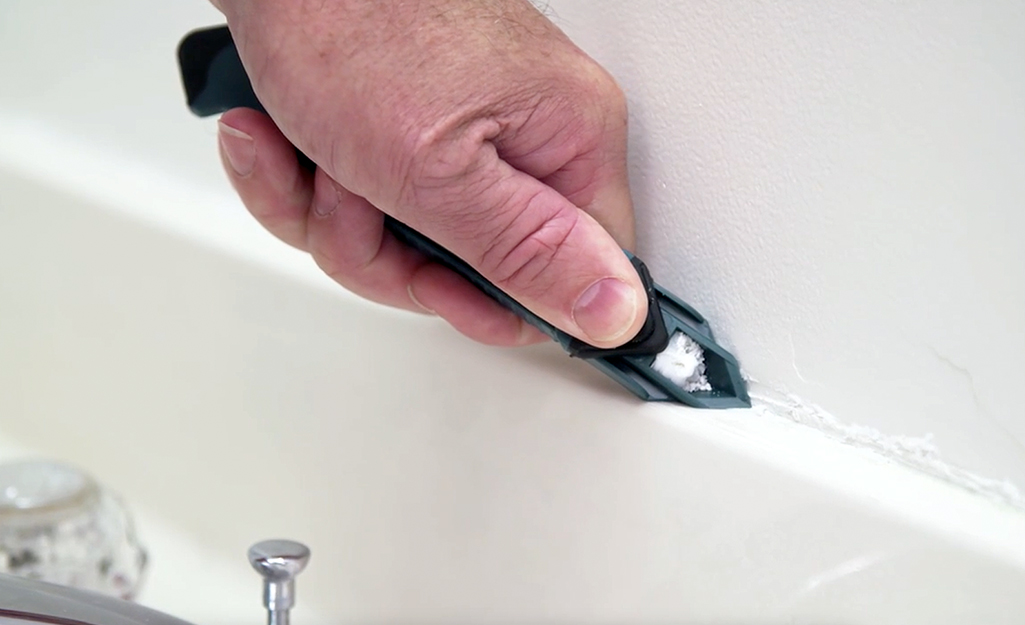
Learning how to caulk starts with a clean surface. Take time to remove any existing caulk to help ensure a good seal.
- Cut old caulk out with a caulk tool, razor blade, putty knife or scraper.
- Remove all paint, dirt, dust, grease and debris. If you’re removing silicone caulk, make sure all residue is completely removed.
- Use a rag to wipe the joint surface with rubbing alcohol or an over-the-counter disinfecting spray.
- Rinse thoroughly with water and dry.
If the gap you are caulking is greater than 1/2 inch, use a caulk formulated for wider gaps or press foam tape into the space.
Tape the Area for Caulking
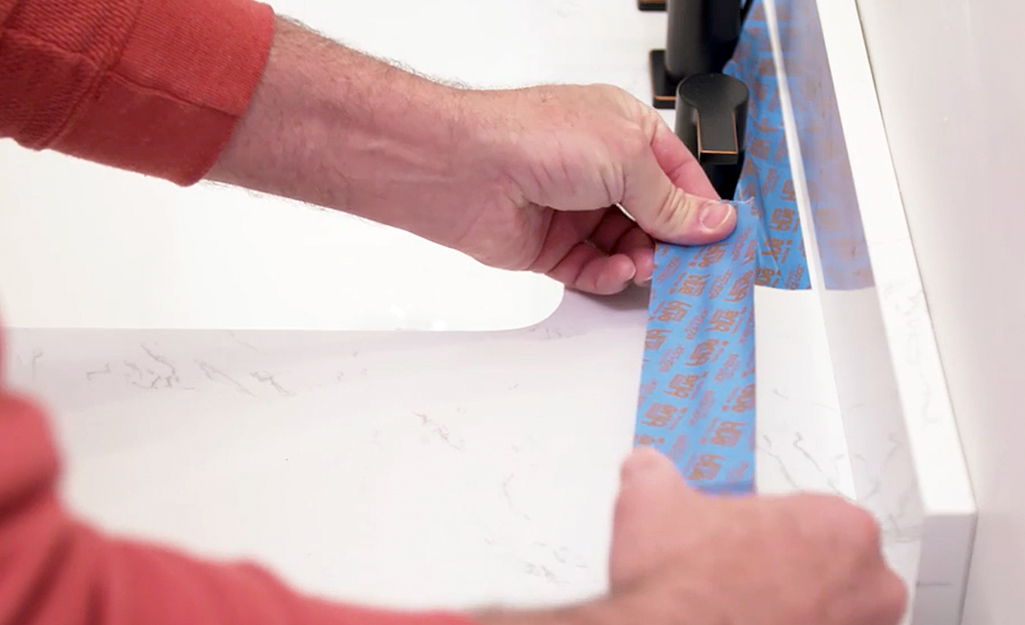
One of the best caulking tips is to make sure that the caulk only goes where you need it. Caulking with tape along the surface will help produce an attractive finish.
Apply painter’s tape to mask off areas around the joint where the caulk should not appear. This will give you a straight line of caulk and will improve the final appearance. The space where you’ll be putting caulk should not be more than a quarter-inch wide and a half-inch deep.
Cut the Nozzle
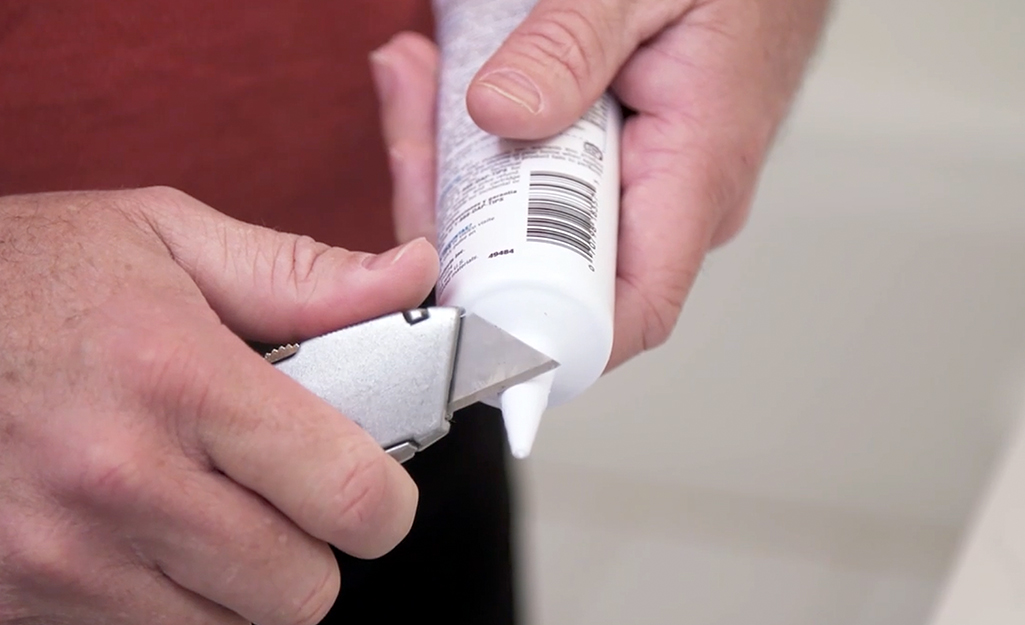
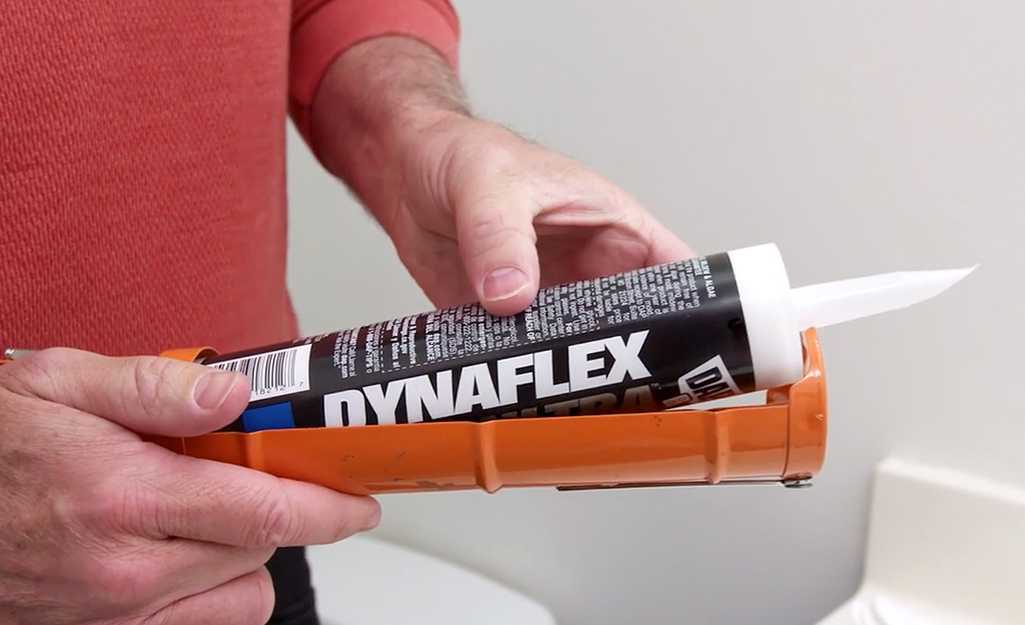
Caulk is available in hand-held squeezable tubes or rigid plastic cylinders that require a caulk gun to push out the material. A squeeze tube is recommended for small projects.
- Some squeeze tubes may have a seal under the nozzle cap. Make sure to puncture the seal before use. Follow the instructions on the tube and carefully cut the nozzle using scissors or a utility knife with a sharp blade. Most caulk guns have a built-in nozzle cutter and seal puncher.
- A line of caulk is called a “bead” and the width of bead is determined by where the nozzle is cut. To create a narrow bead, cut the nozzle close to its tip. For a wider bead, trim off more of the nozzle.
- No matter how wide your caulk bead needs to be, cut the nozzle at a 45-degree angle. You will be applying the caulk with the tube at an angle, so cutting the nozzle on a slant will help get a smooth bead.
Apply Caulk
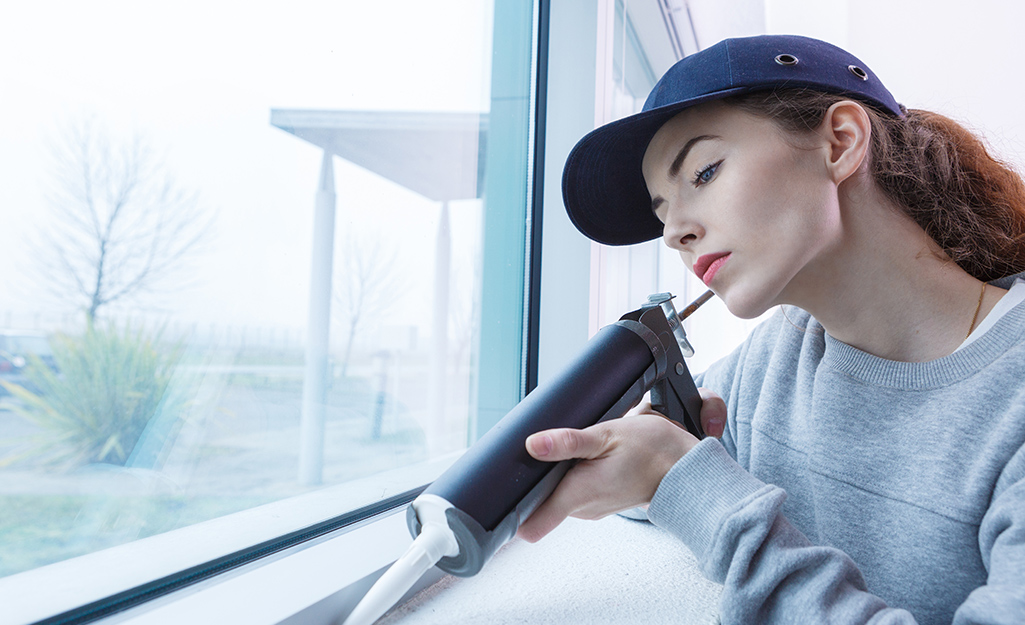
Using a caulk gun is the easiest way to apply caulk.
- Insert the cartridge into the gun frame and make sure it's snug and secure.
- Press the release at the back of the caulk gun and adjust the rod so the plunger is fully extended.
- Place the nozzle at a 45-degree angle in the middle of the joint. Always start on one end of your project. Try to work in a continuous direction.
- Grasp the tube and slowly squeeze the trigger. Press the nozzle into the joint with enough pressure to force the caulk into the gap.
- At the same time, steadily draw the nozzle along the joint.
- Apply steady pressure to the trigger or tube and fill the gap with an even bead of caulk.
- Release the trigger when it reaches the handle. It will spring back. Then you can continue making a steady bead.
Smooth the Caulk Bead
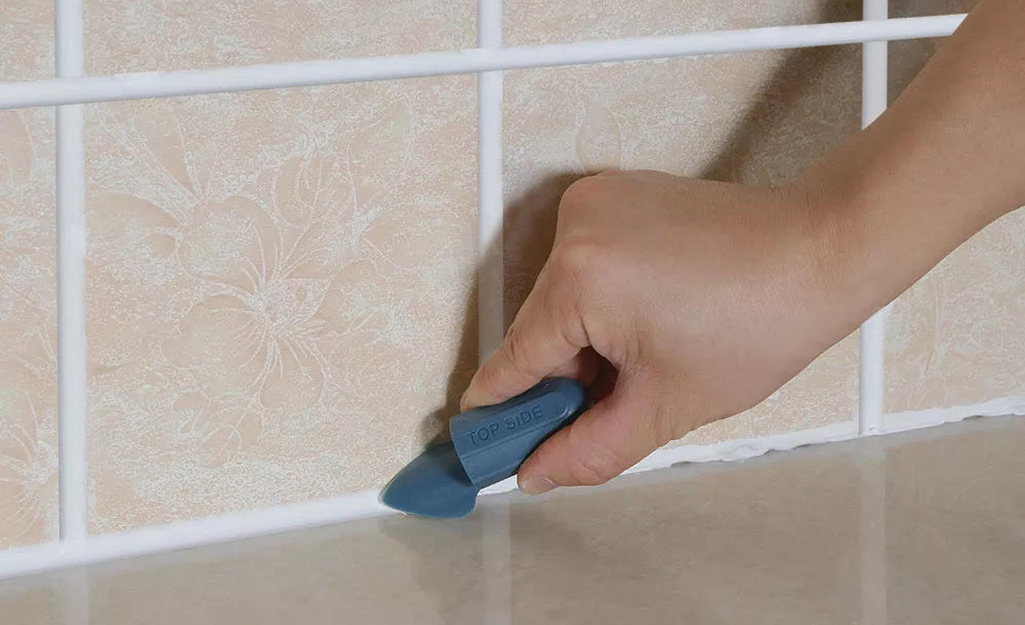
For a neat and professional-looking finish, “tool” or smooth the bead of caulk after sealing the joint with a caulking finishing tool or caulking edger. Some professionals will use their finger to smooth caulk while others go back over their work with a damp rag.
Whichever method you use, the overall goal is to smooth the bead and not to remove excess caulk. For best results as you figure out how to use caulking tools:
- Lightly drag the caulk finishing tool over the bead to smooth it.
- Alternatively, you can use your finger. Moisten your fingertip in warm soapy water and drag it with light pressure along the length of the bead.
- If caulking with tape to mask the area around the caulk, remove the tape before the caulk starts to set.
- To remove the painter's tape, lift the end and pull up at a 45-degree angle, away from the surface.
- Wipe away excess caulk with water and a damp cloth before it dries.
Clean Up After Caulking
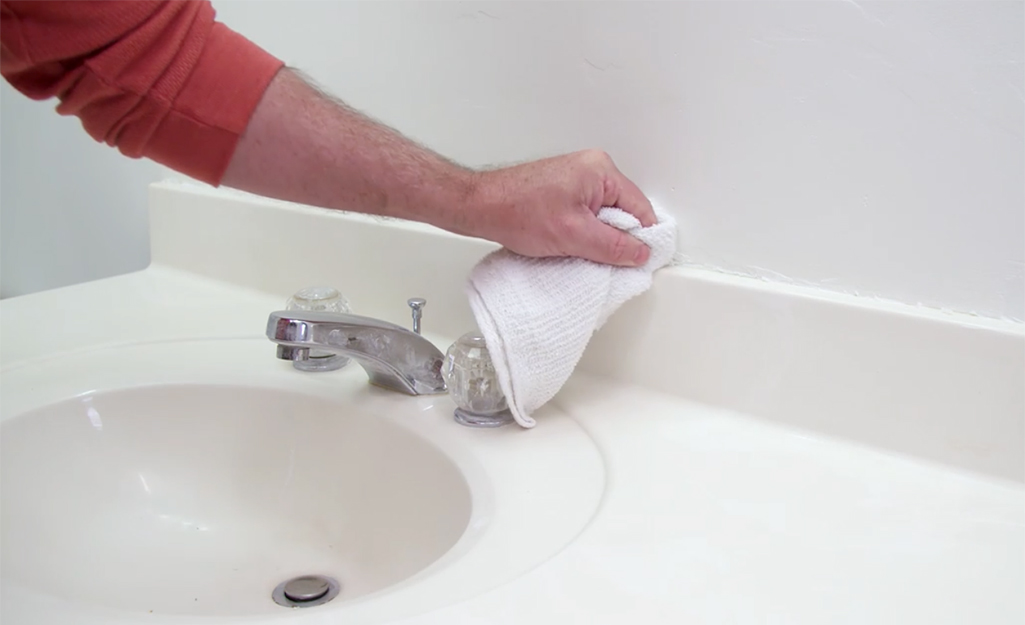
As you figure out how to caulk, make cleaning up a part of the process.
- As you work, have a rag or cloth handy. If caulk gets anywhere you don’t want it to be, wipe it off quickly. It will be harder to get off once it’s dry.
- Once you’re done with your project, wipe away any excess caulk before it dries. You can use water and a cloth or a damp sponge for acrylic caulk. A dry paper towel works best for silicone caulk.
Caulking Tips
Drying and curing are two separate processes and have different time requirements. Curing often takes longer than drying. Quick-drying caulks are also available.
- Check your caulk tube for the specific dry and cure time instructions.
- To remove excess dried caulk, use a putty knife or caulk tool to cut or scrape it away. If using a paintable caulk, check the directions on the tube for paint-ready time.
- If you have leftover caulk, it can be saved for later. A caulk plug can be placed into the opening of the tube to keep it moist. A nail can be used as a substitute for a caulk plug. Once the nozzle has been plugged, cover the nozzle with plastic wrap or aluminum foil.
- Refer to the manufacturer’s directions to find out how to store leftover caulk.
When you know how to caulk, you can add caulk wherever it’s needed in your home. Sealing joints with caulk can help you save on energy bills. Caulk can also protect your home from water and keep insects from coming in. When you’re ready to start caulking, shop The Home Depot Mobile App for the supplies you need.
