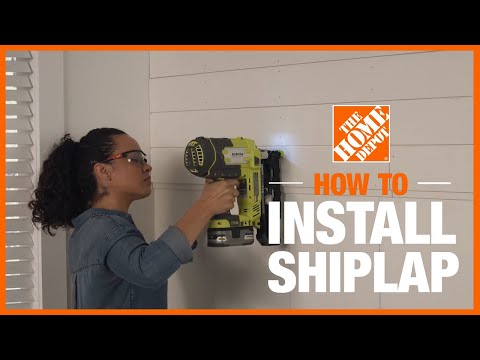
How to Install Shiplap
Last updated September 7, 2023
What is shiplap? Shiplap gets its name from the horizontal planks used on the outside of ships. From rustic farmhouse to a seaside cottage look, shiplap comes in many styles. Pre-finished or faux shiplap is a popular way to transform a blank space. It turns your wall space into a dramatic focal point.
This guide gives you instructions on how to install shiplap boards horizontally. All you need is shiplap, basic carpentry skills and common tools.
Difficulty:
Beginner
Duration:
2-4 hours
Table of Contents
Prepare Walls
Paint
Measure Wall
Mark Vertical Studs
Make a Guideline
Follow Guidelines
Prepare Walls

The first step in your diy shiplap accent wall: remove everything. Take everything off the wall, including any nails. Use a putty knife to gently pry off and remove baseboards, crown molding and trim. Remove wall plates and outlet covers. Before you install your shiplap boards, open your boxes. Let the material adjust to the room temperature and moisture. Keep the boxes open for at least 48 hours.
Tip: Make a paper template of any vents, plates or outlets. Use these templates to cut holes in your boards with a jigsaw.
Paint

Shiplap has a signature gap between the joints. The gap lets the wall color show through. Paint the wall you'll be working on. Choose either the same color of your diy shiplap or a contrasting color. Paint or stain unfinished shiplap boards before attaching them to your wall.
Measure Wall

Knowing how to install shiplap starts with figuring how much you’ll need. Find the square foot of the wall you’re covering. Do this by multiplying the length of the wall by its height. Add 10 percent to your total to account for any waste.
Tip: Divide the height of the wall by the width of the shiplap boards. Place any boards you'll have to cut horizontally at the bottom of the wall.
Mark Vertical Studs

When nailing shiplap boards to a wall, it’s best to attach them to vertical studs. Use a stud finder to determine where your wall studs are. Most studs are 16 inches or 24 inches apart.
Mark each stud with a vertical chalk line for easy identification.
Make a Guideline

Your finished wall will only be as straight as your first row. Using a level, draw a straight horizontal line. Draw the line from one end of the wall to the other. Make sure your guideline is straight. Do this by placing your level at different points on the guideline.
Follow Guidelines

Line up the top edge of the bottom row of boards with the horizontal line. Make sure your board lies on or overlaps the vertical stud chalk line.
Tip: You can attach your shiplap boards with construction adhesive, nails or both.
Attach First Row of Shiplap

Place a nail through the top and bottom of each shiplap board where it crosses a stud. Use adhesive to glue the board down first. Or, ask a partner to help you hold it in place.
Place Nickel Spacers

Before you attach the next board, place a nickel every few feet. Put the nickel between the bottom board and the board above it. This will give you an authentic shiplap look. After attaching a board, remove and reuse the nickels as spacers between rows.
Stagger Cuts

Cut and place boards to stagger cut ends from row to row. Repeat until wall is complete.
If two boards meet at the same stud, place the first piece halfway onto the stud and nail. Start the next piece on the same stud. Cut to fit if necessary. Repeat until you reach the end of the row.
Never overlap boards.
Attach Matching Baseboards

Add matching baseboards and moulding using finishing nails.
Tip: Floors are rarely level. Use trim to cover any gaps between your wall and the floor.
Learning how to install a shiplap wall is a great way to update your space. Looking for a tool to complete your shiplap project? The Home Depot delivers online orders when and where you need them.