Difficulty
Beginner
Duration
Under 2 hours
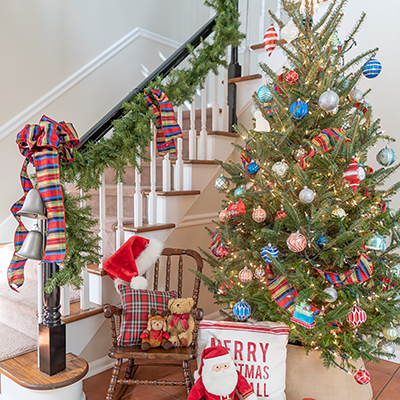
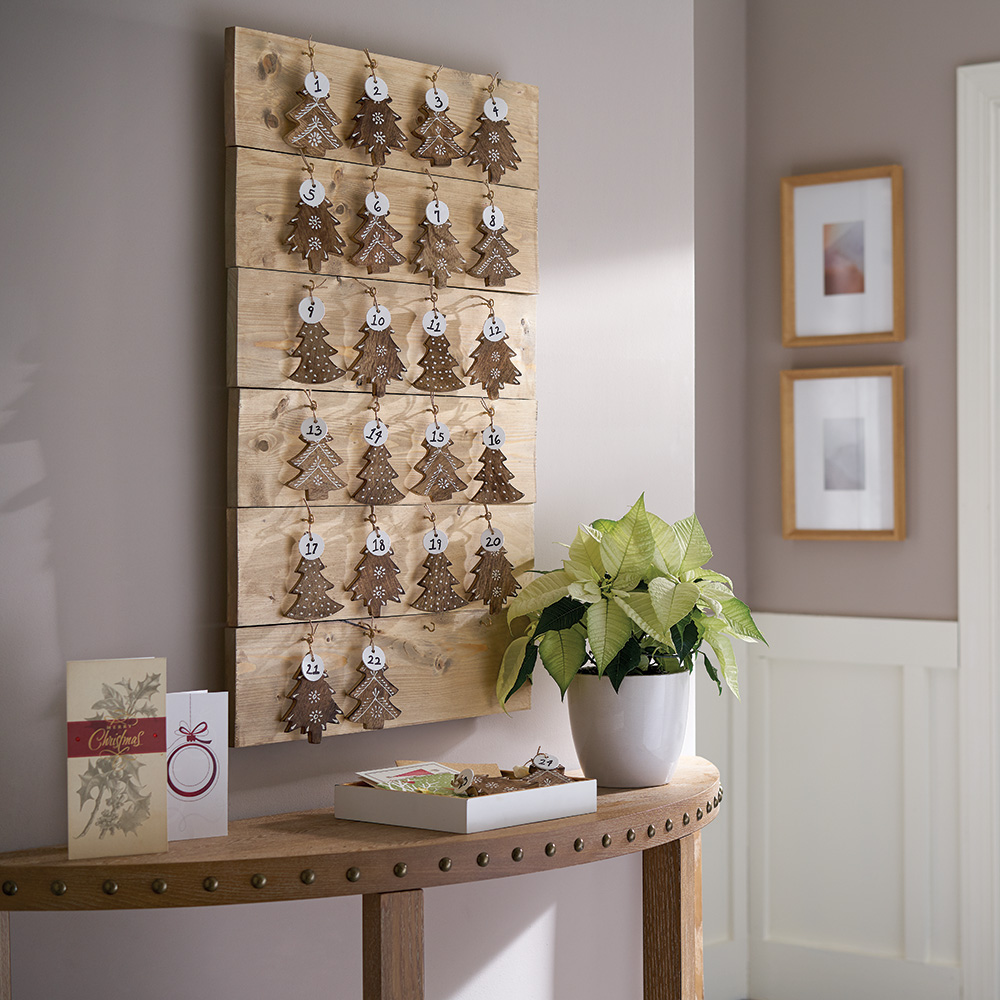
Advent calendars are a decorative and fun way to add excitement and anticipation to the Christmas season. Make your own unique Advent calendar in just a few steps and with some basic tools. Read on for a holiday project the whole family can enjoy all season long.
Gather Materials
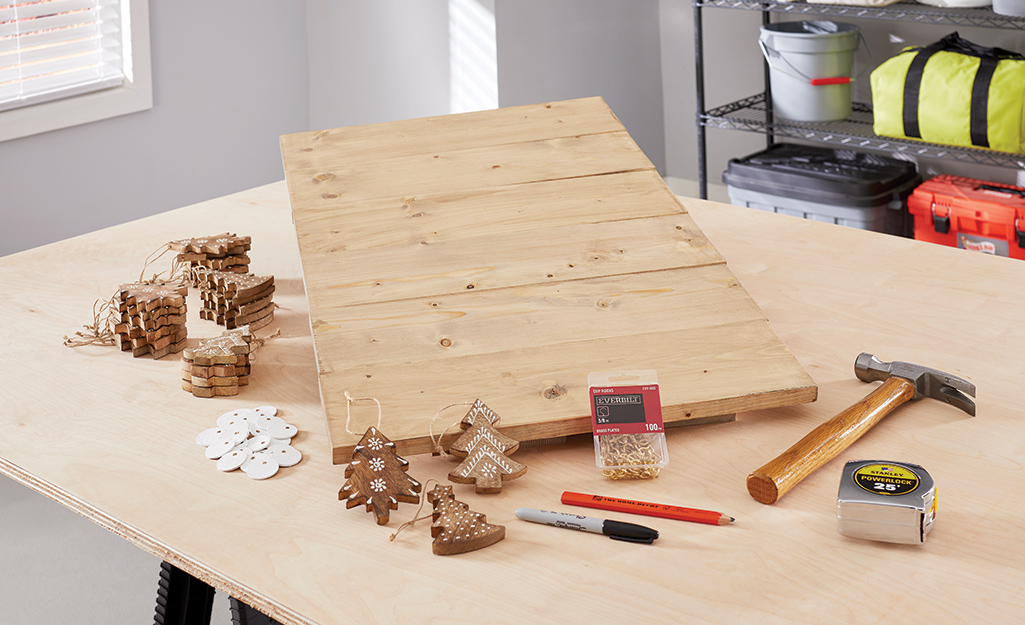
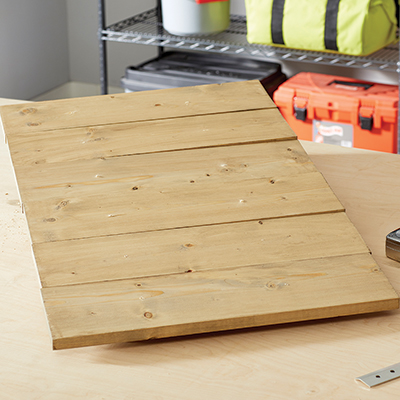
Start with a wood Christmas craft board. It's a simple project to make your own craft board. Here's what else you will need:
- 24 decorative ornaments
- 24 paper tags
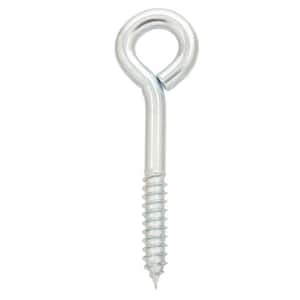
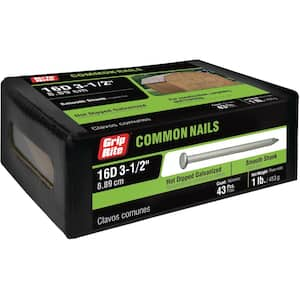
- 25 Screw hooks or decorative nails
- Ribbon
- Drill or hammer
- Tape measure
Measure for Hangers
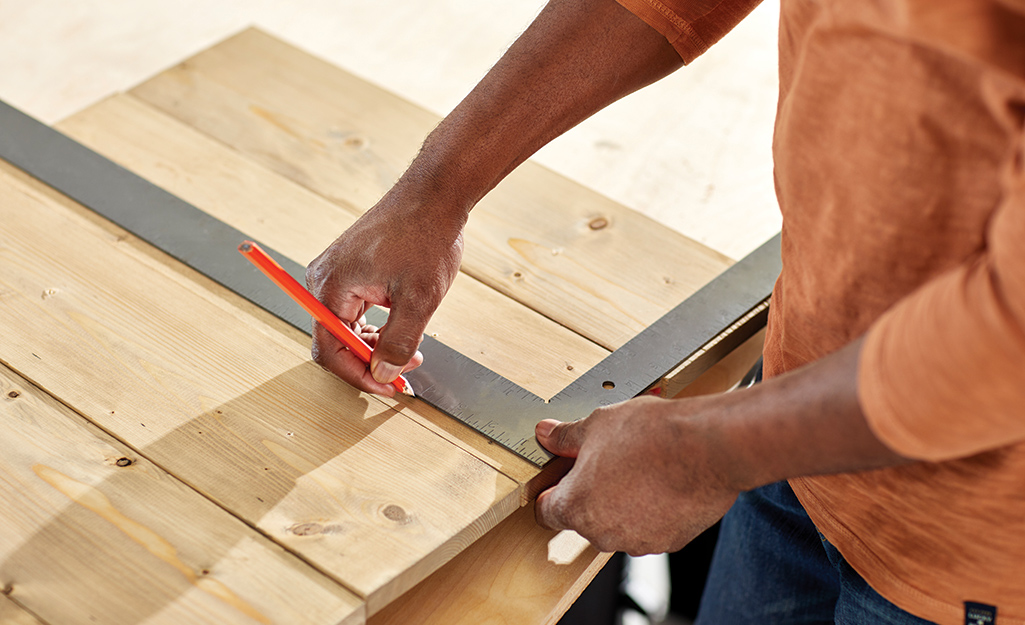
- Lay the board flat, then place the yardstick across the board.
- Make marks at 4, 8, 12 and 16 inches with a pencil.
- Continue to do this across each board.
Add Nails
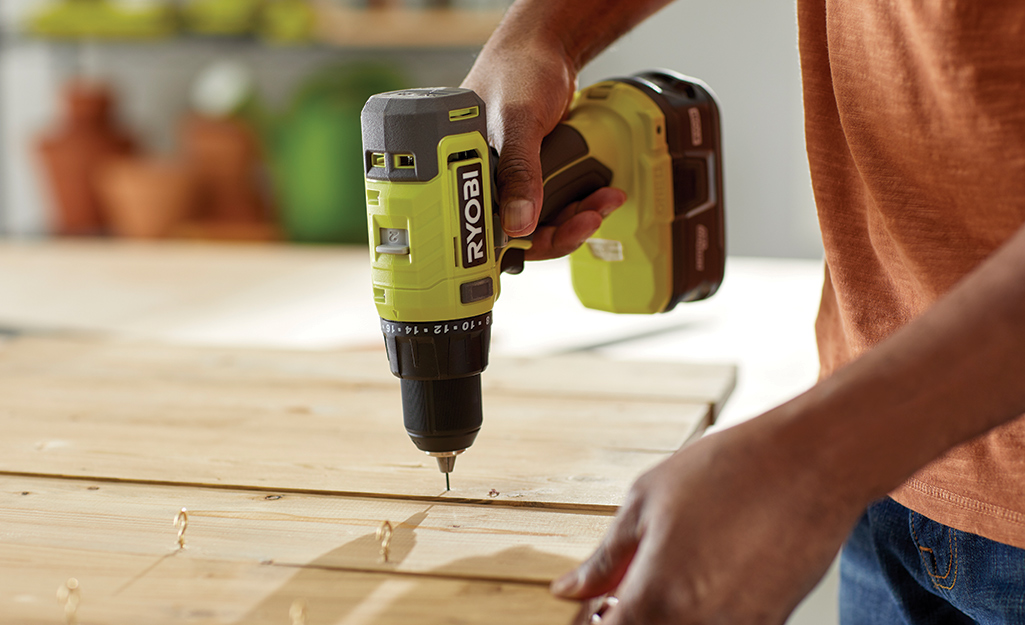
- Make a hole in each of the spots you have measured and marked.
- Screw a decorative hook into each hole. Make sure you have 24 hooks in total.
Add Dates to Wood Trees
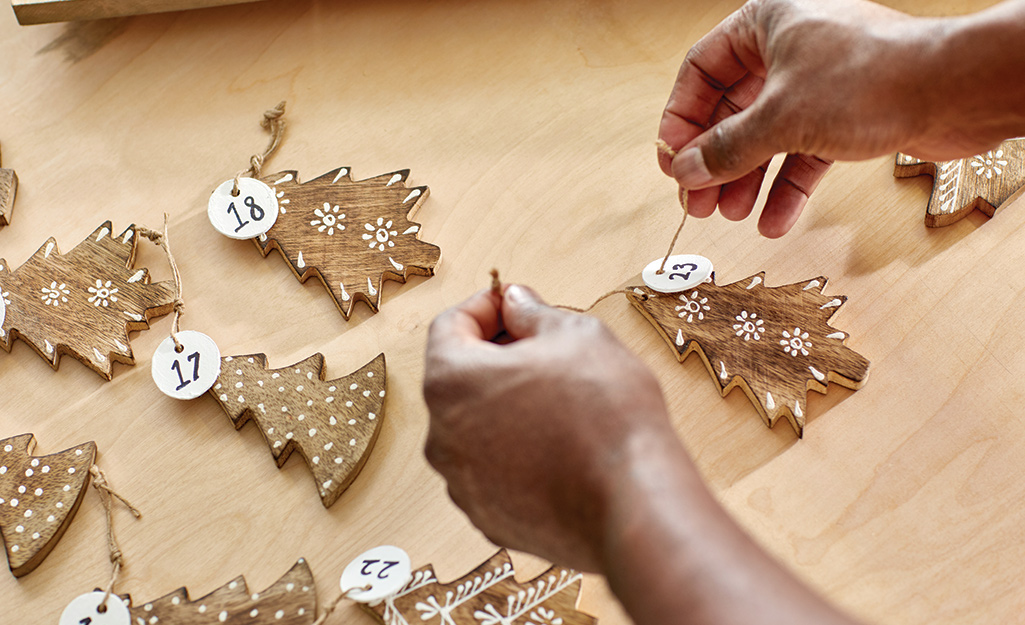
- Use the paper key tags to add dates to the calendar.
- Write out the numbers 1 through 24 on the tags.
- Attach the tags to the ornaments to coordinate with each day of Advent.
Hang the Ornaments
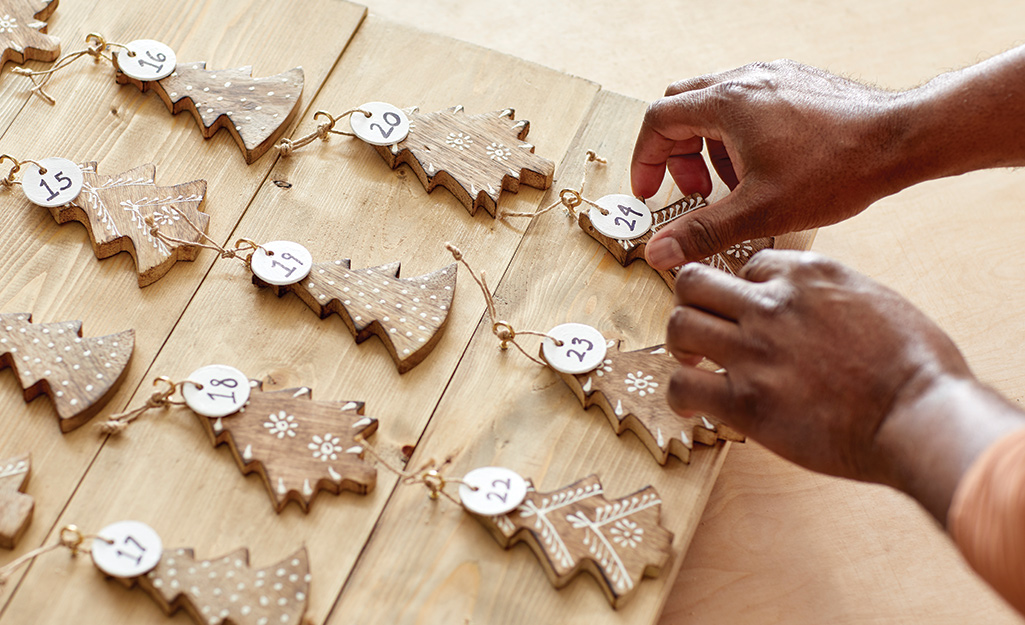
Use ribbon to attach the ornaments in sequential order on your calendar. Then, the calendar is ready to be hung.
Make the holidays extra merry with custom crafts that are simple to make. You can complete a wood Christmas Advent calendar with just a few tools in very little time. Get everything you need for this project and the holidays. The Home Depot delivers online orders when and where you need them.