How to Replace a Fill Valve
Last updated April 25, 2025
The fill valve is the part of your toilet responsible for refilling the tank after it’s flushed. Over time, a worn or unaligned fill valve can become a problem. It can cause a leak and wear on the valve’s components and parts, making repairs more complicated. If your fill valve leaks or water continues to run after the flush cycle ends, it may be time to replace it. Read on to learn how to replace a fill valve.
Difficulty:
Beginner
Duration:
Under 2 hours
Table of Contents
Confirm the Problem
Identify the Fill Valve
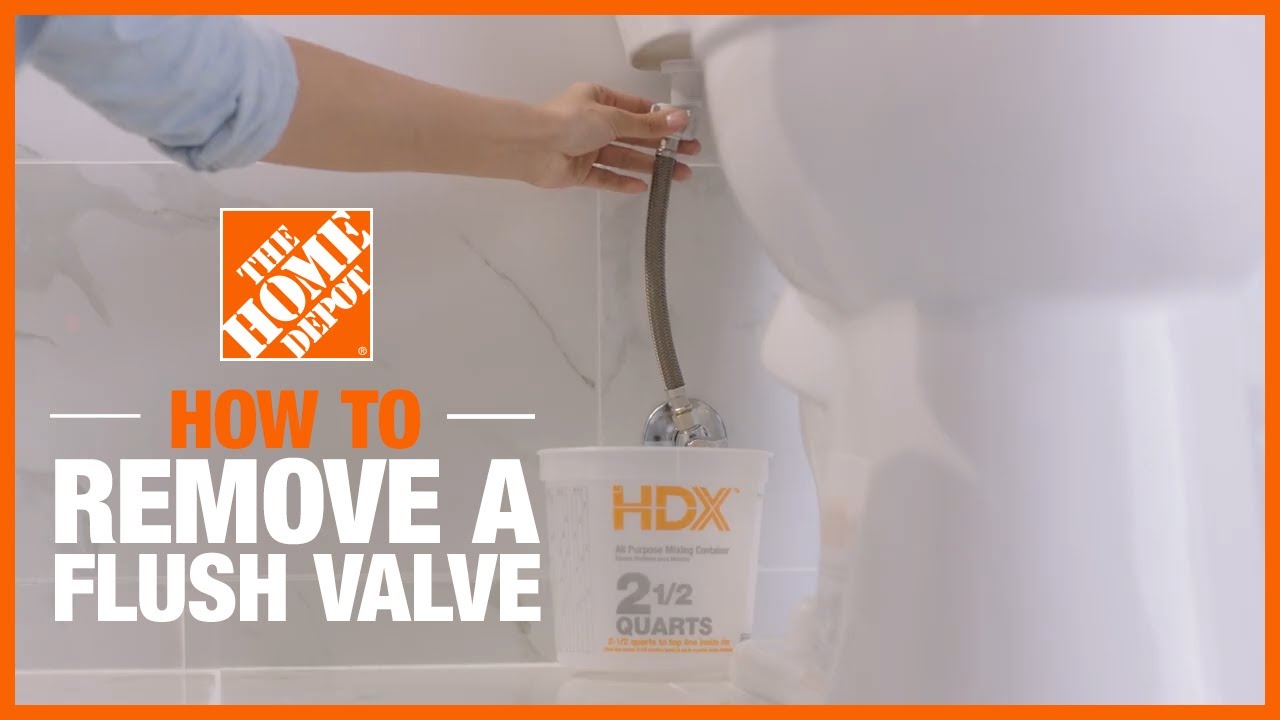
Disconnect the Supply Line
Remove the Old Fill Valve
Insert the New Fill Valve and Connect the Supply Line
Adjust the New Fill Valve and Attach the Refill Tube
Confirm the Problem

The first step is confirming the specific problem with your toilet tank. If you’re experiencing ineffective flushes, that’s a good sign your fill valve needs updating. Another common symptom of a faulty fill valve is the constant sound of running water. Troubleshoot by adding a few drops of food coloring to your toilet tank. If you do not see the food coloring leak into the bowl, your fill valve needs to be replaced.
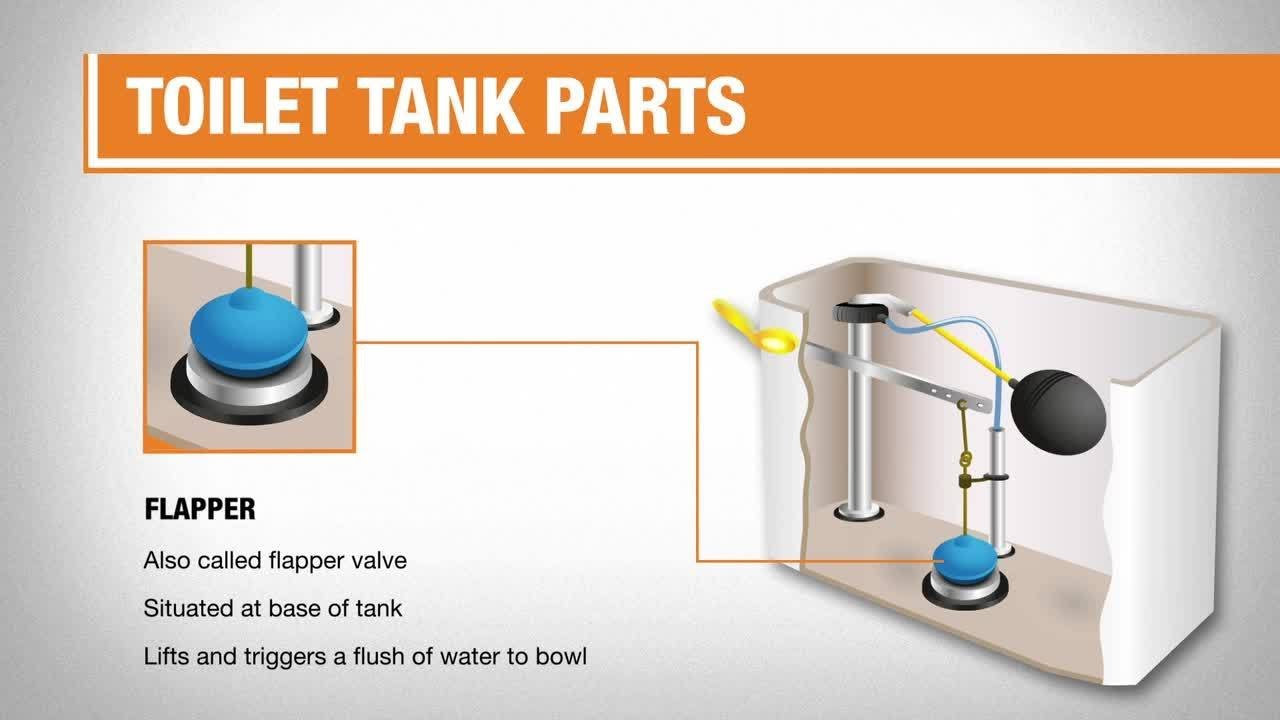
Identify the Fill Valve

Next, identify the type of fill valve your toilet currently has. This will help you find the right replacement unit. Below are the four types of toilet fill valves:
- Plunger or piston-style fill valves are one of the earliest designs created. They’re made of a heavy-duty cast brass body that makes flushing quiet. This style uses a characteristic bottom-fill water discharge tube. It’s designed with a hinged lever assembled that thumbscrews at some hinged joints. This allows adjustment of the lever arm movement. If you have a brass fill valve with a large circular floater, it’s likely plunger style.
- The diaphragm-type film valve has many similarities to the plunger, with some notable differences. Most newer models of this style are made from plastic. The fill valve is anti-siphon. Rather than a plunger stem with a washer seal against the water inlet port, it has a diaphragm seal. This seal opens and closes to control water flow. Older models can be made from cast brass with a plastic diaphragm button.
- Float-cup fill valves are made from plastic. They’re a modern version of the anti-siphon fill valve, with a plastic floating O-shaped cup. This cup moves up and down around the fill valve shaft. The floating cup is connected using a metal spring clipped to the actuating rod. The tank water level is controlled by adjusting where the actuating rod connects to the float cup.
- Floatless fill valves are a newer anti-siphon design made from plastic. Originally designed for low-profile and low-flow toilet tanks, these fill valves are compact and wallet-friendly. They use a diaphragm pressure-sensing mechanism rather than any floating device to control the inlet valve. These valves are attached to the bottom of the tank since they operate submerged in the tank water.
Disconnect the Supply Line

In most cases, the water supply valve is located on the wall behind the toilet. It must be off and drained before you begin this installation to solve the problem.
- Shut off the water by turning the shutoff valve. Typically, you can turn the shutoff valve clockwise and continue turning the valve until it stops to stop water supply.
- Drain the tank by flushing the toilet. Hold the flush lever down to drain as much water as possible. A bucket or large cup can catch water as you drain.
- Remove lid and float ball from tank to soak up any remaining water in the tank with a sponge.
- Disconnect the old supply line.
If applicable, remove the refill tube from the overflow pipe holder and unhook the flapper chain from flush lever to provide space and ease for the installation.
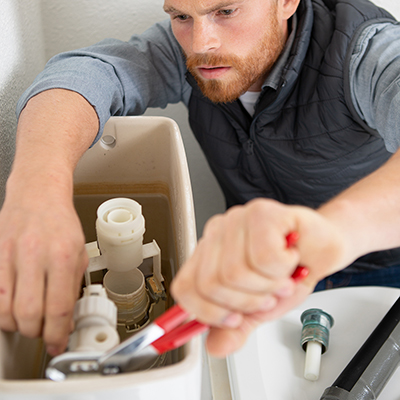
Remove the Old Fill Valve

Once your water supply is shut off, and your tank is drained, it’s time to remove the old fill valve. Each fill valve has a valve nut that locks the toilet valve body into the toilet tank. To remove the old unit:
- Use adjustable pliers or an adjustable wrench to loosen and remove the nut
- Carefully and slowly lift the fill valve from the tank. There should be no resistance. If you have any difficulty, check that the valve is completely loose.
- Wipe down the tank interior with a microfiber cloth to remove any remaining water, debris or stains
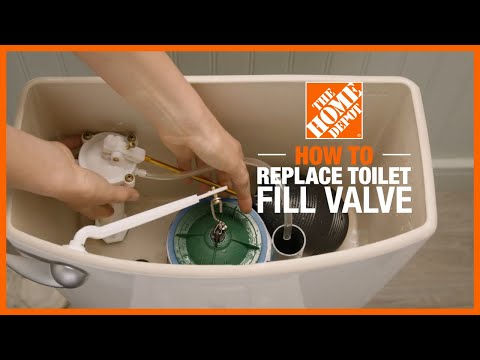
Insert the New Fill Valve and Connect the Supply Line

Now you're ready to place and install your new toilet fill valve. To securely insert your replacement fill valve, follow these steps:
- Place the valve shank onto the fill valve
- Insert the fill valve base into the tank opening
- Push down on the valve shank and tighten the locknut with a wrench or pliers as much as possible to seal the valve
- Reconnect the water supply line to seal the flow of water
Tip: If you have a specific toilet fill valve kit, follow the manufacturer’s instructions accordingly.
Adjust the New Fill Valve and Attach the Refill Tube

Since different toilet models vary in size, most fill valve replacements can be adjusted. The fill valve height adjusts for a custom fit that perfects your toilet's ability to flush and refill. The marking on top of the valve should be at least 1 inch above the overflow tube. To adjust your new fill valve, follow the manufacturer’s instructions included in your new purchase.
The refill tube is a rubber tube that takes water from the fill valve to the overflow tube of the flush valve to refill the toilet bowl. This tube should be reconnected to the new fill valve for your toilet to function. Working inside the tank, reattach the refill tube and its angle adaptor to the overflow pipe holder. The refill tube should be just long enough to reach the overflow tube. If necessary, trim the refill tube to avoid any kinks.
Tip: If needed, make additional adjustments to your fill valve once your water supply is back on.
Adjust the Water Level

After all the installation steps have been completed, it’s time to get your water flowing. Turn on the adjust the water supply to flush your toilet and test the installation. To do this:
- Turn the water supply at the wall back on
- Allow the tank to fill completely
- Adjust the water level by squeezing the adjustment clip and moving the float device up or down
Tip: On some models, the float is adjusted using a threaded screw sitting next to the float. Check the manufacturer’s included materials for clarification.
Now that you know how to replace a fill valve, your toilet can start functioning like new again. Check your tank from time to time for debris to keep your new fill valve in good condition as long as possible.
Ready to find the supplies you need in your local store? Use The Home Depot app to locate products and check inventory. We'll take you to the exact aisle and bay.