Create Your Own Graze and Gather Centerpiece Board
Last updated August 21, 2024

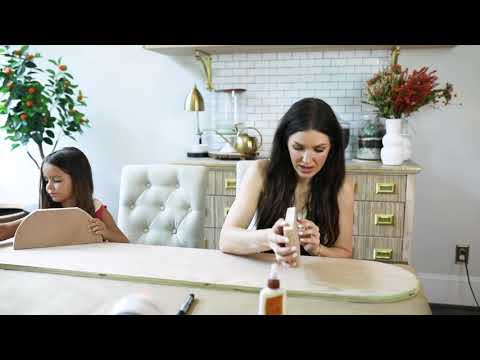
Cara Newhart of Never Skip Brunch is a DIY enthusiast who lives in Houston, TX. She has a passion for empowering women to dive deep into the "masculine" world of DIY and home improvement. Her creativity has been featured in publications like PEOPLE StyleWatch, Denver Style Magazine, and she's the 2019 Home Depot Orange Tank Pitch Competition winner. Head over to her blog to see more of her chic DIY projects and tutorials.
A Note From The Home Depot
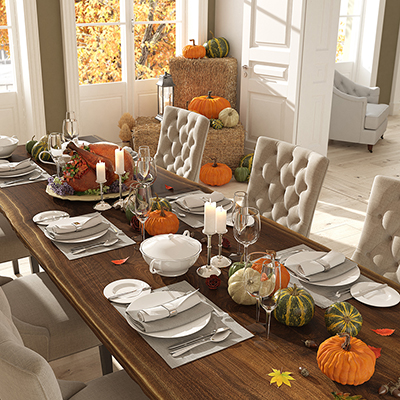
Fall is just around the corner which means it’s time to entertain! While gathering may still look different this year, DIYer, Cara Newhart has put together a fun and stylish graze board that any number of people can enjoy.
Table of Contents
Step One: Paint Thrifted Glassware
Step Two: Cut Wood Round In Half + Level Ends
Step Three: Add a Pattern with a Herringbone Edge Banding
Step Four: Trace and Cut Arched Ends
Step Five: Attaching the Arched Legs
Step Six: Style and Set the Table

Step One: Paint Thrifted Glassware
Gather six to ten vases that you’d like to upcycle — either from around your home or the thrift store. It doesn’t matter what color, we’ll paint them for a cohesive look.

Painting the glassware to look like pottery. Mix about ½ cup of paint and 2-4 tablespoons of baking soda together in a disposable cup to thicken the paint.

Paint the mixture onto the glassware in a thick, even coat. The paint will coat the glassware for a cohesive elevated look and give it a finish that resembles pottery.

Pro tip: paint with horizontal brush strokes to mimic the look of hand-turned pottery.
Step Two: Cut Wood Round In Half + Level Ends
First, cut the wood round in half down the middle using a miter saw.


Then, cut about ½-1 inch off of the opposite (curved) sides to flatten them.


We used a wood round we traced and cut out to make arched legs for our board, but you can customize this step to fit your style and skillset — If you want something simpler, swap the arched legs for two 1x4 oak pieces, cut to the length of your board.
To make your own wood round you can trace a round plate and cut out the circle with a jigsaw. If you’re using a top board that is a little narrower, you could also use an unfinished oak round rosette instead of making your own oak round.
Step Three: Add a Pattern with a Herringbone Edge Banding
Once your arched legs are cut, create a pattern with oak edge banding to give the sides of the legs some interest and texture. We chose to do a herringbone pattern — find and mark the center of the arched piece.

Line up a strip of edge banding out from the center line at 45 degrees. Trim the edge banding strip just so it extends just past the arched piece on either side. Using an iron, gently smooth it over the edge banding strip to melt the glue and stick the strip in place.

Allow to cool completely before touching it and moving on to the next piece. Add another strip of edge banding, extending it on the other side 45 degrees. Repeat this process, alternating sides and adhering strips at 45 degrees until the entire side of the arched leg is covered. Repeat on the back if desired. Set aside to cool, then use a utility knife to cut any excess edge banding from around the edge of the arched leg.

Step Four: Trace and Cut Arched Ends
Using a round plate or the arched leg pieces, trace an arch onto each end of the top board. Our top board is about 6 ft. long, but you can customize it to the size of your table. Just cut it about 2 feet shorter than your table length before tracing your arch.

Once the arch is traced, cut the circle with a jigsaw.

After cutting, you can sand the edges smooth with some 120 grit sand paper.

Step Five: Attaching the Arched Legs
Decide which direction you want your legs to go — arched side up or down. With the board upside down (the best side facing down against your work surface), dry fit your legs to see where you’d like them placed. For our 6 ft board, we went with 13” in from either end. Mark this position with a pencil.

Apply a bead of wood glue to the edge of the arched leg that you’ll be attaching

Position glued edges of the arched legs, aligned with the pencil mark you made earlier. Press firmly into place and leave the board in this position until the glue is fully dry.


Step Six: Style and Set the Table
Once the glue is dry, flip the board over and center it on the table.

Optional — we chose to add a variety of gold candlesticks to the board to start styling. This is totally optional. Opt for battery powered flicker candles for a kid-friendly setup.

Next, add the painted glassware to the board. Spreading it out and varying the height and shape so they are evenly spread out across the board and the centerpiece feels balanced.

Pop in some faux or fresh fall florals. Add some fall florals to the vases. You can use faux flowers or gather or purchase some fresh ones.

We chose some burnt orange and white flowers for a cohesive fall look.
Style tip: keeping your color palette small and using just 2-4 different types of flowers is an easy way to give your centerpiece an up leveled look.

Step Seven: Enjoy


This post was created in partnership with The Home Depot. The author may have received compensation for this article and associated images or video, potentially in the form of products and/or services. All expressed opinions and experiences are the author’s own words.