![Head of bed with leather pillows in front of completed headboard. Head of bed with leather pillows in front of completed headboard.](https://contentgrid.homedepot-static.com/hdus/en_US/DTCCOMNEW/Articles/SamRaimondi-DIYHuntress-2023DIYONTREND-Headboard-03-header.jpg)
![Sam Raimondi contributorImage](https://contentgrid.homedepot-static.com/hdus/en_US/DTCCOMNEW/Articles/DIY-Huntress-Headshot.jpg)
A Note From The Home Depot
Create a trendy woven headboard with the help of Sam Raimondi of DIY Huntress. Follow along as she walks through the steps it takes to easily create a new headboard for your bedroom.
DIY Woven Headboard
![Head of bed with leather pillows in front of completed headboard. Head of bed with leather pillows in front of completed headboard.](https://contentgrid.homedepot-static.com/hdus/en_US/DTCCOMNEW/Articles/SamRaimondi-DIYHuntress-2023DIYONTREND-Headboard-03.jpg)
Creating a bedroom oasis is as easy as a few custom touches, and a woven headboard is an easy bedroom upgrade that can be made in one day or less!
Build The Headboard Frame
![Piece of wood being held in place and cut with saw. Piece of wood being held in place and cut with saw.](https://contentgrid.homedepot-static.com/hdus/en_US/DTCCOMNEW/Articles/SamRaimondi-DIYHuntress-2023DIYONTREND-Headboard-10.jpg)
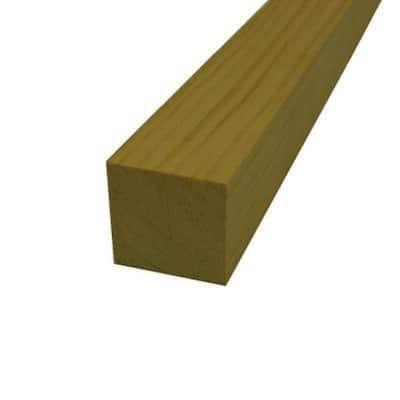
The first step is to create a frame for your headboard. To find the dimensions you need, measure your bed frame width and use that measurement as your overall headboard width. (e.g., if your bed frame is 68” wide, then your headboard should be at least 68” wide). In terms of height, I chose to make my headboard 36” tall, but this measurement can be totally customized to fit your space.
![Hand holding drill going into a piece of wood. Hand holding drill going into a piece of wood.](https://contentgrid.homedepot-static.com/hdus/en_US/DTCCOMNEW/Articles/SamRaimondi-DIYHuntress-2023DIYONTREND-Headboard-09.jpg)
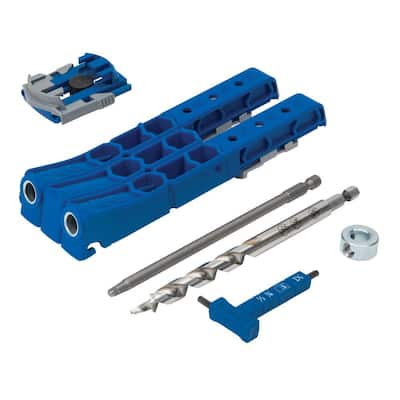
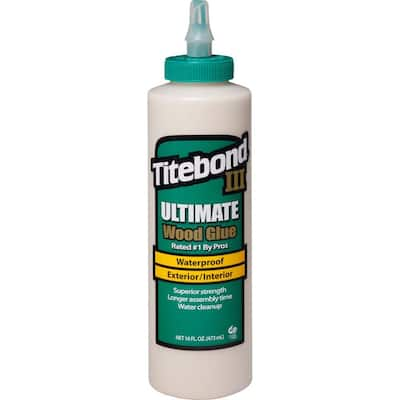
Once you have your measurements, create a frame by cutting your 2 x 2 boards to length and screwing the top and bottom frame pieces into your side pieces with pocket hole screws and glue.
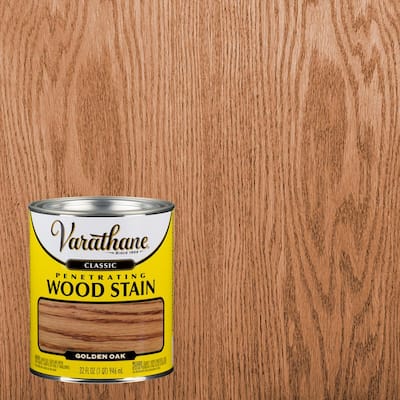
Sand & Stain
![Gloved hand painting stain onto piece of wood. Gloved hand painting stain onto piece of wood.](https://contentgrid.homedepot-static.com/hdus/en_US/DTCCOMNEW/Articles/SamRaimondi-DIYHuntress-2023DIYONTREND-Headboard-08.jpg)
Once your headboard has been built, it’s time to sand and stain.
Cut Your Fabric & Attach To Frame
![Leather pieced of fabric laid out vertically being stapled to piece of wood. Leather pieced of fabric laid out vertically being stapled to piece of wood.](https://contentgrid.homedepot-static.com/hdus/en_US/DTCCOMNEW/Articles/SamRaimondi-DIYHuntress-2023DIYONTREND-Headboard-07.jpg)
As the headboard dries, cut your fabric pieces into strips. I chose to use a tablecloth that looked like leather for my headboard.
![Close up of pieces of fabric stapled into wood. Close up of pieces of fabric stapled into wood.](https://contentgrid.homedepot-static.com/hdus/en_US/DTCCOMNEW/Articles/SamRaimondi-DIYHuntress-2023DIYONTREND-Headboard-06.jpg)
Once your frame has dried and your strips are cut, begin attaching the fabric to the headboard with staples from the backside of the frame. I used a spacer to make sure they were all equally spaced apart.
Weave Your Fabric
![Hand holding piece of leather fabric, a part of a nearly finished woven headboard. Hand holding piece of leather fabric, a part of a nearly finished woven headboard.](https://contentgrid.homedepot-static.com/hdus/en_US/DTCCOMNEW/Articles/SamRaimondi-DIYHuntress-2023DIYONTREND-Headboard-05.jpg)
Next up, weave the vertical pieces of fabric in between the horizontal pieces, making sure to alternate the pattern on each row. Finish it off by stapling any excess fabric to the back of the frame.
Install
![Hand drilling a hook into place with a nail. Hand drilling a hook into place with a nail.](https://contentgrid.homedepot-static.com/hdus/en_US/DTCCOMNEW/Articles/SamRaimondi-DIYHuntress-2023DIYONTREND-Headboard-04.jpg)
The last step in the process is to install the headboard by hanging it on the wall with hooks on the back of the frame. Don’t forget to add those finishing touches like bedding, pillows, side tables and lighting.
![Head of bed with leather pillows in front of completed headboard. Head of bed with leather pillows in front of completed headboard.](https://contentgrid.homedepot-static.com/hdus/en_US/DTCCOMNEW/Articles/SamRaimondi-DIYHuntress-2023DIYONTREND-Headboard-03.jpg)
And, after one weekend of work, you have a trendy, woven headboard!
![Finished headboard with stack of pillows. Finished headboard with stack of pillows.](https://contentgrid.homedepot-static.com/hdus/en_US/DTCCOMNEW/Articles/SamRaimondi-DIYHuntress-2023DIYONTREND-Headboard-02.jpg)
Looking for more easy DIY ideas that you can complete in one weekend? Follow me for more project ideas with The Home Depot!