Easy Curb Appeal Updates
Last updated October 30, 2023

Meghan Dyal wears a lot of hats, literally and figuratively. She’s a wife and stay at home mom of 3 who captures her life and adventures in home renovations, interior design and motherhood on her Instagram page Ahoy Native.
A Note From The Home Depot
Curb appeal is an easy and quick fix to update any home. Meghan Dyal of AhoyNative transformed her front yard with the help of a new front door, mailbox, paint and landscaping from The Home Depot.
Table of Contents
Before
Planning Phase: Create a Mood-Board and Take Inventory
Step 1: Mailbox
Step 2: Weed n’ Feed
Step 3: Flower Boxes
Step 4: Landscaping
Do you ever have a space that could just use a little something? Nothing is necessarily wrong with it, but you just want to make it even better than it is? For us that was our front yard area! I think the front of the house can sometimes be a last priority. I know we are guilty of going for the big interior projects, like the kitchen and laundry room first, but your front yard is what guests first see! Follow along with the step-by-step process of how we transformed our front yard space.
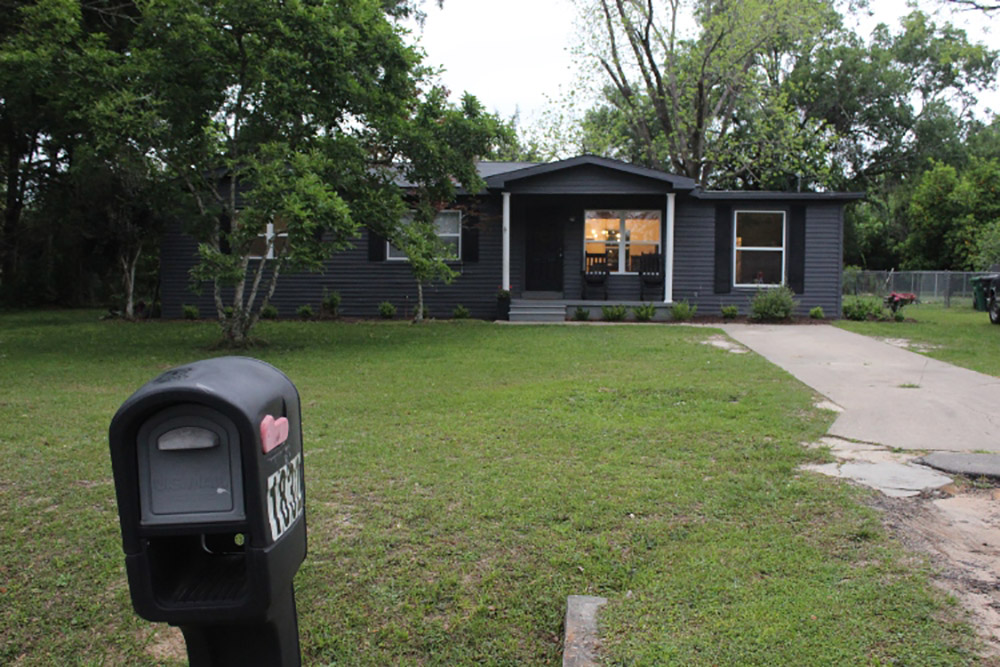
Before
Planning Phase: Create a Mood-Board and Take Inventory
Sitting down and creating a mood board before you get started with your project can be really helpful! I ended up changing a few things just because they didn’t look like I thought they would when I put them all together on my mood board. After you’ve made your mood board and ordered everything, take inventory! If you’re planning to tackle a bunch of projects at once like we did, it’s helpful to open all packages and make sure everything looks like what you envisioned.

Step 1: Mailbox
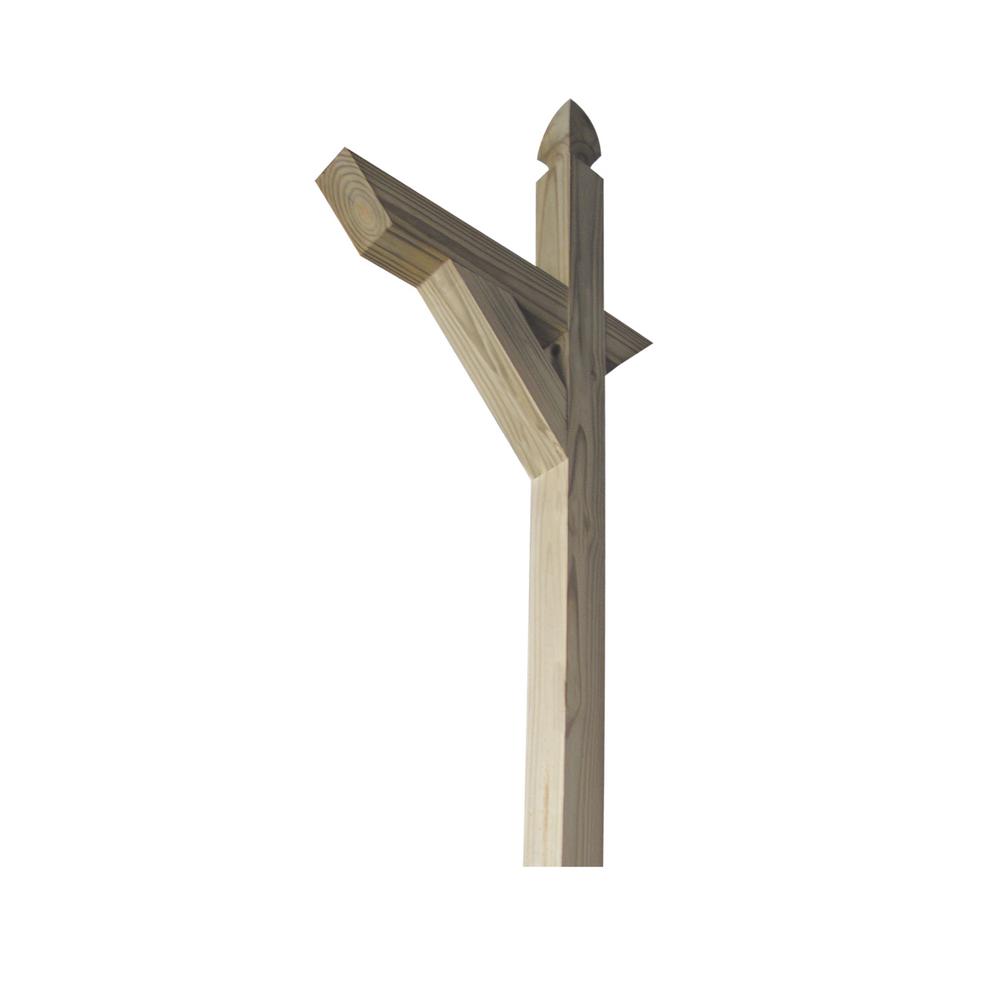
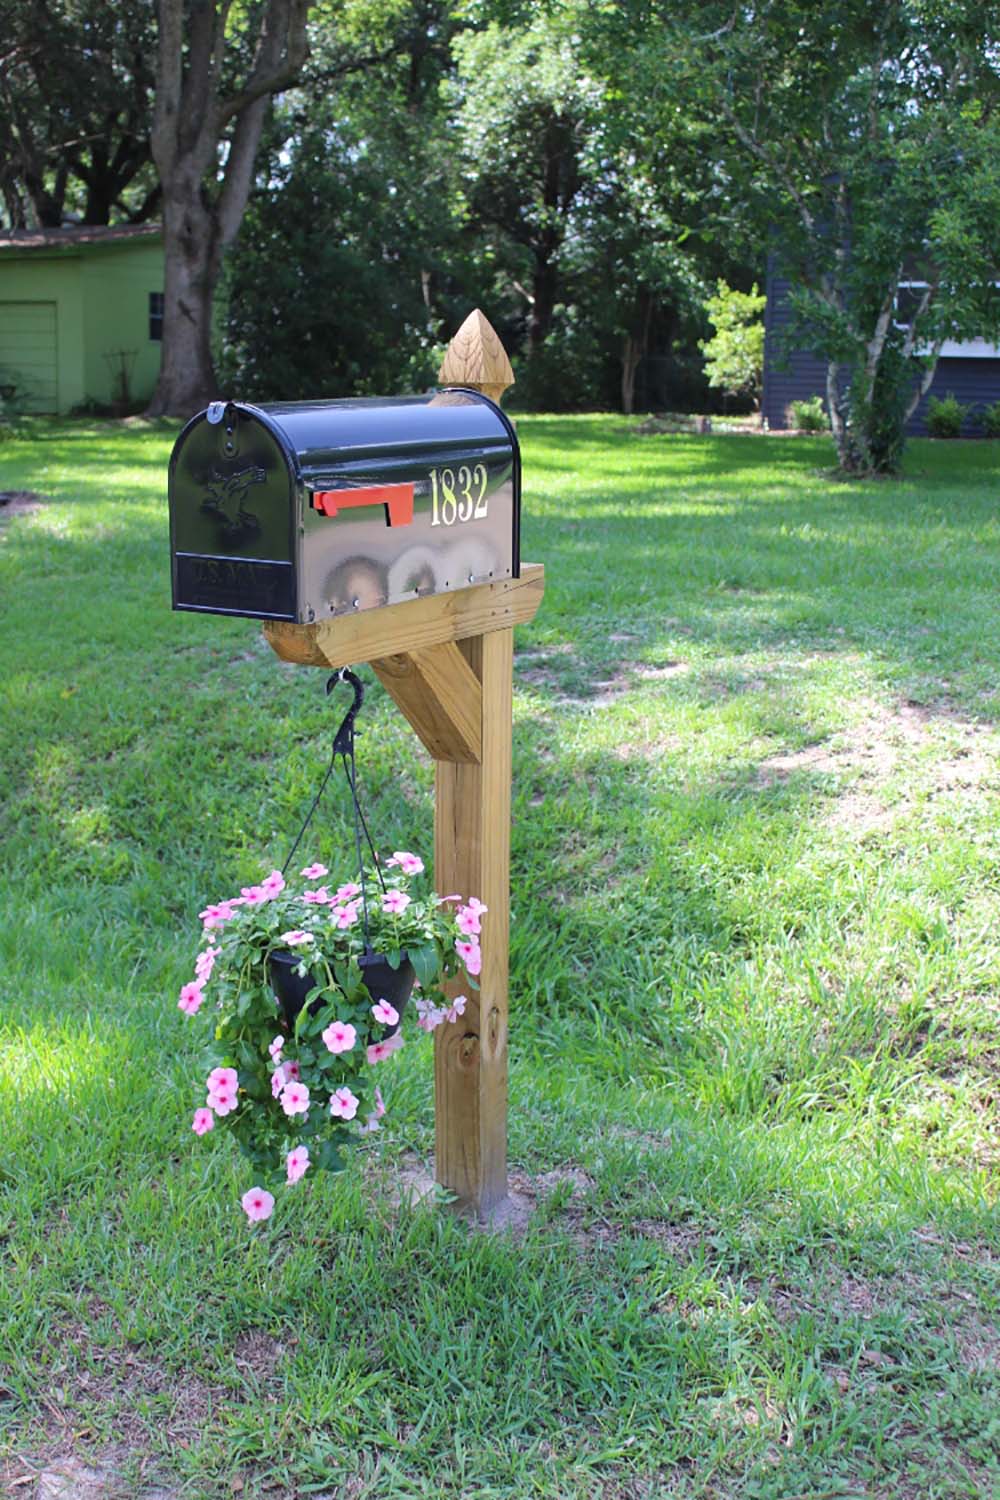
Updating the mailbox had been on our to-do list for years! We removed our original mailbox and replaced it with this [modern black]one which is big enough to fit multiple packages in! We used this simple wood post. I added a hook underneath the post to put a hanging basket from because, why not? It was such a quick and affordable update.
Step 2: Weed n’ Feed
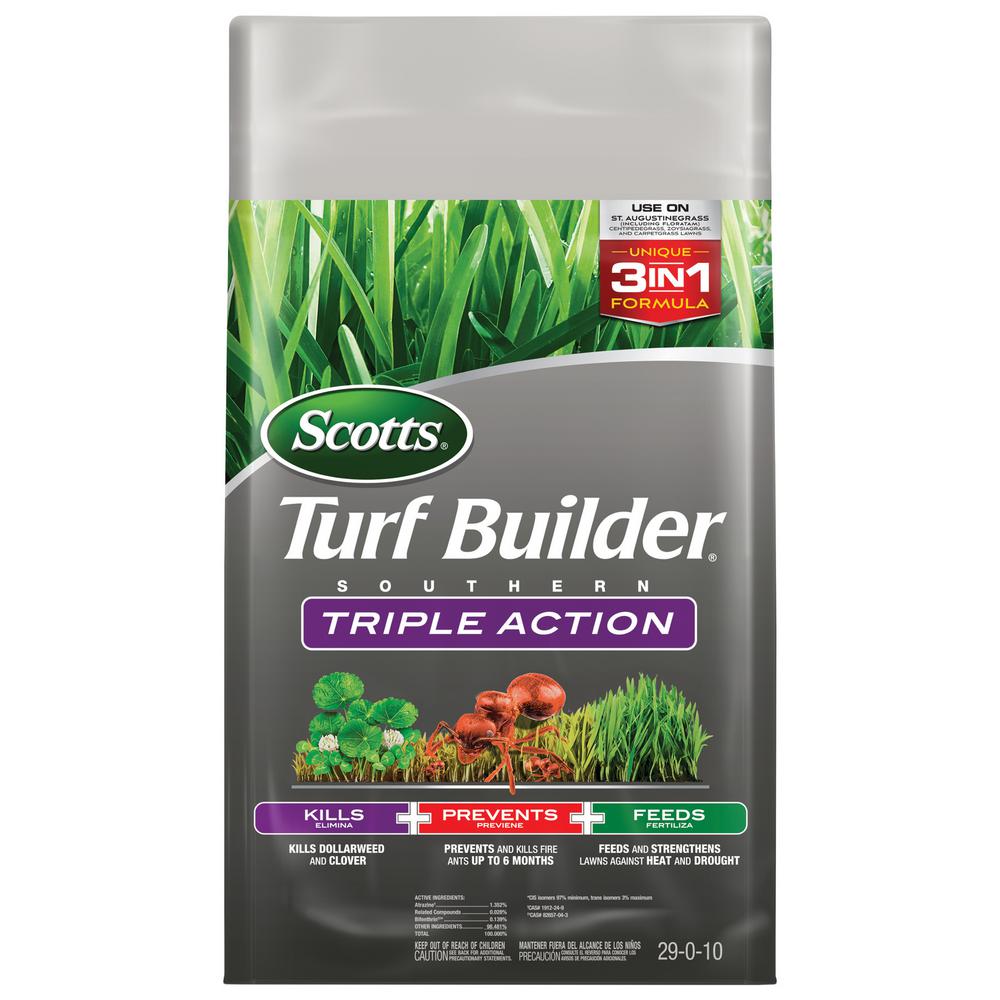
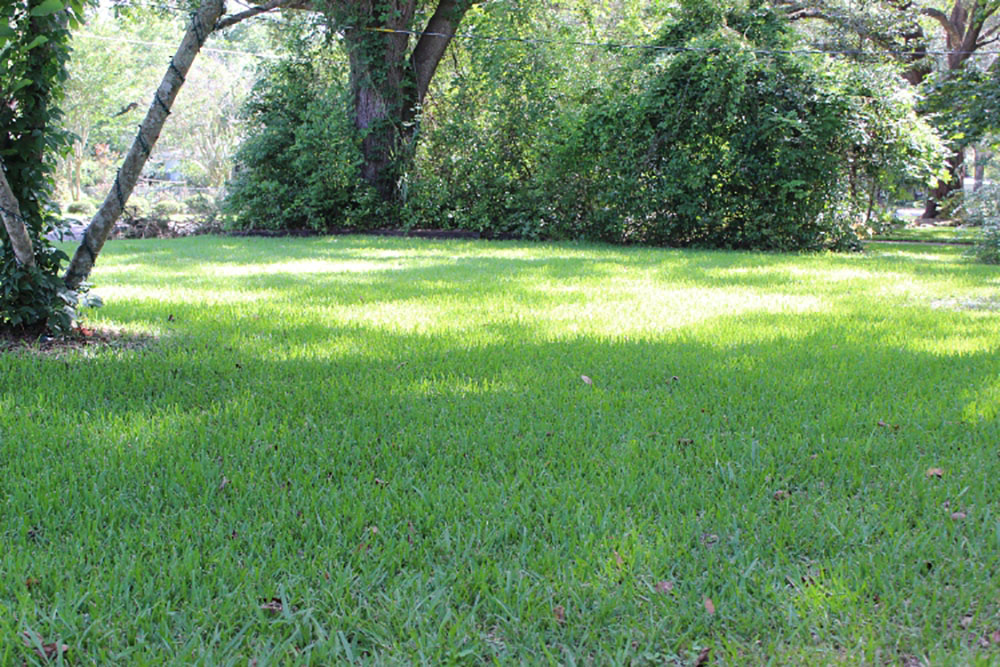
We used Scotts Triple Action for our front yard area. One bag did our entire front yard and the results have been amazing. It looks like we laid brand new sod!
Step 3: Flower Boxes
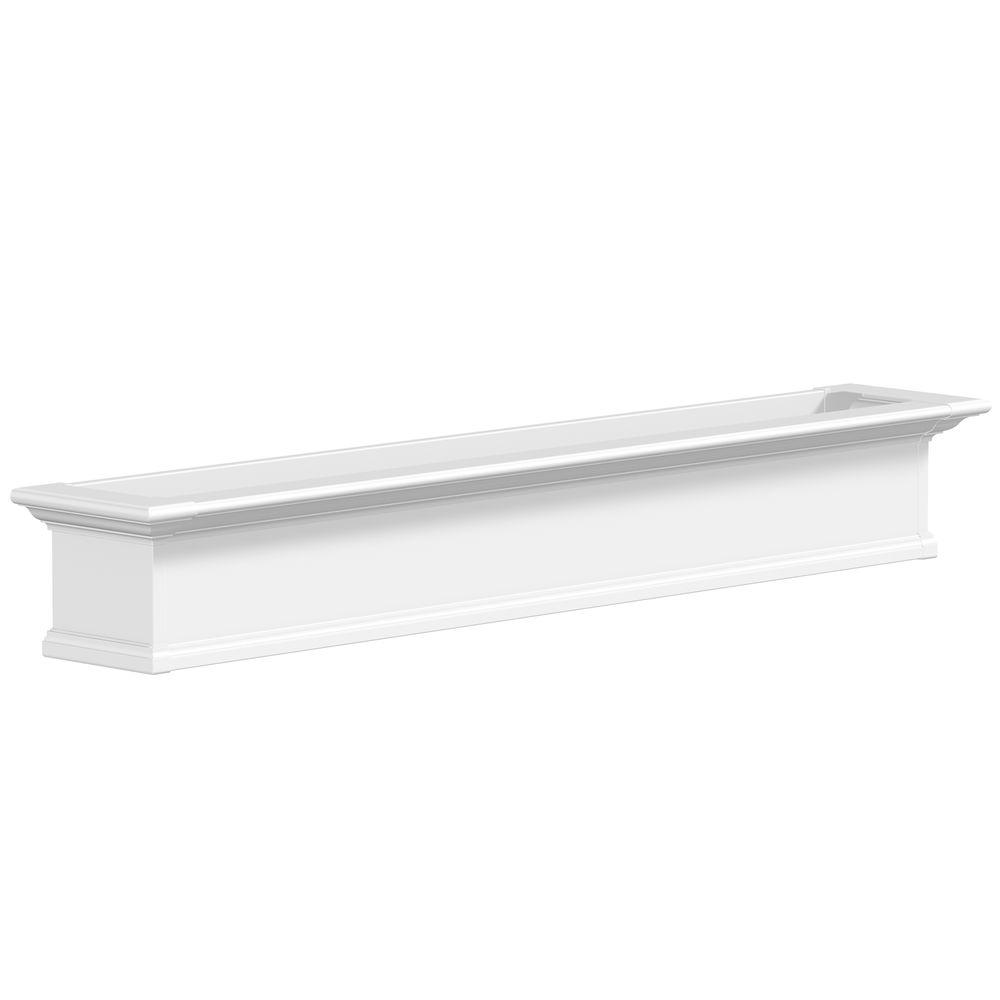
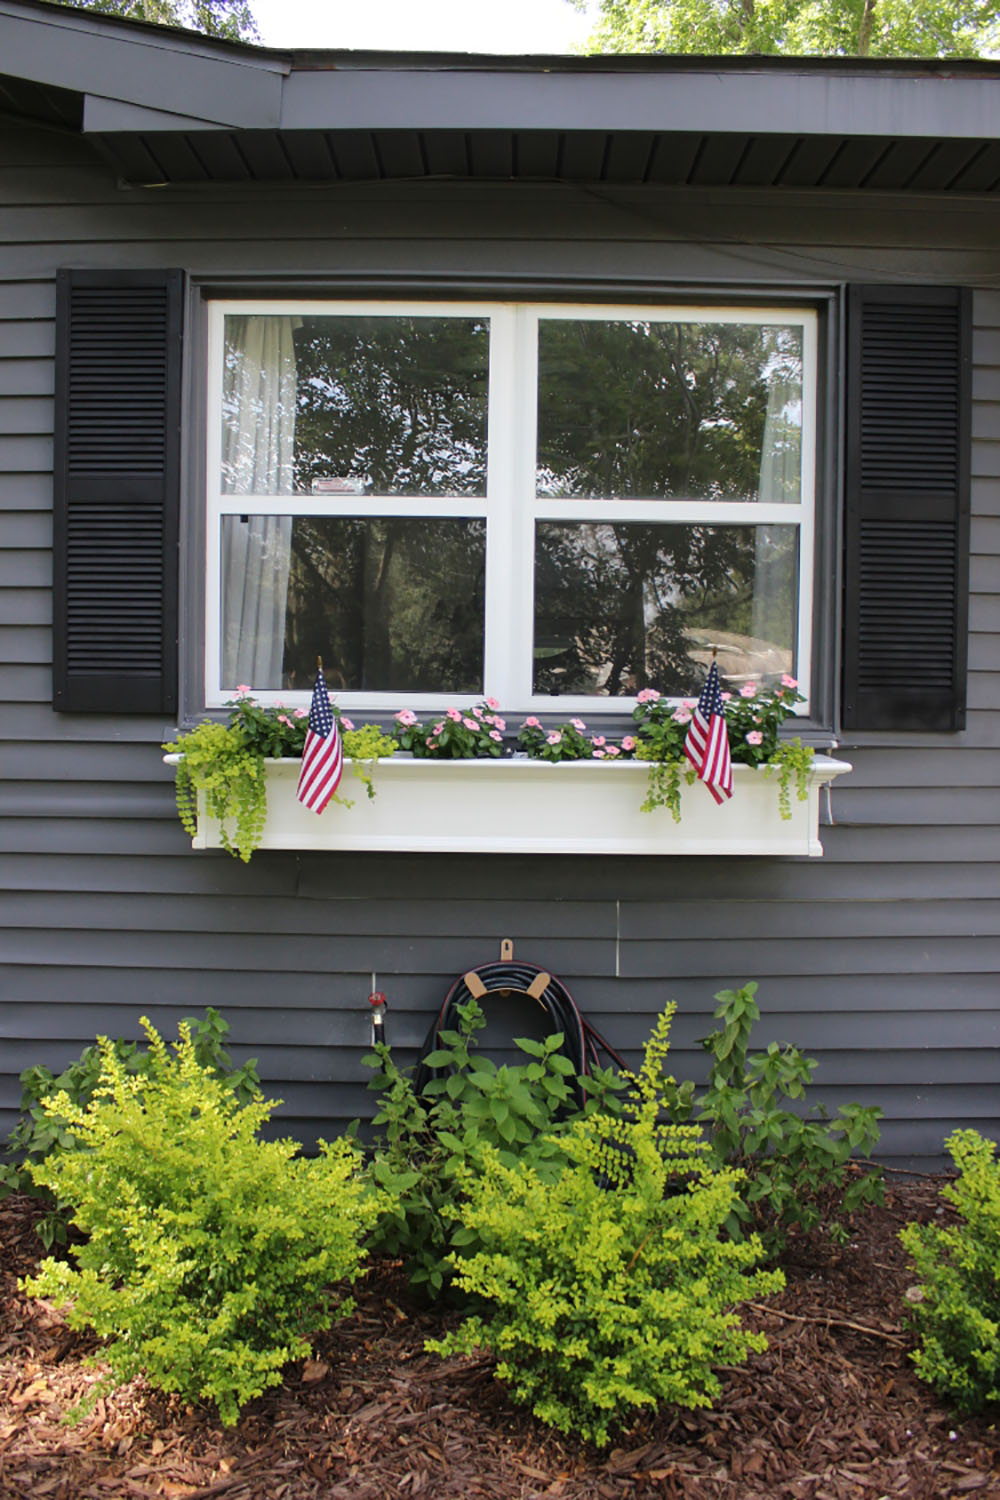
Choosing to install flower boxes was the easy part (because duh, they are so charming!). The hard part was deciding what flowers to fill them with! We used these flower boxes for a couple of reasons: 1. Our windows are on the larger size (72”) so we needed something to accommodate the longer length and these fit the bill. 2. Since the flower boxes would be large, I wanted to make sure the material they were made of was lighter (these are made of vinyl) so they would be able to hold the weight of flowers and soil. Pro tip! We used non-biodegradable packing peanuts in the bottom of each of the boxes to not only help with drainage, but also to help with managing the weight of the box.
Step 4: Landscaping
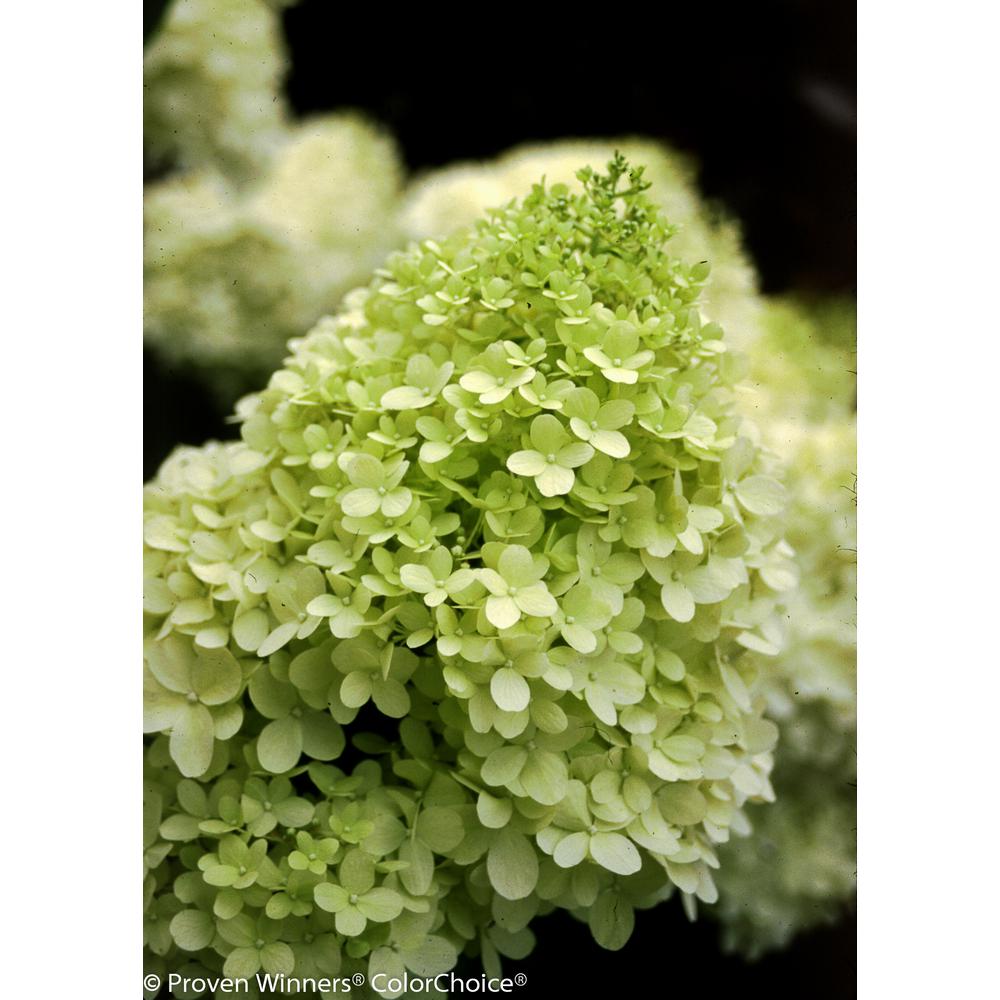
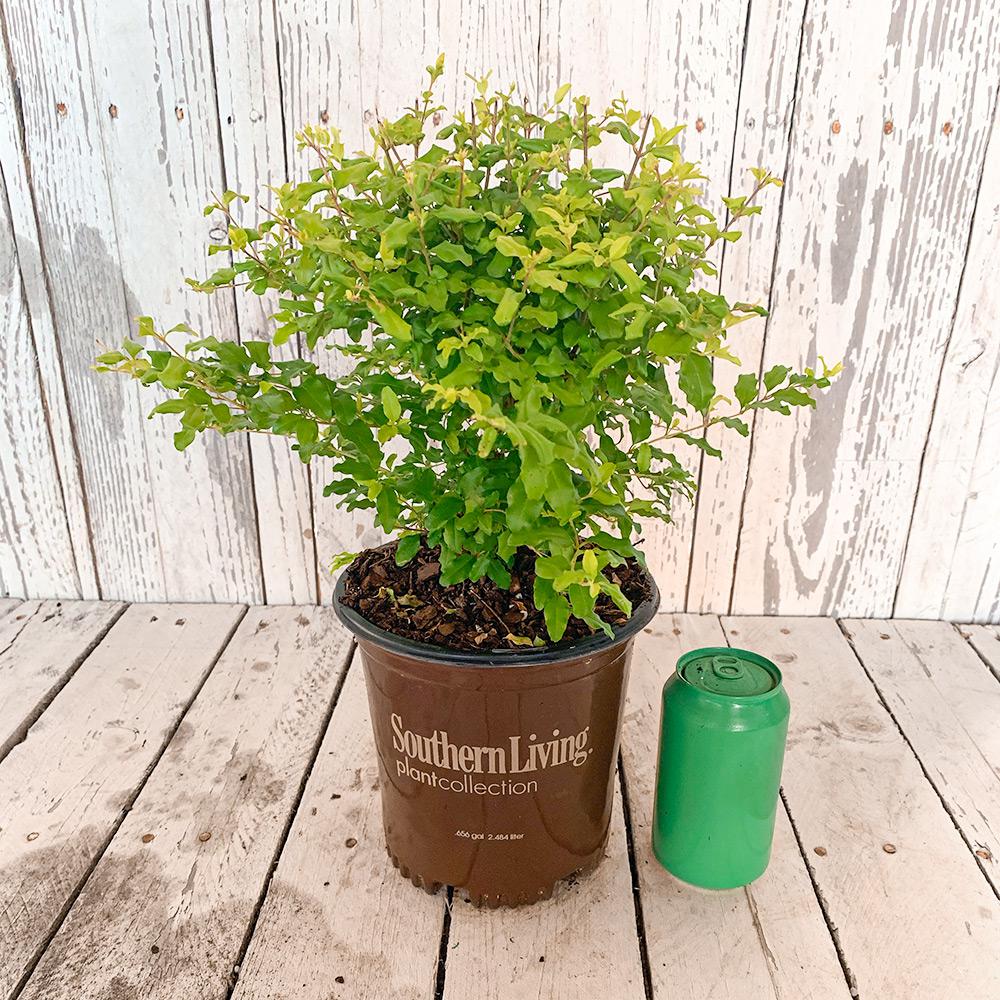
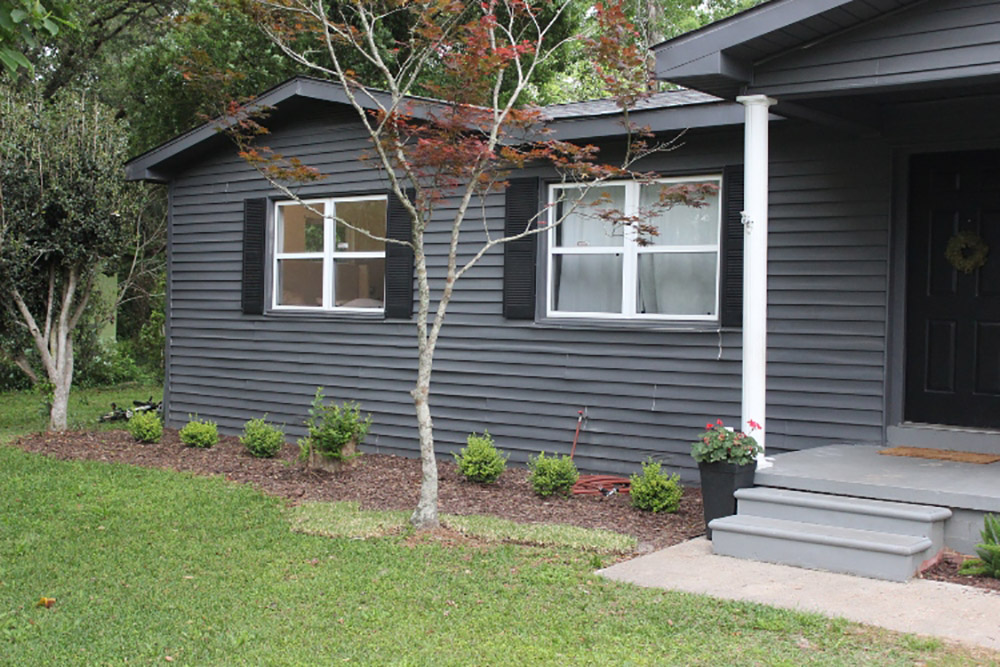
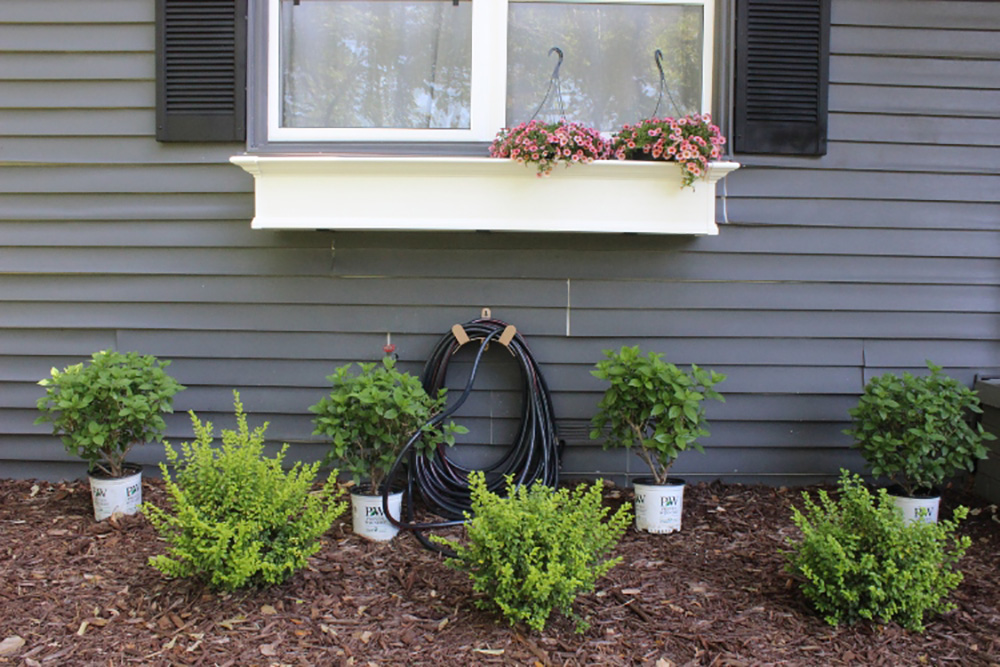
We knew we wanted to keep the landscape simple and mostly green since the flower boxes were going to be packed with varying colors throughout the year. We planted Sunshine Ligustrum shrubs all along the front of the house. I love the variance in color that they have. Hydrangeas are my favorite flowers ever and I’ve always had this dream that my whole house will be covered with hydrangeas, so of course I had to plant a ton of those. We planted Limelights in an alternating pattern behind the Sunshine Ligustrum shrubs. I love the Limelight variety because they produce lime green to white flowers that turn pink in the fall – so pretty, and on hue with the rest of the landscaping.
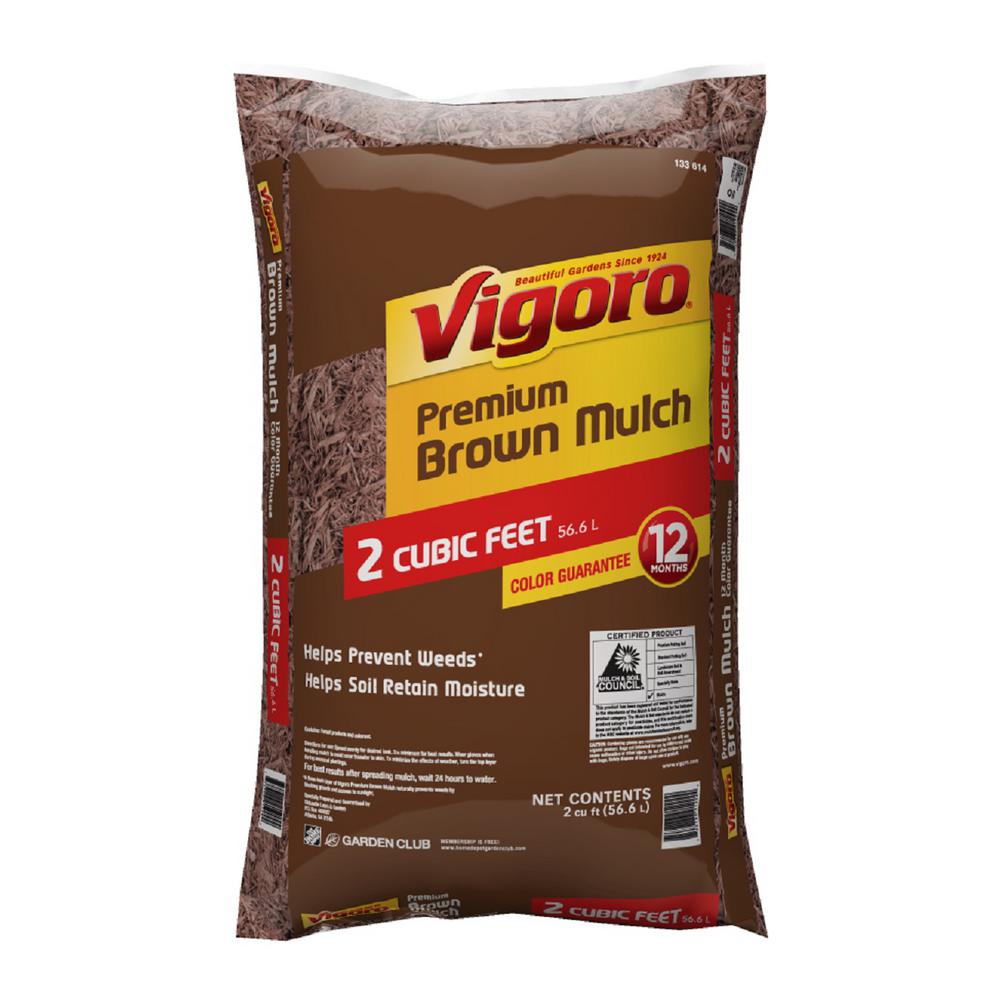
Fingers crossed that in a few years we’re bursting with flowers! In years past we’ve used pine straw to cover the flower beds but decided to try brown mulch and we’ve been super pleased with it. Finally, we used an edger to go along the perimeter of the flower bed for a manicured look.
Step 5: Updated Light
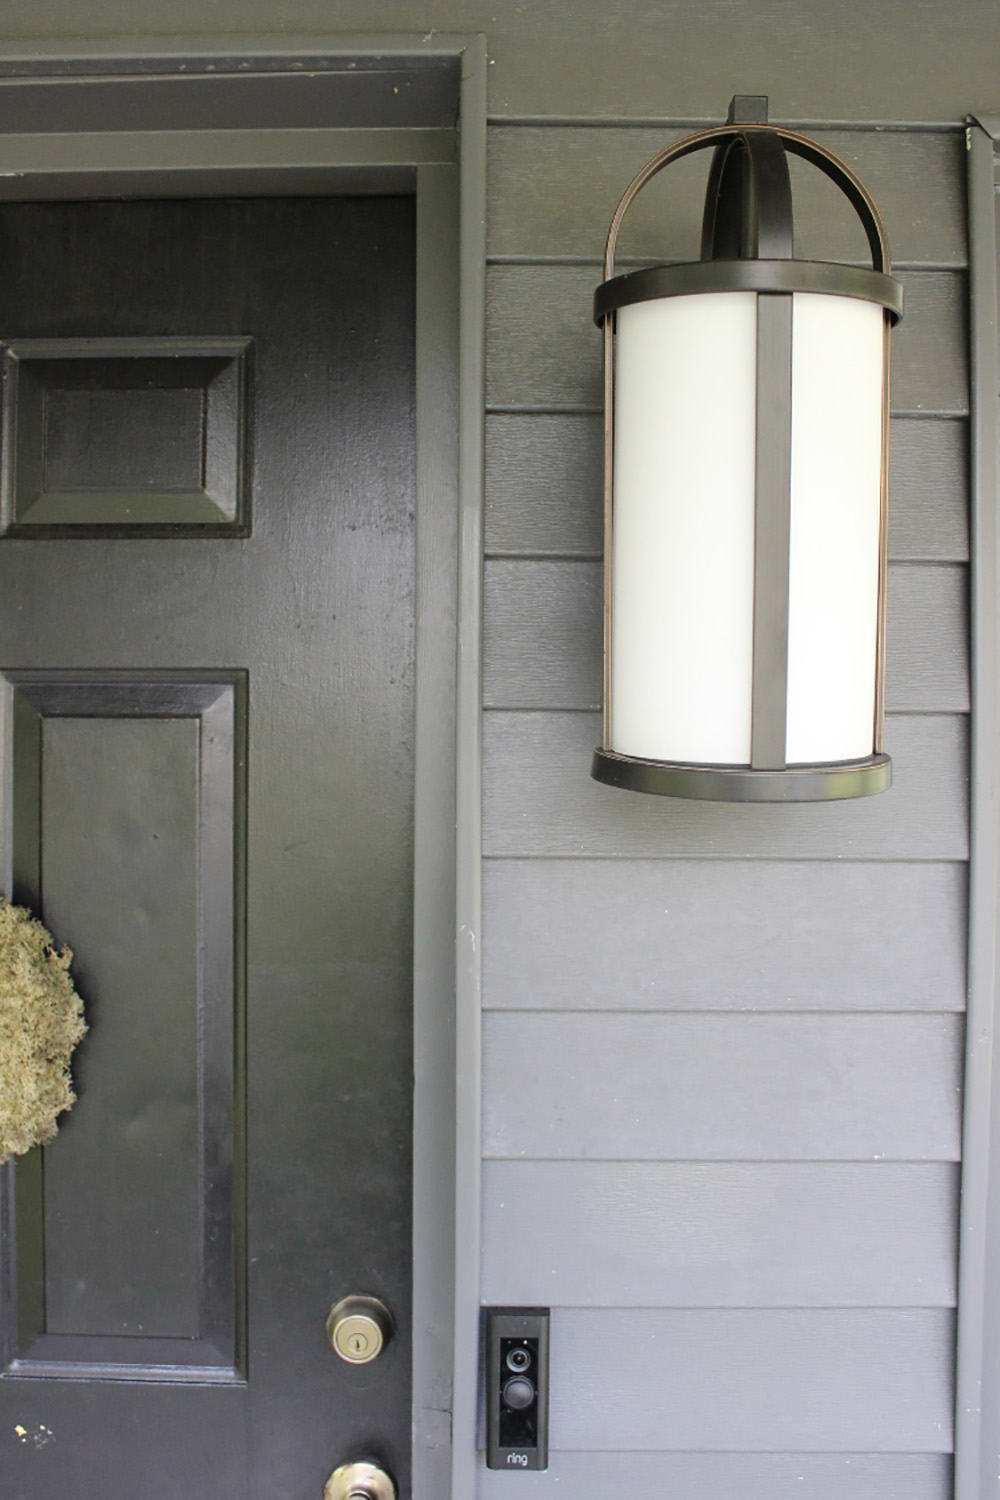
The porch light was a little small and basic. We replaced it with this antique bronze one for a modern meets traditional look.
Step 6: Paint the Porch
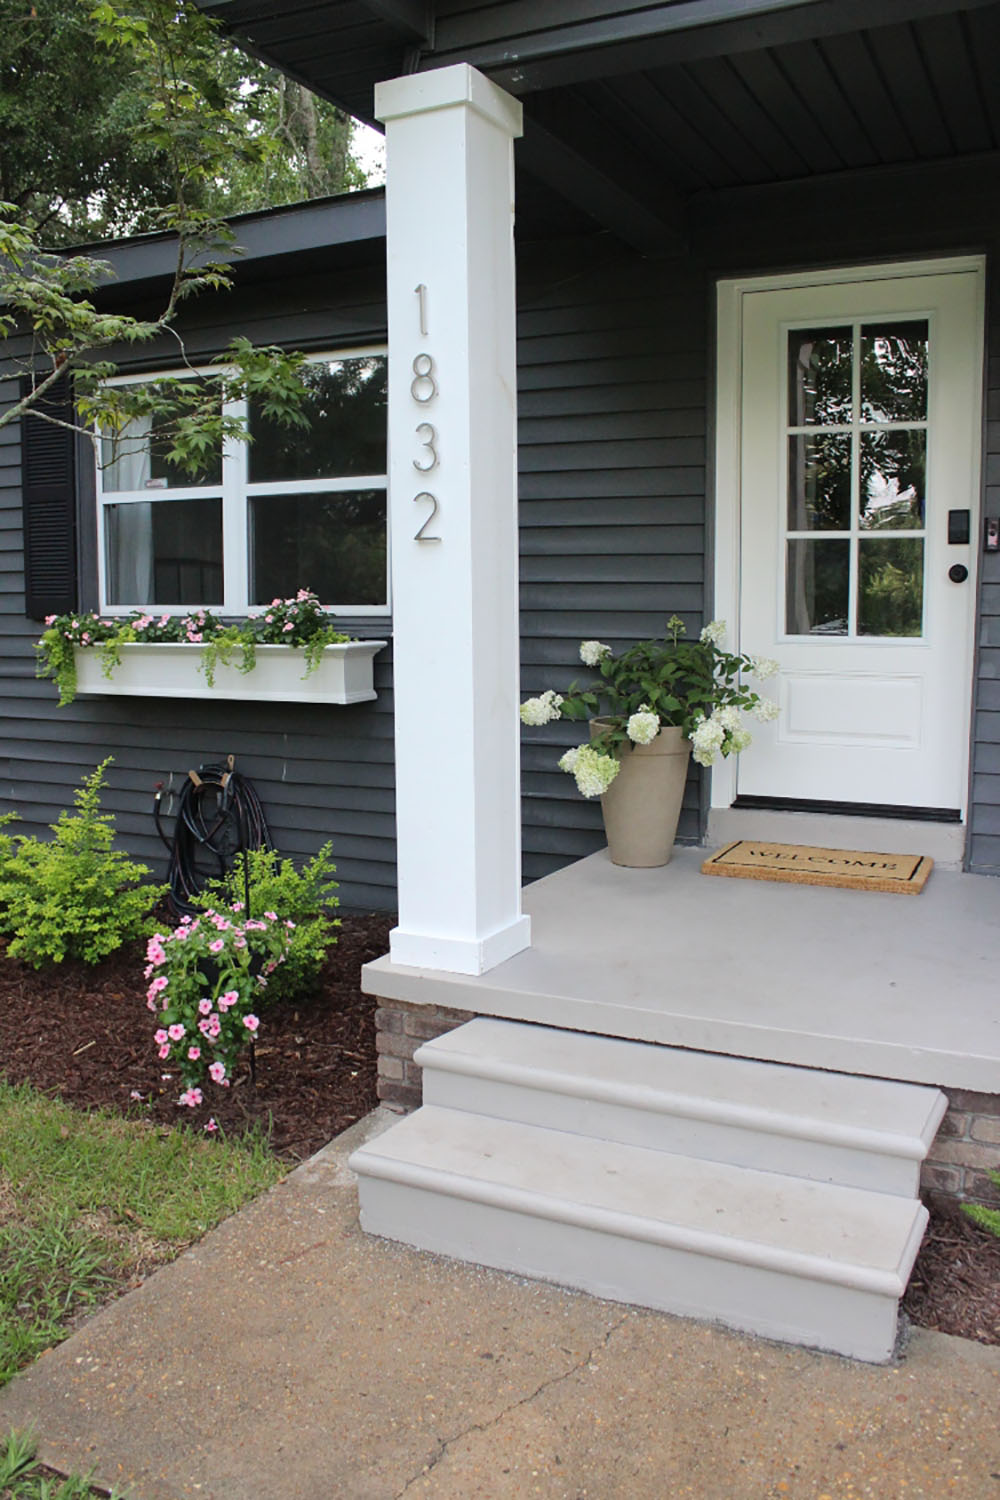
We used Behr porch and patio paint in the color Rustic Taupe to take it from a light blue to a neutral creamy greige.
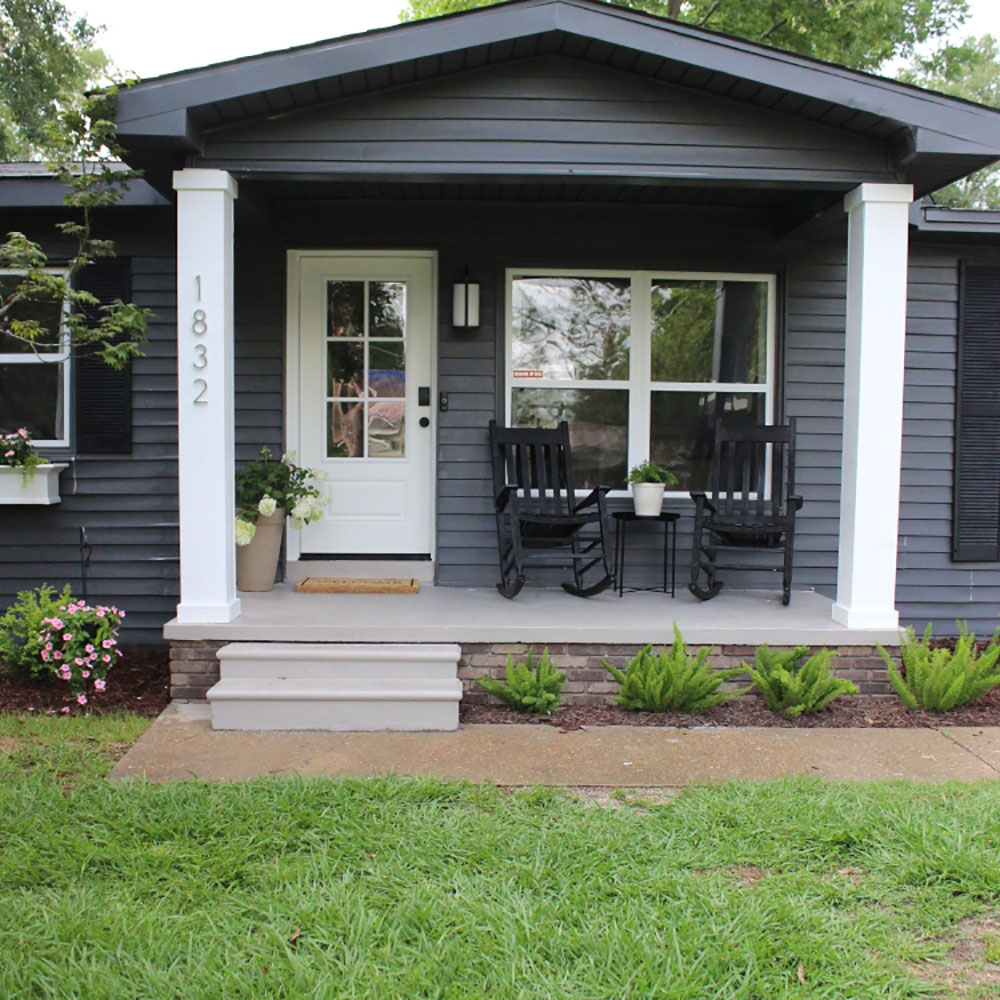
Step 7: New Columns and House Numbers
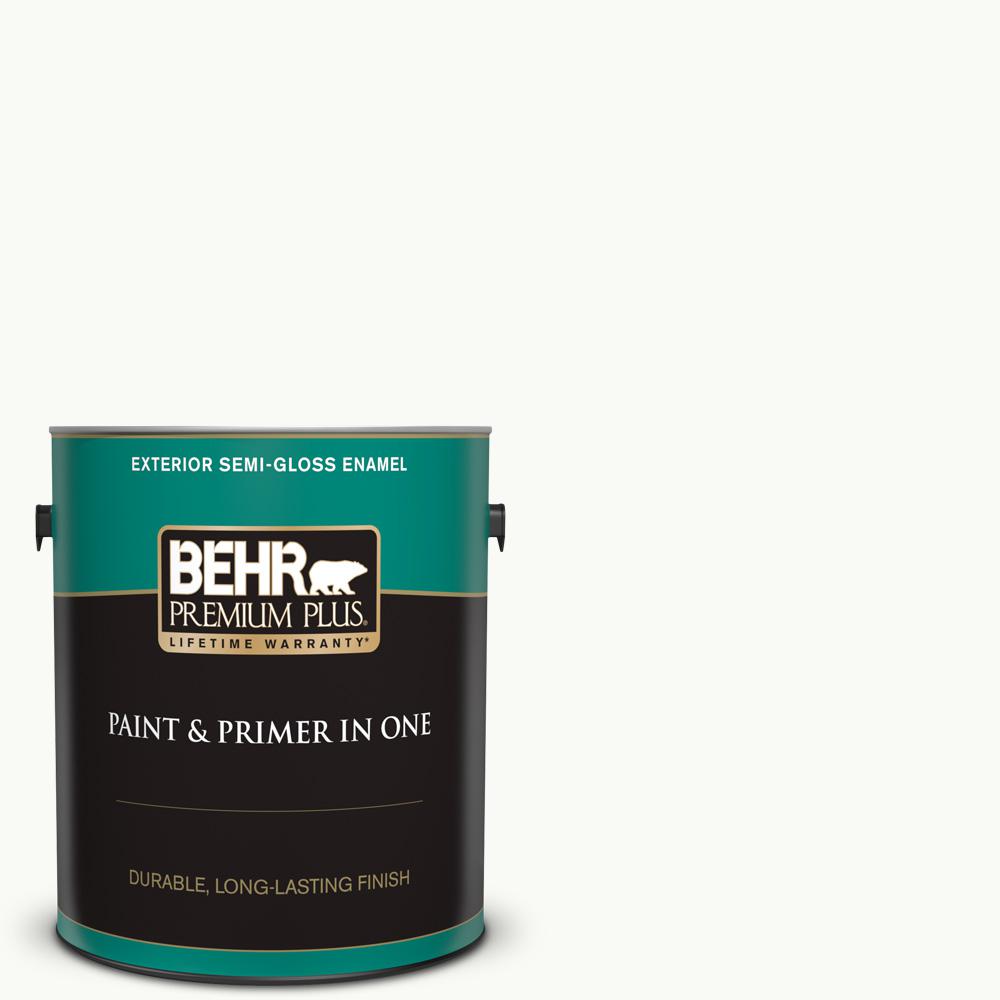
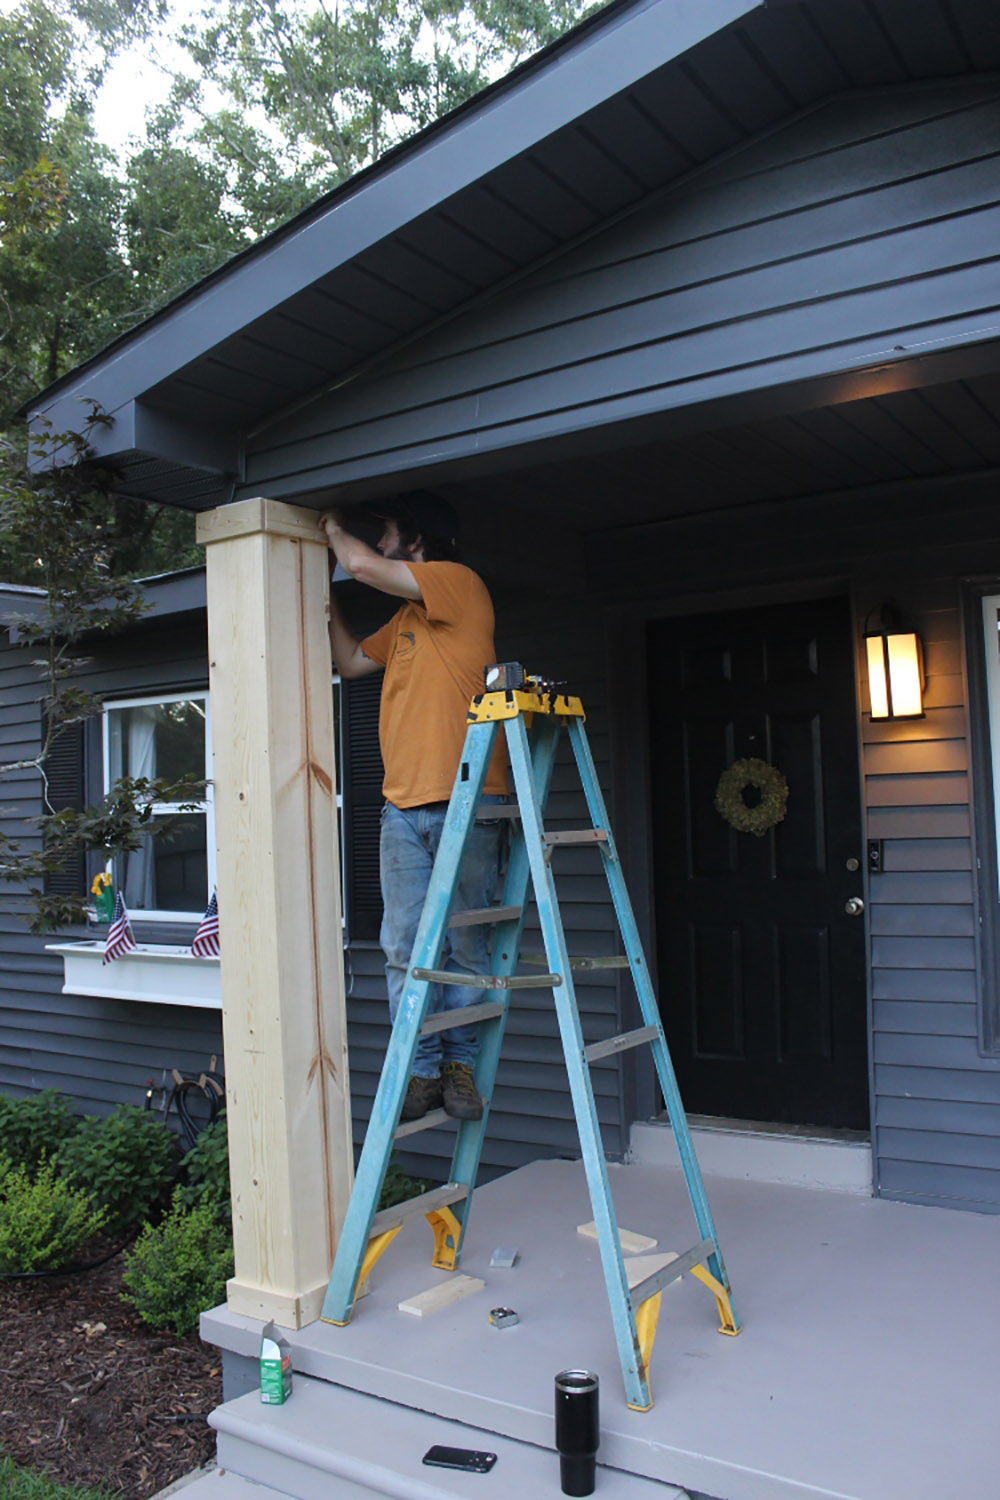
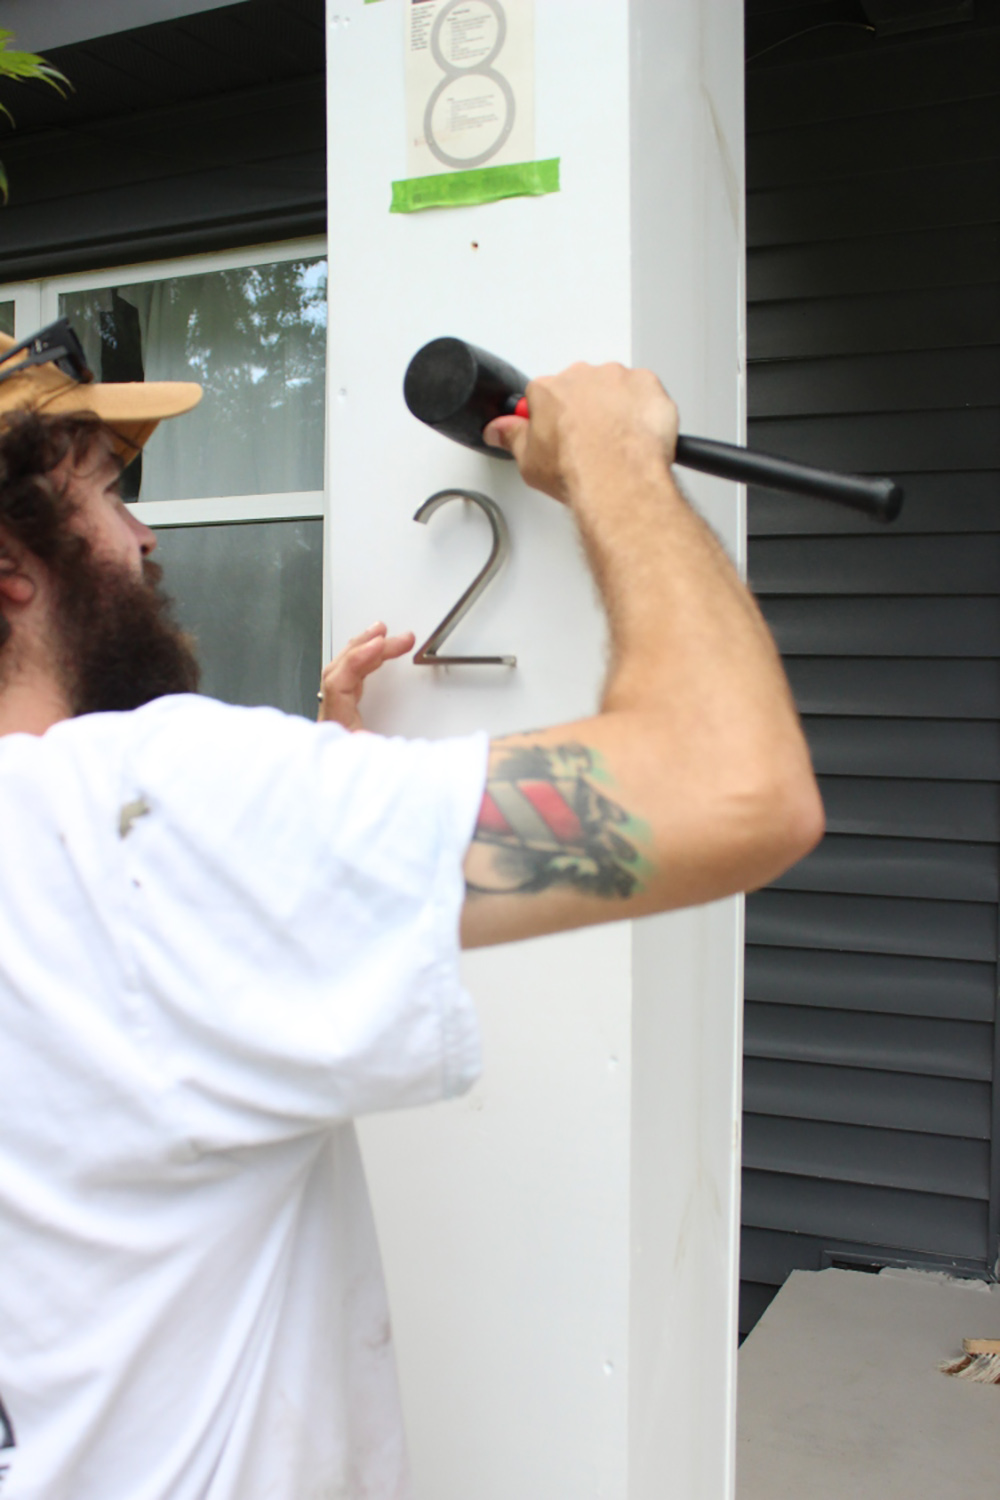
The Home Depot offers a great selection of already made columns. Originally, we had planned on using these but decided to DIY columns ourselves. We encased the existing columns using pine boards cut to size (ours are 7” wide), added trim around the top and bottom, and painted them white using Behr’s Ultra Pure White exterior paint in a satin finish! We used these floating house numbers to continue with the modern feel.
Step 8: Brick Accent
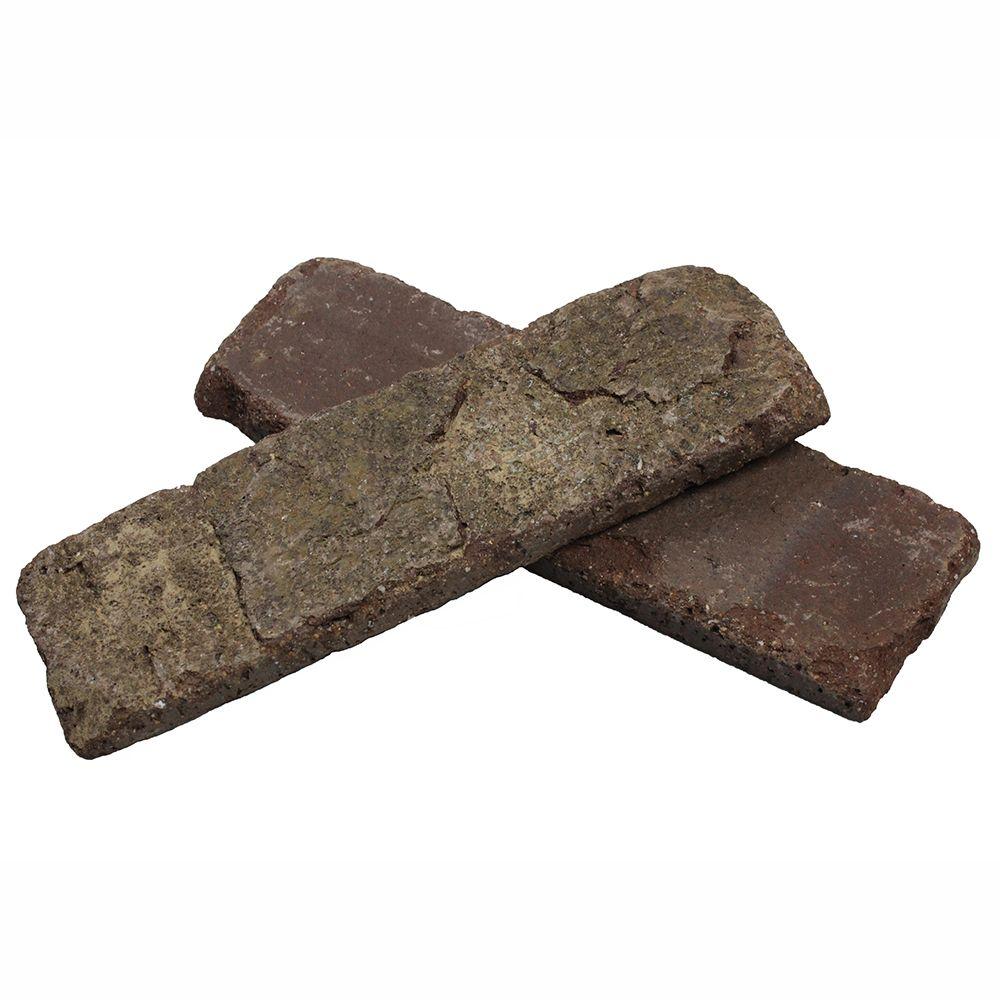
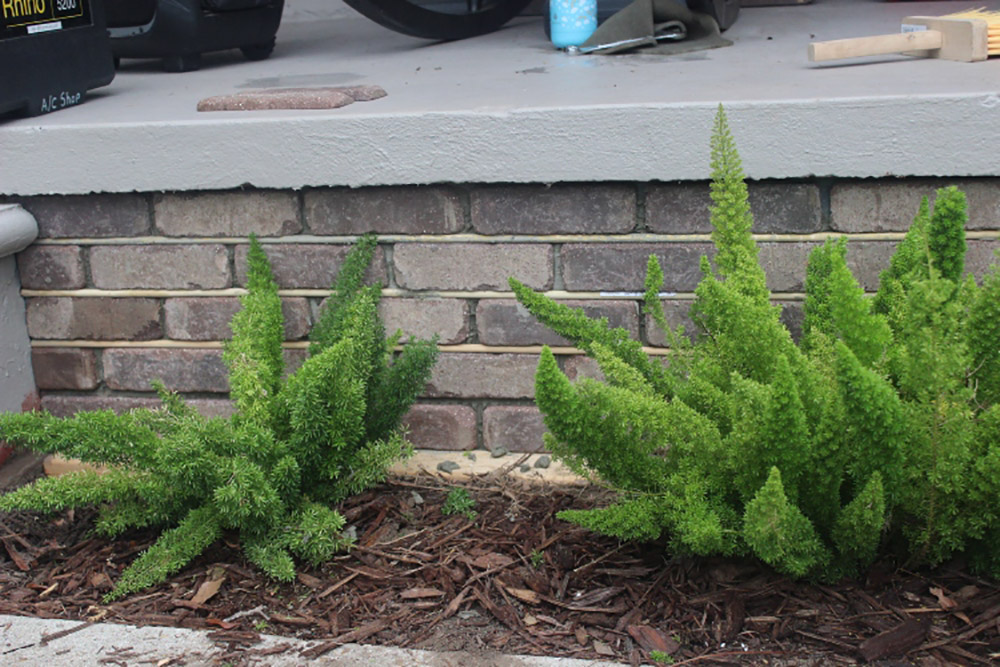
A lot of the houses on our street have some sort of brick siding/accent and I’d be lying if I said I weren’t just a little bit jealous. We added this thin brick around the base of our porch and I love it! We used the coordinating old mill adhesive (link). The brick was a little intimidating at first but if you’ve ever laid tile it’s the same process. We mixed the adhesive according to the instructions and used ¾” dowel rods as the spacers for the brick.
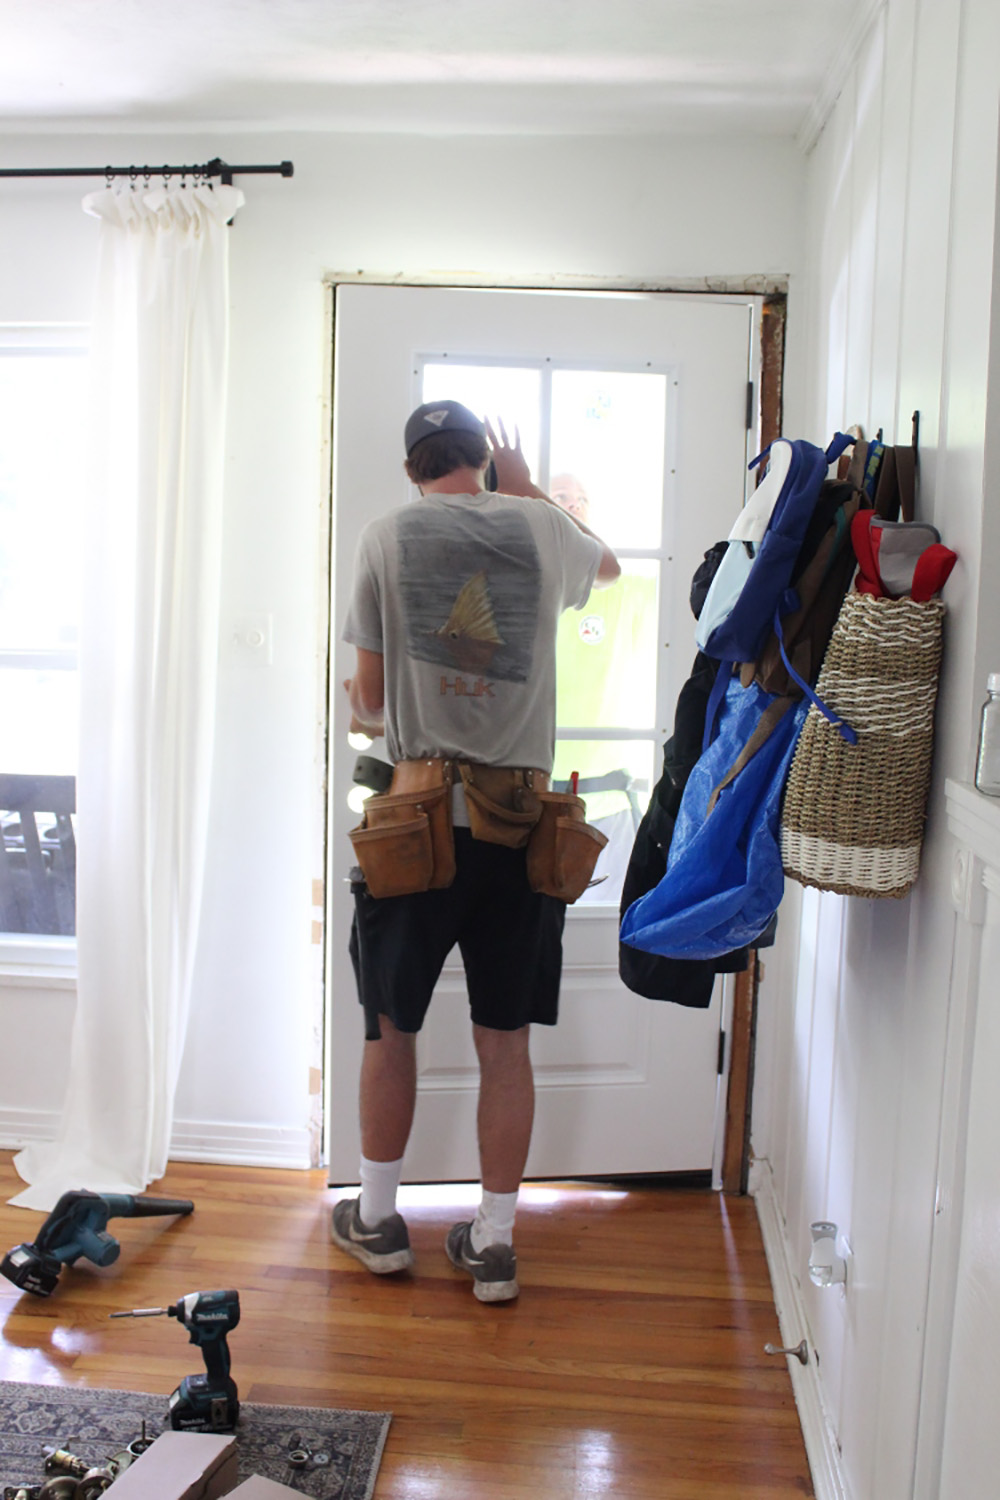
Step 9: New Custom Door and Hardware
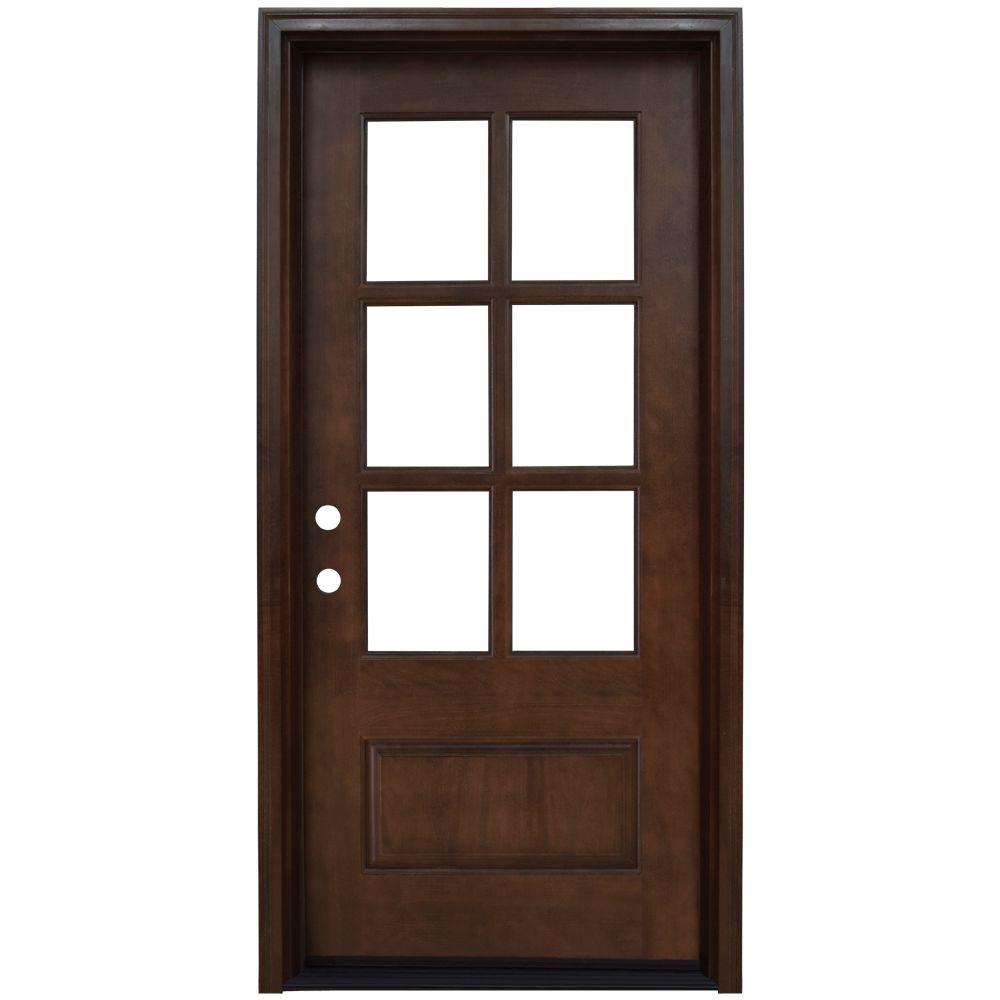
Did you know you can create a custom door at The Home Depot? We really loved this door, but due to restrictions, we were unable to have a wood door installed. So, we worked with a professional in store to customize a door that met local regulations but still had all the features of the door we originally loved! We were able to customize so many details, from glass type, number of panels, even the finish we wanted. They had a painted wood option that was very convincing, but we decided to go with white so we could paint it ourselves once we settle on a color.
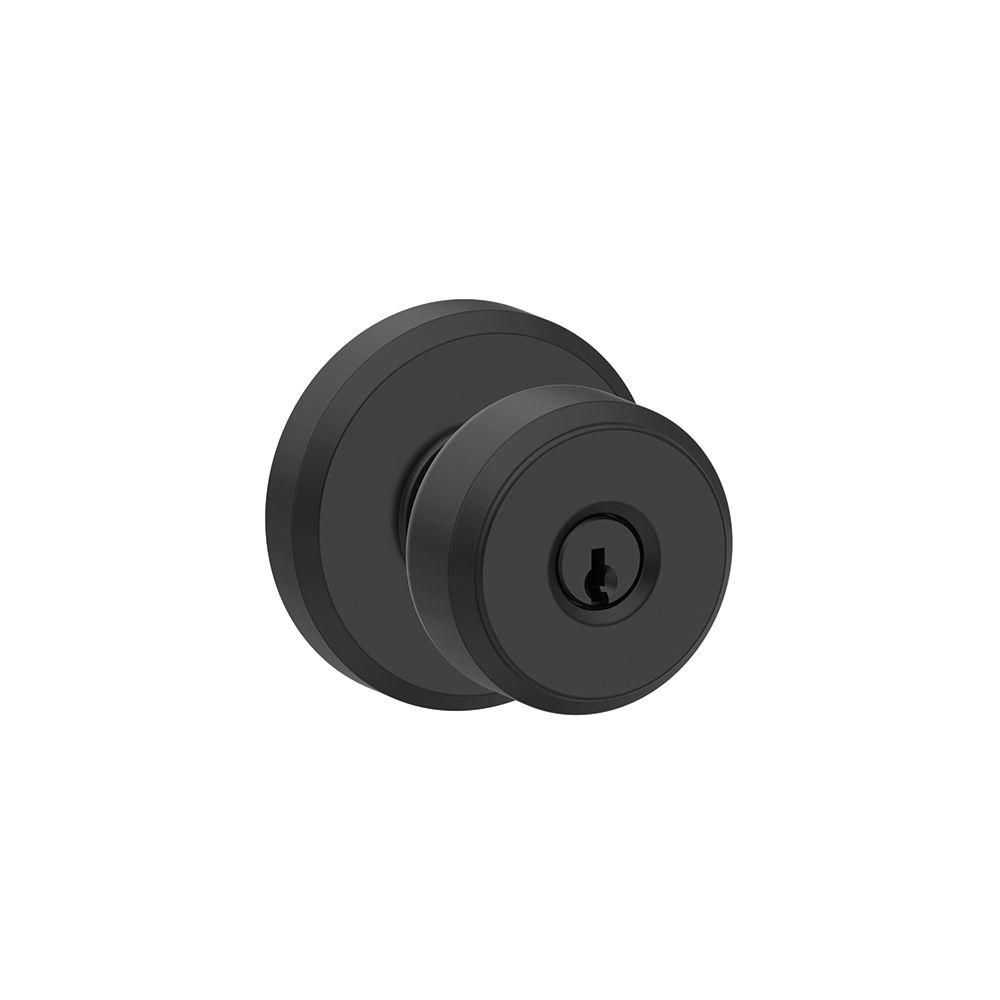
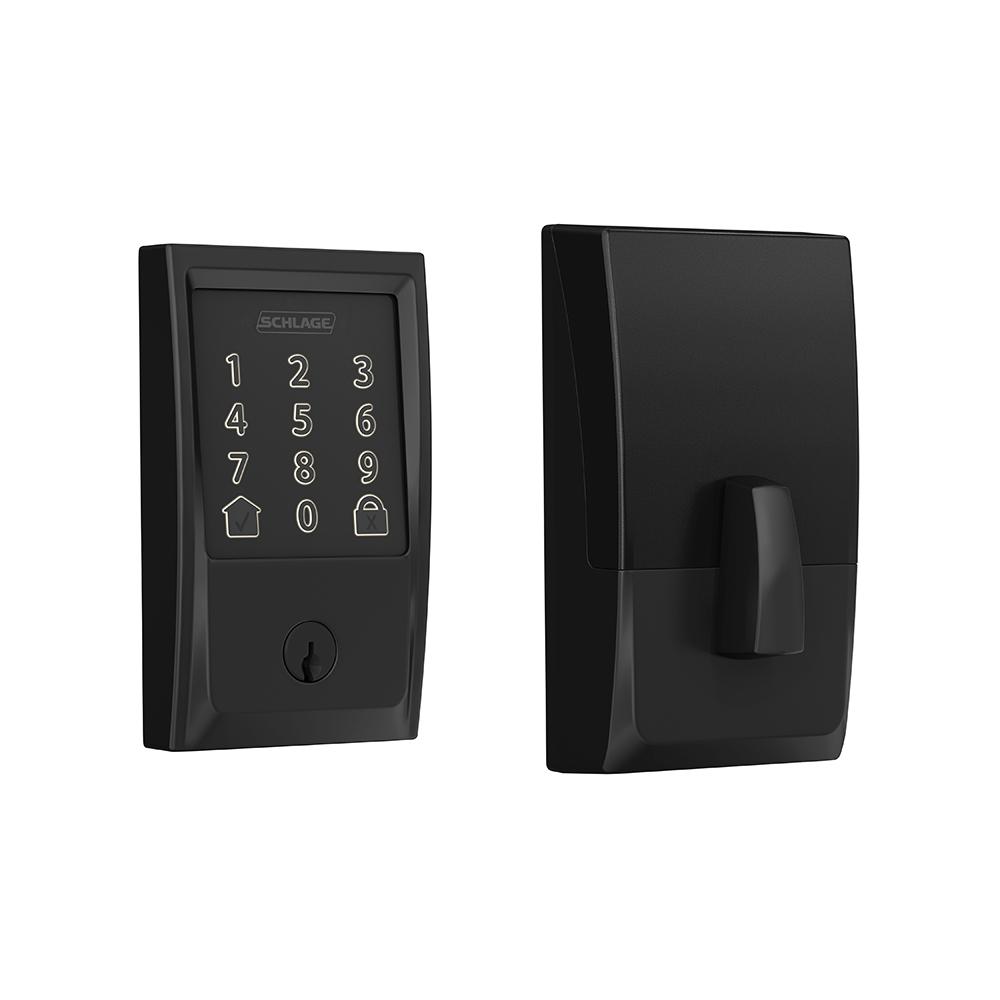
I was always under the impression that anything custom would never be in our budget, but we were actually able to order a custom door AND have The Home Depot install it for us for less than the price of the door we originally wanted. Say what? Highly recommend both the custom process and the installation process! We added a smart lock and knob in matte black to keep the modern elements going.
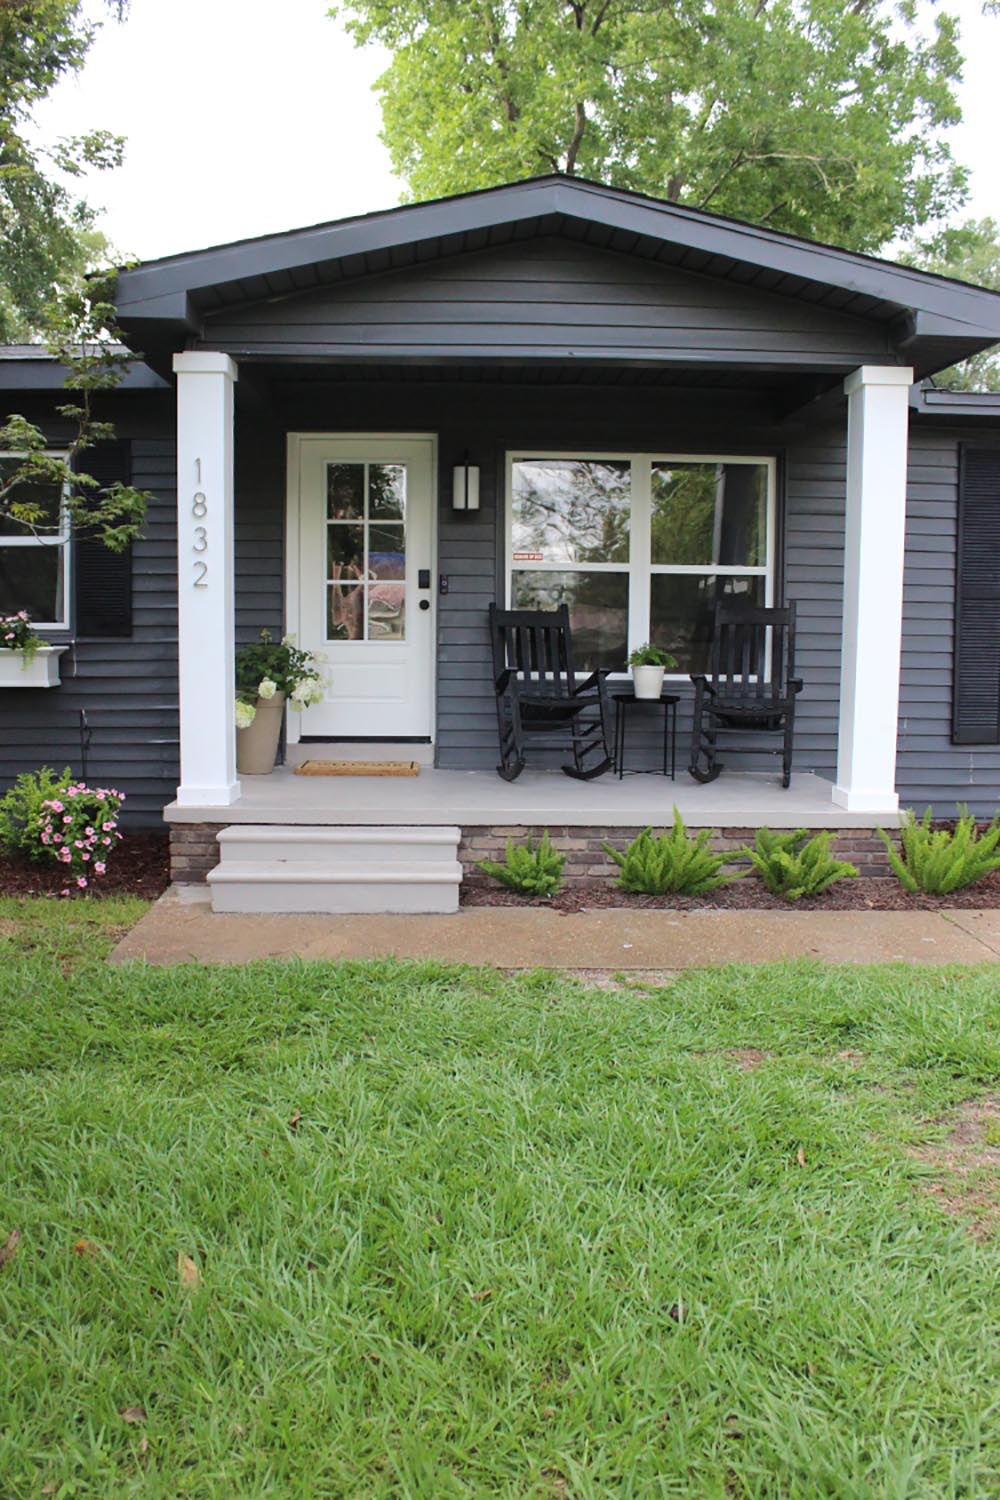
After
We are so happy with how everything turned out! I get a big smile on my face each time we pull into the driveway. The space truly feels like ours now! Thanks so much for reading! If you want to keep up with or never ending list of projects, follow along at AhoyNative on Instagram!

This post was created in partnership with The Home Depot. The author may have received compensation for this article and associated images or video, potentially in the form of products and/or services. All expressed opinions and experiences are the author’s own words.
