Knight of the Dragon Halloween Scene

Last updated August 21, 2024

Scott A. Stoll is a self-taught artist born and raised in the sleepy town of Reed City, Michigan. During his teenage years, he developed a deep passion for science fiction and horror. After graduating from Ferris State University with a B.A. in Television Production, he continued his love for the genres and started to play with papier mache as a means to create his own visions of all things fantastical. Today, Stoll is an award winning papier mache artist specializing in Halloween related subject matter and continues to push the boundaries of the papier mache medium. His work is typically characterized by the use of recycled and commonly found materials. In April 2013, he opened STOLLOWEEN Studio at 718 George Street in Midland, Michigan. The studio serves as his personal workshop and a classroom for those interested in learning a variety of papier mache techniques. Scott lives in Midland, Michigan with his wife and two sons and when not working still enjoys watching a good science fiction or horror movie.
A Note From The Home Depot
Having participated in six Halloween and Harvest Style Challenges, Scott of Stolloween is a Style Challenge expert. Follow along to see what new creations he came up with this year.
Table of Contents

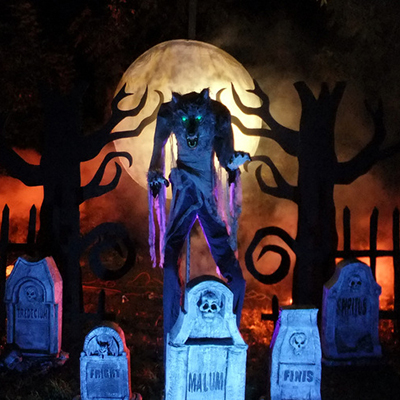
This is my sixth year participating and just as in the previous years it was a lot of hard work but also a lot of fun. The challenge this year involved a dragon and skeletal knights that all came together to create a colorful and whimsical medieval display.


I spent some time experimenting with an idea that had been swimming around in my head for almost a year. A week after making this miniature skeleton I set forth to make the patterns and templates that would be needed to build the full-size versions.


I reviewed the patterns that were created on newspaper, and once I determined that the size and shapes were correct, I transferred patterns to poster board. Each skeleton will be comprised from over 50 different plywood pieces. In addition to creating the patterns, I also experimented with some potential painting techniques using a sponge and stippling technique.

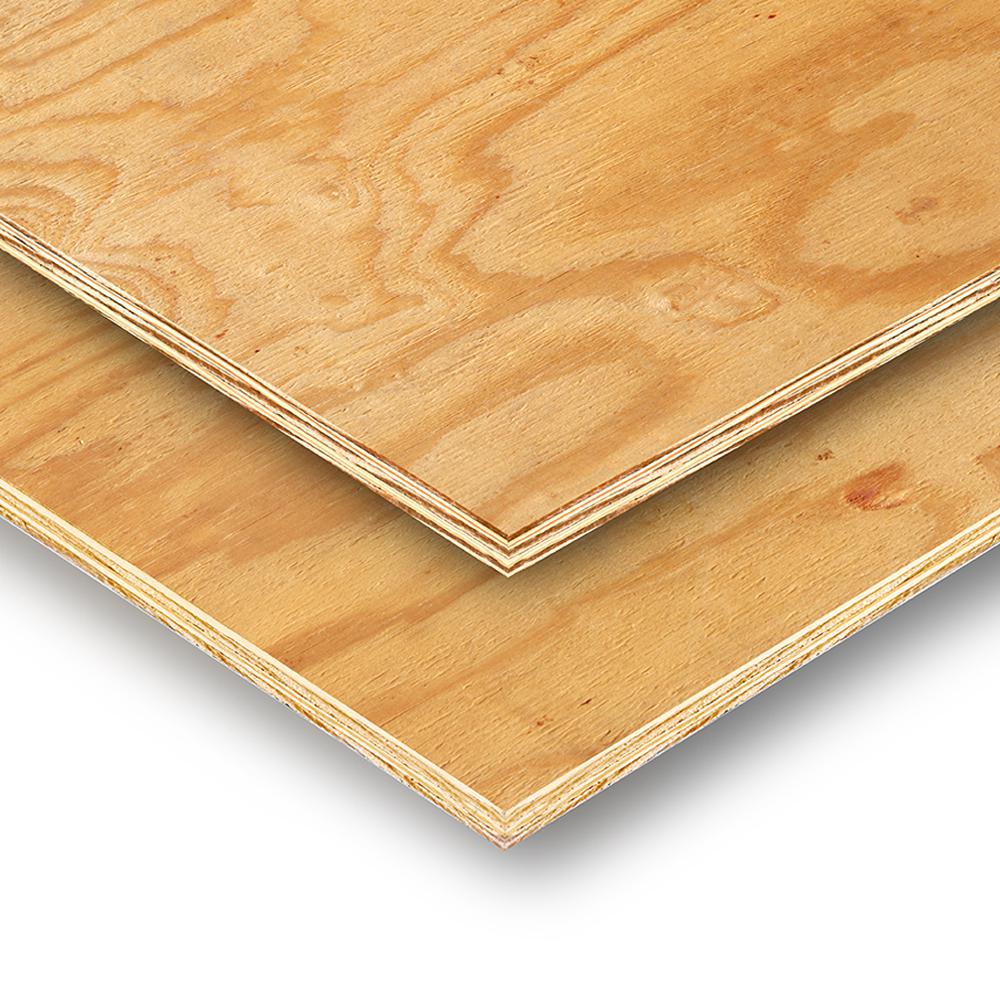
I went to Home Depot and purchased several sheets of 11/32nd inch plywood sheets along with saw blades, sandpaper and other miscellaneous materials needed to complete the skeletons. While I was in the store I also browsed the huge Halloween section and was pleased that once again Home Depot knocked it out of the park with great items.

Then, it was time to build these guys. The first step was to trace each piece needed onto the plywood sheets. Once everything was traced, I began to cut out each piece with a handheld jigsaw.


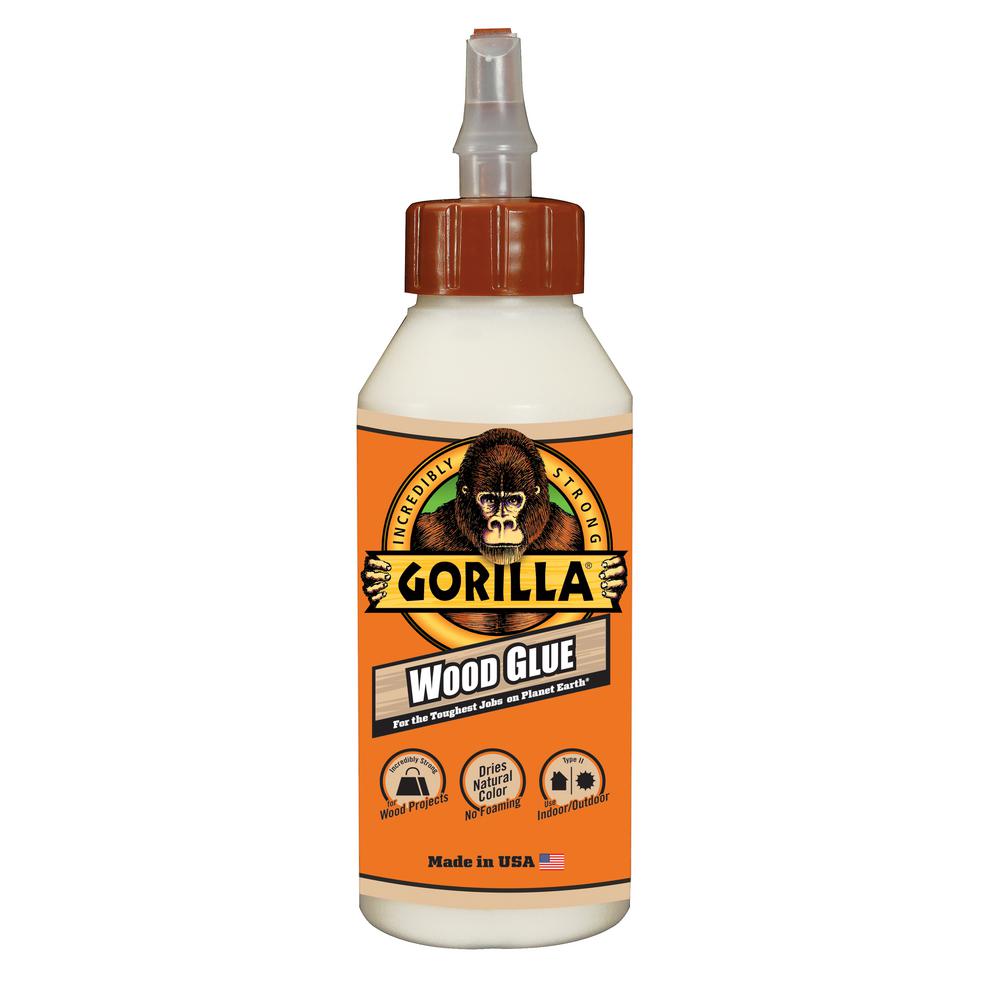
Each skeleton was assembled using Gorilla wood glue and a lot of clamps and weights during the drying process. The glue worked wonderfully. I used carriage bolts at each joint allowing each skeleton to be positioned as desired. This idea worked very well and allowed me to be flexible with the pose of each character.


Early one morning a freight delivery arrived at our house and after opening the box I was greeted with a gorgeous 69 inch Red Fire Dragon.

This Halloween decoration is probably one of the most impressive commercial pieces I have seen. In addition to the extreme size, it is beautifully textured and painted. Another great feature of this product is the ease with which it is assembled, simply slide and twist each piece and it is locked together. The dragon also includes a fog machine which allows it to breathe fire.


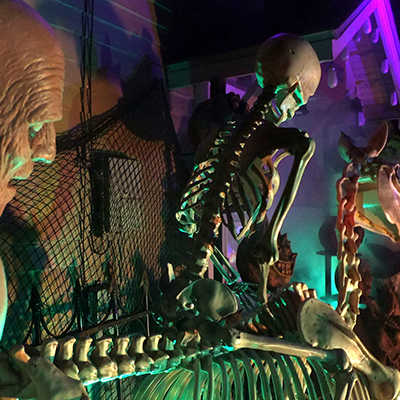
I painted each skeleton piece a neutral gray color. The base color allowed me to add highlight and shadows to each knight. Then, I applied the final paint technique which involved a combination of sponge and brush work to add a sense of dimension to the knights. This was probably my favorite part of the build because each dab of paint would bring them to life.


The dragon was assembled on top of a pallet and the knights were displayed on either side of the dragon.
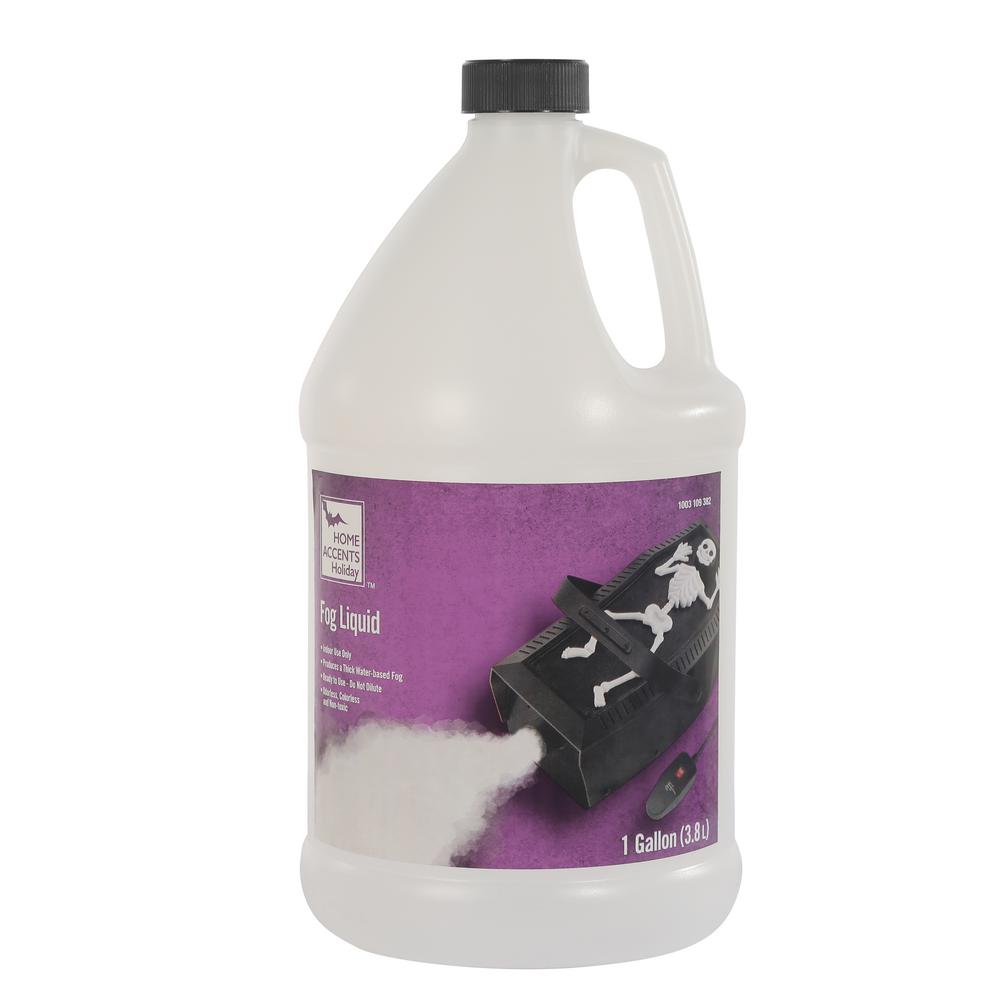
Two bales of straw were positioned in front of the pallet and three papier mache pumpkins that I created were placed in front of the dragon to make everything a little bit more Halloween. In addition to the dragon and knights, I needed power cords, lights, bulbs and fog fluid.


Lighting consisted of two blue LED flood lights to illuminate the knights, and a clear flood for the dragon. The two trees were lit with red LED flood lights and a black light spotlight was used behind the dragon to highlight the dragon’s texture.

Finally the fog machine was hooked up and blue LED flood lights were draped onto the ground to add a bit of visual interest in the dark. I will let the photos speak for themselves.


This animated dragon is a winner, and everyone who saw it in my studio was blown away.
Thank you to Home Depot for inviting me once again to participate in the challenge and as always it was a fun collaborative experience. Wishing everyone a safe and happy Halloween!
Find more Halloween and Harvest decor at the Home Depot.
This post was created in partnership with The Home Depot. The author may have received compensation for this article and associated images or video, potentially in the form of products and/or services. All expressed opinions and experiences are the author’s own words.