How To Install a Shower Pan

Last updated April 30, 2025
To ensure your shower is water-tight, whether it’s a new plumbing installation or you’re looking to upgrade your current shower, consider a new shower pan. While it is possible to create a shower floor using a pan liner and tile, a ready-made shower pan makes shower installation easier. Ready-made shower pans are typically made of acrylic, fiberglass or composites. With so many options available, you are sure to find the size and style of shower pan that fits your bathroom. This guide teaches you how to install a shower pan, including floor prep, installing a shower base and compression shower drain assembly.
Difficulty:
Advanced
Duration:
Over 1 day
Table of Contents
Test-Fit the Shower Pan
Prepare the Subfloor
Install the Shower Drain Flange
Secure the Shower Pan
Attach Gasket and Drain Screen
Test for Leaks
Test-Fit the Shower Pan
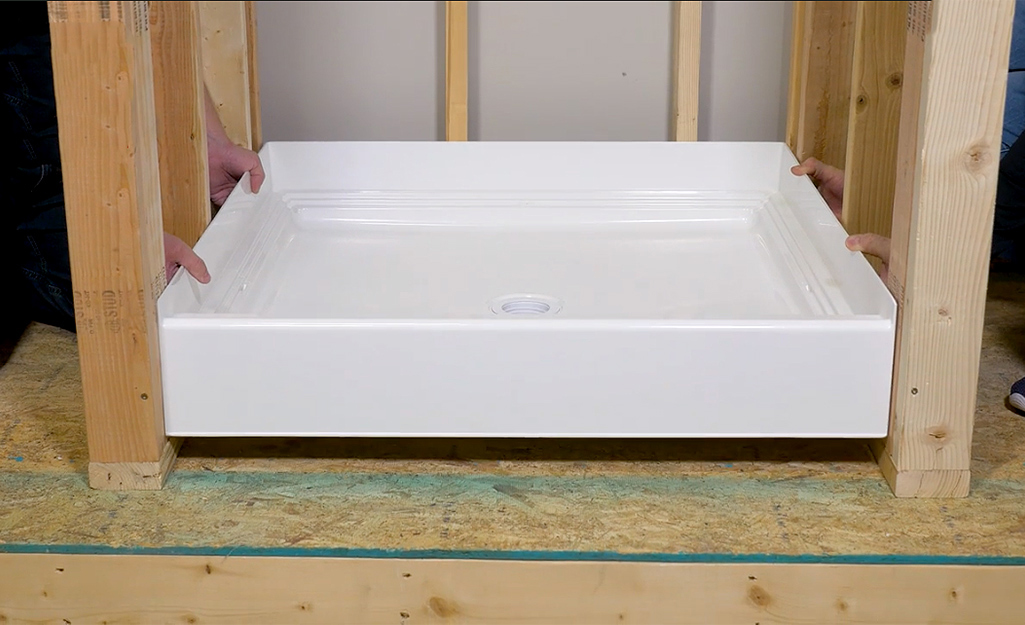
- Dry-fit the shower pan in the opening. Draw a line onto the subfloor along the edge of the shower pan; this line will be referenced later.
- Drill 3/16-inch holes in the flange at each stud location.
- Check to see if the shower drain hole lines up with the existing shower drain. If the hole does not align, trace the hole location onto the substrate and remove the shower pan.
- Using a jigsaw or circular saw, cut a hole in the subfloor for the shower drain pipe. The size of this hole typically shouldn’t exceed 5 inches, but check with the shower pan manufacturer’s specifications.
- Relocate the P-trap for the shower drain and pipe as necessary from below so that the waste pipe extends approximately 1 3/4-inch above the subfloor (this distance will be specified in the manufacturer’s instructions).
Tip: Make sure you have a helper with you to complete this step.
Prepare the Subfloor
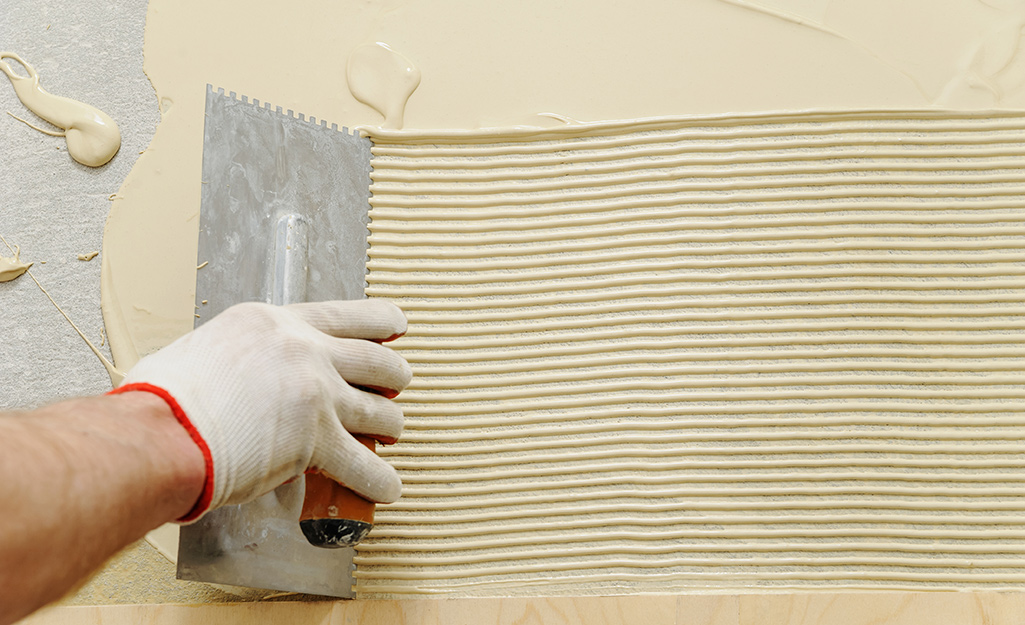
- The entire bottom of the shower pan needs to sit on a flat, level surface. Check the subfloor area from left to right and from front to back to make sure it's level.
- If the subfloor is completely flat and level, proceed to step 3.
- If the subfloor is not flat and level, apply a self-leveling compound following the manufacturer’s instructions. Be sure to use a self-leveling compound that adheres to the substrate you are installing it over (OSB, cement board, plywood, etc).
- Run the self-leveling compound up to the line you drew in step 1. Screw a piece of 1x2 along the line to act as a dam if necessary. This will keep the self-leveling compound contained within the shower pan area.
- Allow the self-leveling compound to cure per manufacturer’s instructions.
Install the Shower Drain Flange
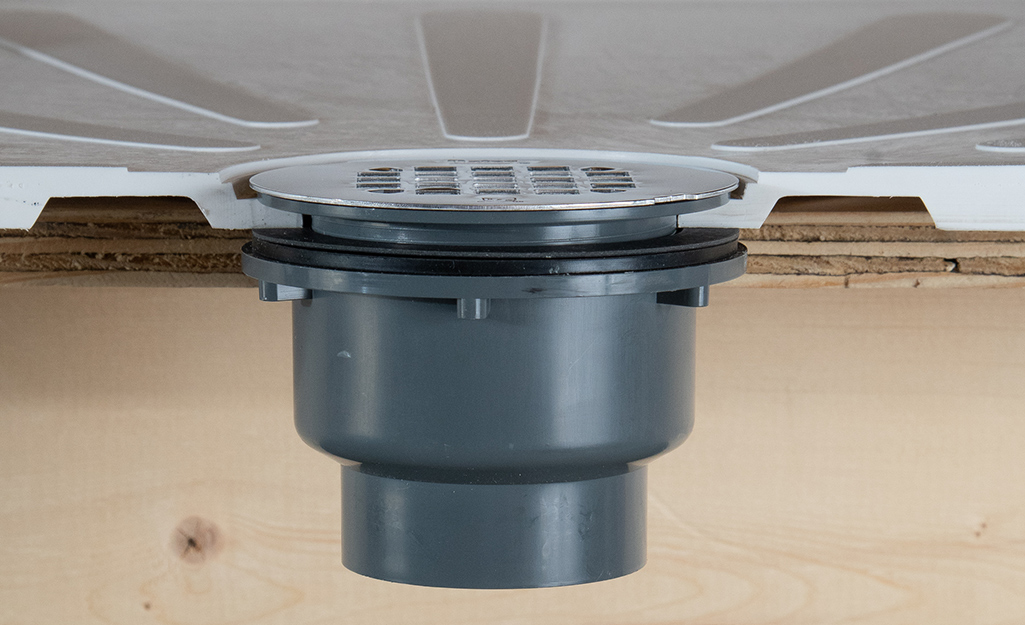
- Test-fit the shower drain flange, also known as the “drain basket” or “drain body,” to ensure it fits flush with the shower base.
- Line the underside of the shower drain flange’s rim with latex/acrylic or silicone caulk, per manufacturer’s instructions. In some cases, plumber’s putty - a commonly used drain flange sealant - will degrade the shower pan material, so be sure to check the manufacturer’s instructions carefully here.
- Place the flange through the top side of the shower pan and press down as far as you can without twisting so that the excess caulk squeezes out.
- Wipe away excess caulk before it dries using an old cloth or paper towel.
- On the underside of the shower pan, put the rubber washer around the threads of the flange and against the bottom of the shower pan.
- Next, put the friction washer (which looks like a cardboard version of the rubber washer) on the threads of the flange.
- Screw the locking ring onto the threads of the flange, tightening the gasket and friction washer between it and the bottom of the shower pan. Use adjustable pliers to tighten if needed.
Secure the Shower Pan
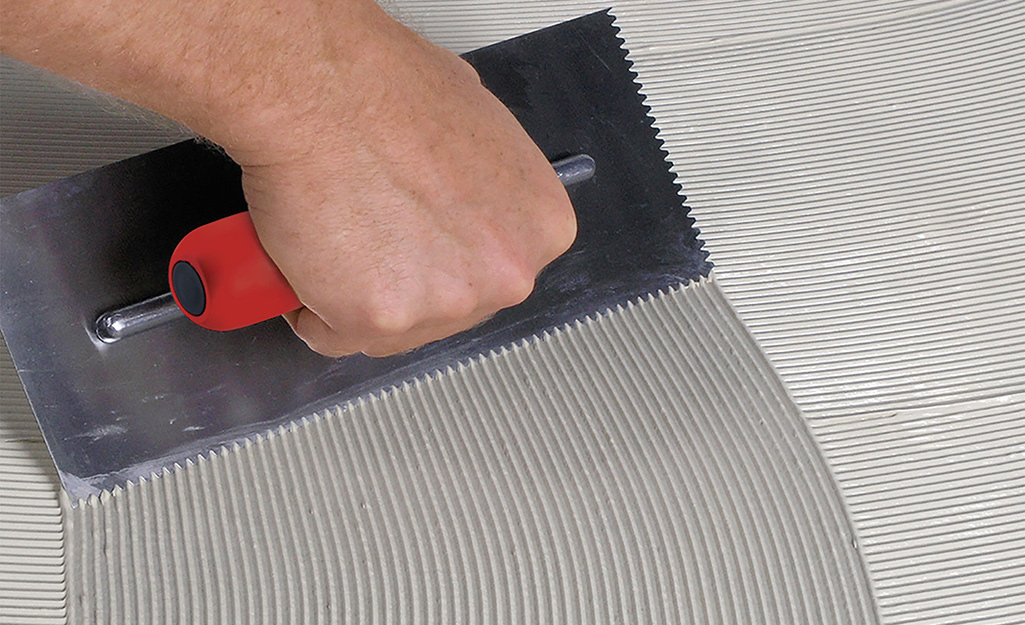
- When replacing a shower pan, some shower pan manufacturers call for the shower pan to sit directly in an adhesive or into small mounds of mortar.
- If adhesive is called for, spread it within the area where the shower pan will sit.
- If mounds of mortar are called for, mark the locations on the subfloor per the manufacturer’s instructions. Then position mounds of mortar on the marks.
- Position the shower base in the area, placing it onto the adhesive or mortar, and press firmly in place.
- Adjust the shower pan until it is level in all directions.
- Place cardboard or another material into the shower pan base to protect its surface.
- Screw the shower pan rim into the wall studs using 1 1/4-inch exterior-grade screws through the pre-drilled holes.
Attach Gasket and Drain Screen
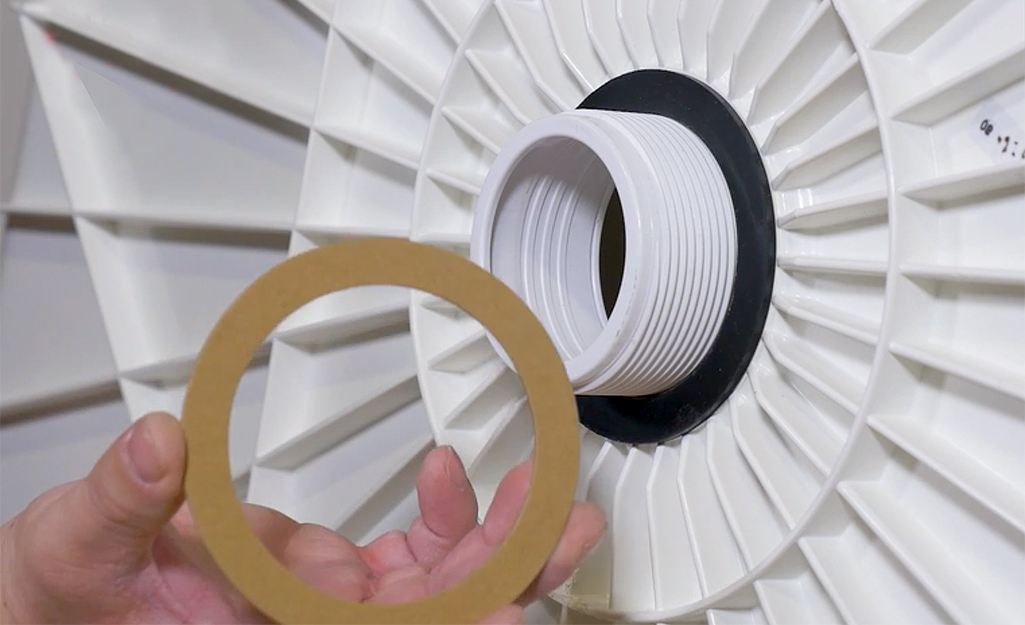
- Place the rubber drainpipe gasket over the drainpipe coming up through the shower drain flange.
- Thread the gasket setscrew over the rubber gasket.
- Tighten with the included tool and a screwdriver until secure.
- Screw or snap the shower drain screen into place over the flange so that it sits flush with the shower pan base.
Test for Leaks

- Allow the thinset mortar or adhesive to dry fully per the manufacturer’s instructions.
- Test the pan and shower drain connection for leaks as well as in and around the shower stall. Get an inspection if needed.
Once you’ve installed the shower pan and made sure there are no leaks, you’re ready to move on to installing the shower walls. Need help identifying a tool or material for installing a shower pan? Find products fast with image search in The Home Depot app. Snap a picture of an item you like and we'll show you similar products. Need a hand getting figuring out how to install a shower pan? Let our bathroom installation services help.


