How to Install Heated Floors

Last updated August 7, 2024
Instead of blowing hot air through a vent or pumping hot water to a baseboard radiator along the wall, in-floor radiant heat warms up the entire floor. The heat is made possible in two ways: either through pipes or tubing carrying hot water embedded in or directly below the floor, or via electric mats embedded in the floor.
This guide will show you how to install heated floors and covers the basic steps for installing electric mat radiant floor heat.
Difficulty:
Advanced
Duration:
Over 1 day
Table of Contents
Radiant Heat Options
Where to Install
Choosing the Right Flooring Materials
Installing Underfloor Electric Radiant Heat
Inspect and Test the Mat
Rough-In the Electrical
Radiant Heat Options

Radiant heat supplied by hot water is called hydronic heating. Hot water is the standard for larger installations. It is generally more economical than electric heating. Because the flow of water can be minutely controlled, this system provides heat in the right amount exactly when and where you need it.
A hydronic radiant floor is no less complicated than a zoned-baseboard heat system. It uses a boiler heated by gas, oil or electricity. It requires valves and manifolds to distribute the water and sophisticated thermostats to control the heat.
For underfloor warming, electric radiant floor heat systems are installed directly over subflooring before the finished flooring. They are meant to be used as supplemental heat, so they are a good option for retrofits. Some wires are designed to double as thermostats, simplifying installation. You do not need to buy a separate furnace, so the initial cost is lower, and no pipes will freeze or spring leaks.
Electric radiant floor heat does require some planning and running a new circuit from the electric panel. If you are not comfortable adding a new circuit from the electric panel, hire an electrician to perform that task.
Where to Install

Radiant heat options can be installed above or below the subfloor, depending on the type. Electric radiant floor heat is installed over the subfloor, so the heat source is heating up the flooring and not the subfloor. It’s often done as a retrofit. Hydronic radiant heat systems can be installed either above or below the subfloor, including installing it directly onto exposed joints on the lower level of a house. It can be a retrofit as well, but it’s often part of the initial build.
Note: Any retrofitting can raise the floor an inch or so, depending on the manufacturer, so be sure to plan for the thickness increase at door transitions and around appliances.
Choosing the Right Flooring Materials

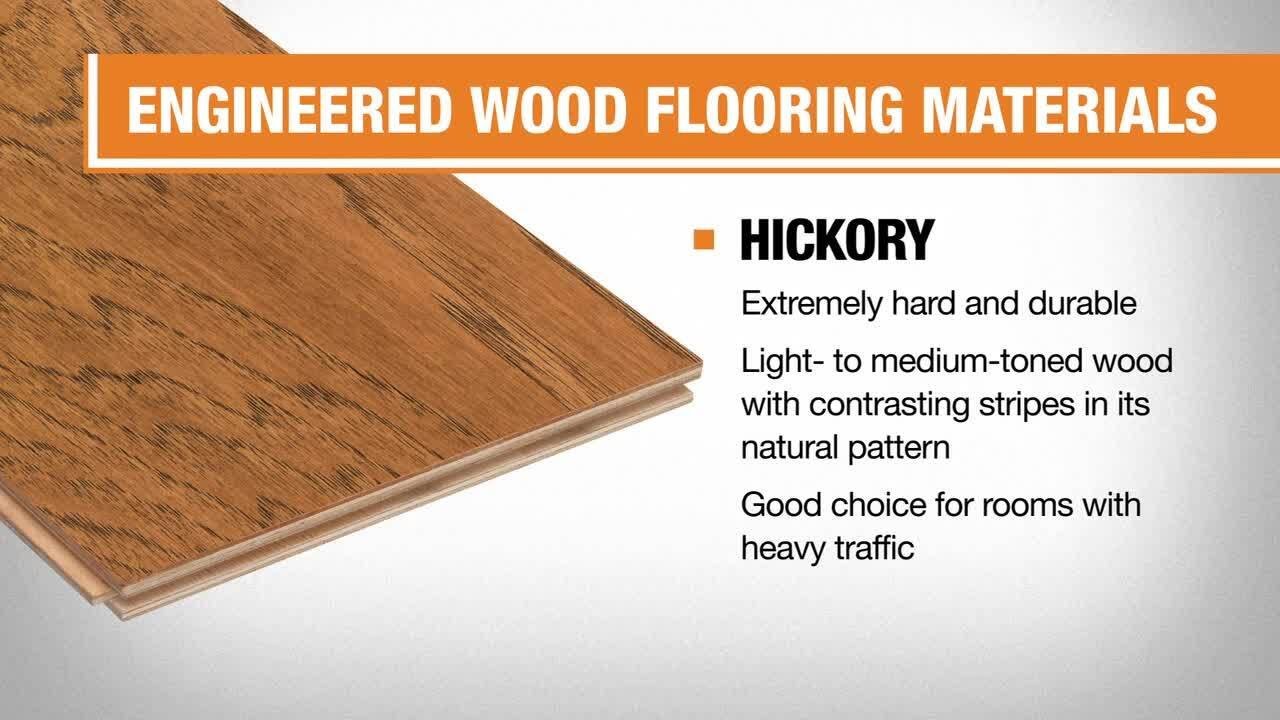
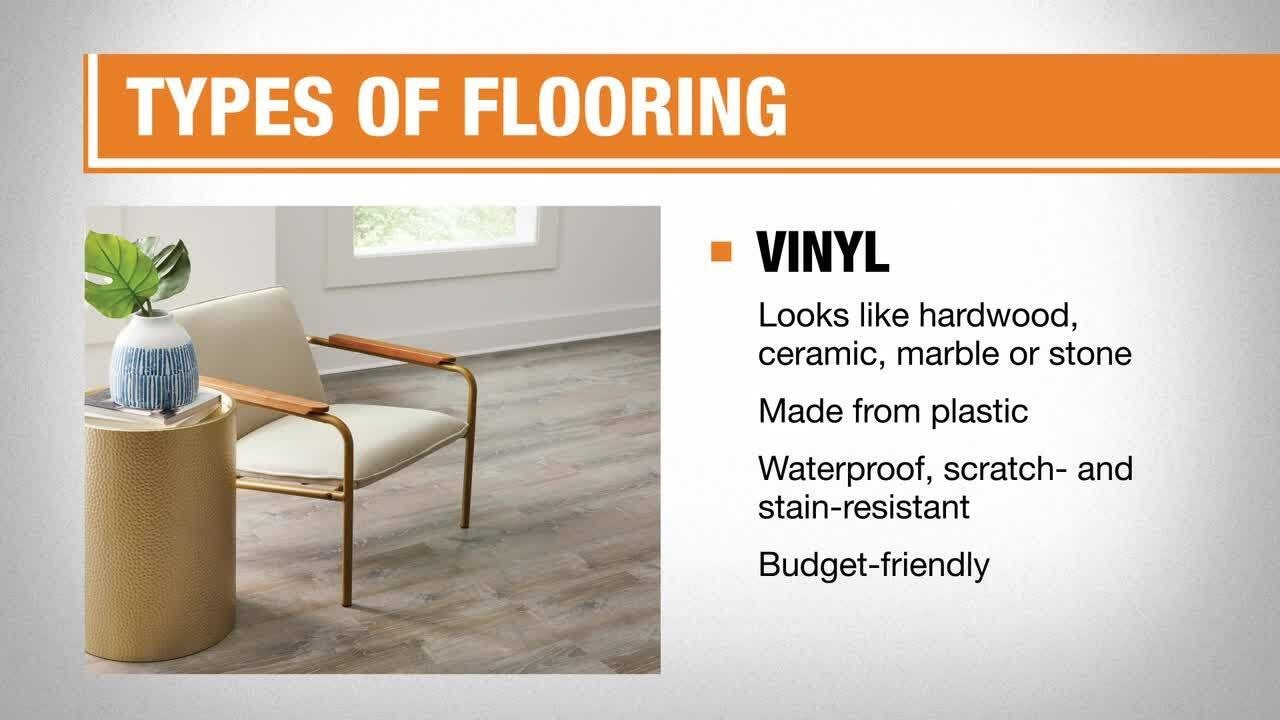
Electric radiant heating works best under tile floors. DIY radiant floor heating can be installed under vinyl, engineered flooring and wood floors as well. Be sure to read the manufacturer’s guidelines. Its success with carpeted floors depends on the length of the weave. Thick carpets or those with thick pads won’t work well because heat generated by the system will stay trapped in the floor.
Heated flooring installation is often done in bathrooms, bedrooms and kitchens. All three usually have ideal flooring for radiant heat.
Besides feeling nice when waking up to a room with a chilly floor, heated floors help in other ways. For small rooms like bathrooms, it helps heat the room more evenly. For bedrooms, this heating method is quiet, and allergens aren’t stirred up by blowing air. Kitchens also benefit from not having dust and debris blown around while cooking. Overall, using heated floors in a few rooms can reduce the amount of energy needed to heat your home overall.
Installing Underfloor Electric Radiant Heat

There are two basic types of electric radiant heat options: loose cable and mats embedded with cable. Loose cable systems come in spooled cable that are pre-cut from the factory. Lengths vary based on the square footage they cover. Installing loose cable systems can be tricky. While the cable can be routed in a variety of configurations, attaching it to the subfloor requires care and attention.
Mats, however, are easy to install and wire. They are comprised of mesh or fiber mats with cable embedded in them. They can be attached through the mat and not the wire, making them easier to run. Both loose cable and mats made for above-the-floor installation need to be covered with a layer of mortar for protection.
Before installing in-floor heating, check with an electrician to be sure your existing electrical system can handle the new circuit, if it needs one. In general, you will need between 8 and 12 watts per square foot of heated floor.
Inspect and Test the Mat

- Inspect the mat, control and sensor for any visible damage.
- Use a digital multimeter to measure the resistance between the conductors of the mat power leads per the manufacturer’s instructions and specifications.
Rough-In the Electrical

- Be sure to refer to all local building and electrical codes prior to heated floor installation.
- Depending on the manufacturer’s specifications, it may be necessary to run a dedicated electrical circuit to power the electric radiant heating system. Some systems can be run off an existing circuit if there is adequate power available.
- Some electric radiant systems have integral GFCI protection, others require GFCI or AFCI protection from circuit breaker.
- Install an electrical box for the system control unit (on/off switch, thermostat, or timer).
- Drill holes in the bottom plate per the manufacturer’s instructions. Typically, this will mean drilling two holes into the bottom plate directly below the system control box. One hole will be used for the power lead from the mesh, and the other will be for the thermostat sensor.
- Install the appropriate 12 or 14 AWG feed wire from the breaker or circuit you are tapping for power to the electrical box.
Install the Mat

- As you continue installing in floor heating, sweep or vacuum the subfloor so that it is free of all dirt and debris. Inspect the subfloor to make sure there are no screws, nails or other items that may damage the cable.
- Place the mat on the floor so that the power lead can reach the electrical box.
- Next, test fit the mat. Roll out the mat, flipping it over itself to turn as needed.
- It is important to note that the heating wire cannot be cut, and it cannot be routed into the wall, under baseboards, etc. – all heating wire has to be embedded in the floor mortar.
- Refer to the manufacturer’s guidelines for exact routing guidance for the mat. Typically, this will include keeping it 4”-6” away from walls, showers, tubs, etc. – and 6” away from the toilet wax ring. Be sure the heating wire will not end up under any finish trim like door casings or baseboards.
- Secure the mat to the floor using double sided tape, hot glue, or pneumatic staples. If using staples, be sure to stay more than 1/4-inch from the heating wire.
- Repeat step 1 above using a digital multimeter to measure the resistance between the conductors.
- Feed the power lead and temperature sensor wire to the electrical box. A fish tape may be needed to run the wires behind finished wall surfaces.
- Chisel a notch in the floor to recess the factory splice so that it does not stick up beyond the top of the rest of the mesh.
- Install a metal nail plate across the holes in the bottom plate to protect them from stray nails.
- Once the electric mat is secure, it’s a good idea to take photos of the system.
Install the Controls and Thermostats

Installing and connecting controls and thermostats should be done by a licensed electrician. Remember, your floor will be connected to live electricity, so safety is critical.
Controls and thermostats need to be either designed for underfloor heating, or they must be able to be wired correctly to make them compatible. You can opt for a manual, programmable, smart or dual thermostat, depending on what you prefer.
The thermostat will sense either the air temperature in the room or the temperature of the floor itself.
You may also consider having zoned heating, where your thermostat controls heating in different rooms separately from each other. Again, this is something best left to licensed professionals, but you can decide which zones you’re interested in having. Additionally, zoning is usually done during the build of a home rather than via retrofitting.
There are some generalized steps that will be taken during the installation of thermostats and controls:
- Ensure that power is off to the feed wire you installed in step 2.
- Connect the power lead from the heating mat to the feed wire.
- Connect the floor heating thermostat and controls to the wire per the manufacturer’s instructions.
- It’s best to have a licensed electrician install wiring or check the installation afterward.
Note: Do not turn on power to the system except to test it briefly. Follow the manufacturer’s guidance for testing the system.
Install the Flooring

- If installing tile, use a polymer-modified thinset directly over the mat. Take care not to damage the wire when spreading the thinset with a trowel.
- If installing laminates, hardwood or carpets, apply self-leveling compound over the mat.
Note: No matter what kind of floor covering you choose, the heating mat must be fully encapsulated in a mortar bed.
Installing Hydronic Radiant Floor Heating

The installation of hydronic radiant floor heating is usually a more involved process than electric. The project requires both a licensed plumber and electrician, so keep this in mind for any hydronic radiant heat options. It can be installed above or below the subfloor, so there are usually many steps involved, depending on your preference and needs. This is a general overview of one of the more common above-subfloor methods.
- You will need to design, or have a professional design, the layout of the tubing to fit your space. Tubes can get kinks in them if they’re too close together, but they also won’t work effectively if they’re too far apart. You also have to consider the distance from the walls (at least 4 inches).
- Next, you’ll need to prepare the area. If you’re installing onto the subfloor, you’ll need everything completely vacuumed, insulated when necessary and sealed. You’ll also have to prepare the walls for the extra height that the floor will take up.
- If you’re creating a concrete subfloor, you’ll have to mix and pour concrete or gypcrete onto the tubed area. It’s usually a good idea to hire a professional for this step. Alternatively, you can instead install hard floor panels.
- The tubing and the entire system will need to be connected to a water heater, controls and thermostats. These steps are where a licensed plumber and electrician are needed for proper installation. The steps for connecting the wiring are a little more straightforward, generally mimicking the process for installing controls and thermostats for electric radiant heating.
Now that you understand the basics of how to install heated floors, you can decide if a DIY heated floor is a project for you. If you need help with heated flooring installation, reach out to a professional. The Home Depot offers flooring installation services.