
A Note From The Home Depot
In this fun DIY Beau Coffron of Lunchbox Dad and his kids make an awesome Fire Chief Car using supplies from The Home Depot. Read below for the step-by-step details of how they created it!
DIY Kids Fire Chief Car

Many kids want to be a hero such as a firefighter when they grow up. They imagine saving lives and making a difference in their communities. In addition to all the good firefighters do, their uniforms and vehicles are just so cool! One time when we were visiting my grandparents, we were walking in the downtown area and passed a fire station with the doors open and the trucks outside. The firemen were so friendly with my kids. They let them see the truck and answered all their questions. My children didn’t stop talking about it for weeks! If your kids look up to firefighters, building this fire chief’s car using supplies from around your home will be fun and encourage your kid’s dreams.
Supplies

Directions:
- Using old C.D. cases or a sheet of plastic from Home Depot, draw the outlines of your car pieces. Use a permanent marker. Carefully cut out pieces with a utility knife. The shapes of the pieces you will need are below.


- Glue pieces together using super glue. You should end up with a rectangular car body and and a smaller car top. You will also have one small flat rectangle that will be the light


- Wrap the car body with red tape. Wrap the top with white tape. Wrap the light bar with gray tape in the middle and red on the sides.


- Glue the body to the top using super glue or a hot glue gun. Finish by gluing the light bar to the very top.

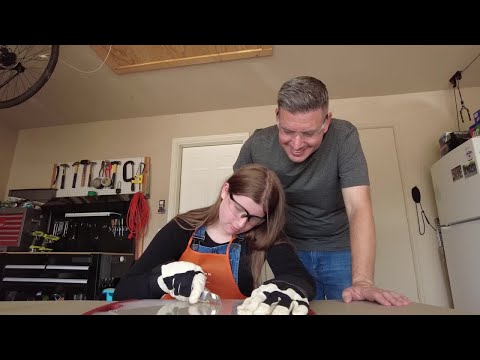
- Draw four wheels on a scrap piece of cardboard. Cut them out and attach them to the car using a drill and screws in the middle of the wheel. An adult might need to drill starter holes to help the screws go in easier.


- You can even create your own stickers for the car. Using different colors of tape, make windows, a grill and headlights, and stripes for the side. Draw the designs with a marker and then cut them out. Your kids can make them as simple or as elaborate as they want. Stick them on the car when done.


- Get on the floor with your kids and play with them and their new fire chief car!