Build These Craftsman Exterior Shutters to Boost Your Curb Appeal

Last updated August 21, 2024

Rachel Pereira employs her artistic passion through hand-painted furniture makeovers, budget-friendly interior design, and DIY home decor and crafts on her blog, Shades of Blue Interiors. She lives in St. Louis with her husband and three children.
A Note From The Home Depot
For an easy curb appeal boost, build these decorative exterior shutters. Rachel Pereira of Shades of Blue Interiors created this DIY tutorial for our DIY Challenge here on The Home Depot Blog. We challenged Rachel to come up with a practical and very doable DIY project with the only stipulation being that it involved the use of lumber.
Just follow along with Rachel’s tutorial to build your own Craftsman style exterior shutters.
Table of Contents
DIY Craftsman Exterior Shutters
Cut List
Step 1: Route Boards
Step 2: Build Shutter Frame
Step 3: Attach Planks to Back of Shutter
Step 4: Stain or Paint Shutter
DIY Craftsman Exterior Shutters
The classic look of Craftsman style houses has remained popular for decades largely in part because of the quality of materials, the unique and custom features, and the clean, straight lines used that have a modern appeal. For many homes, broken or faded shutters can date the look of a house, as it did with my brick ranch style home.
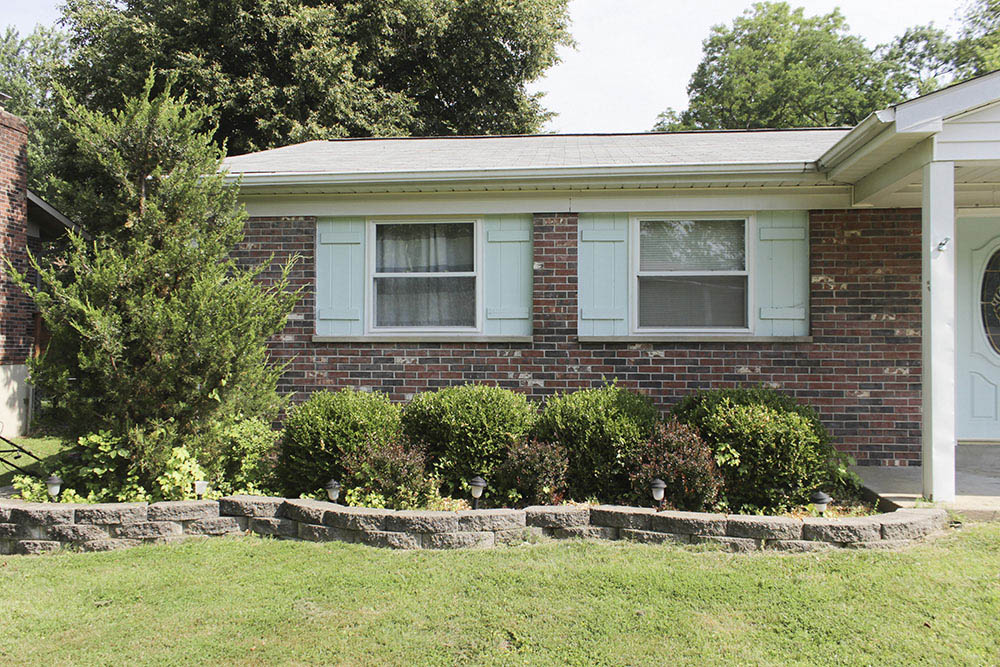
I decided to make new shutters drawing inspiration from the classic Craftsman style by adding a few design details that make all the difference.
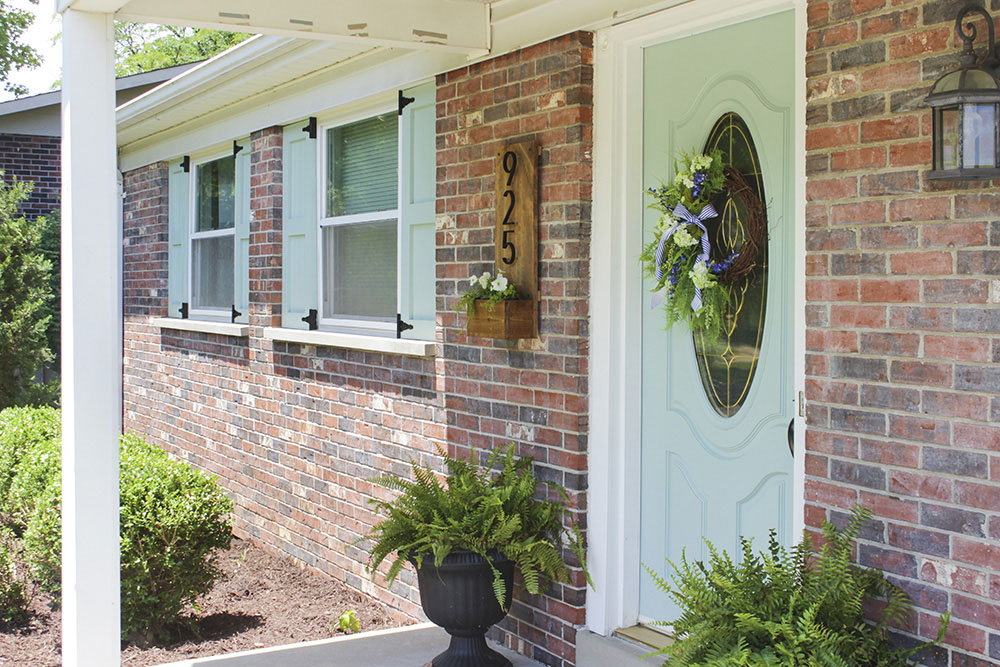
Shutter height can vary from house to house, depending on window size, but the standard width is about 18 inches. These instructions will show you how to make two Craftsman style exterior shutters with the dimensions of 44 inches tall and 18 inches wide. I will make note of the cut differences you will need to make if your window is taller or shorter.
If you are installing your shutters on top of existing shutters (after removing the rails), as I am, and there is a window inset that your shutters must fit in, make note of their width– you may have to make a small (less than 1 in.) adjustment to the length of the rails as well.
Cut List
- 14- 1 x 4 @ 44 in. (this will change depending on the height of your window, but you will need seven boards for each shutter, or 14 for a pair)
- 6- 1 x 4 @ 11 in. (rails)
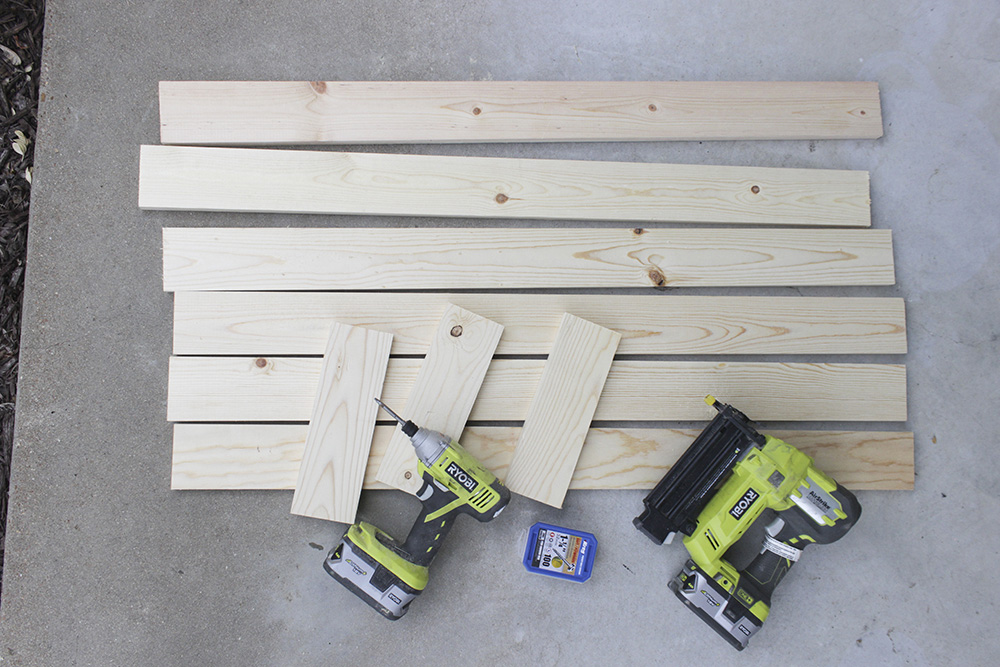
Step 1: Route Boards
Select two of the best looking boards that have no knots on the edges.
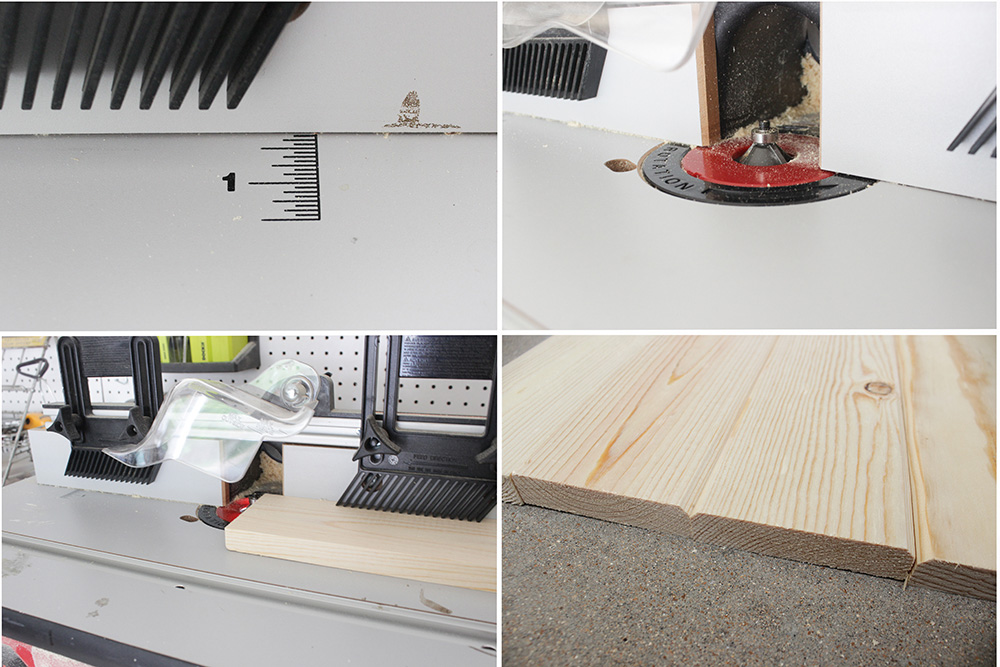
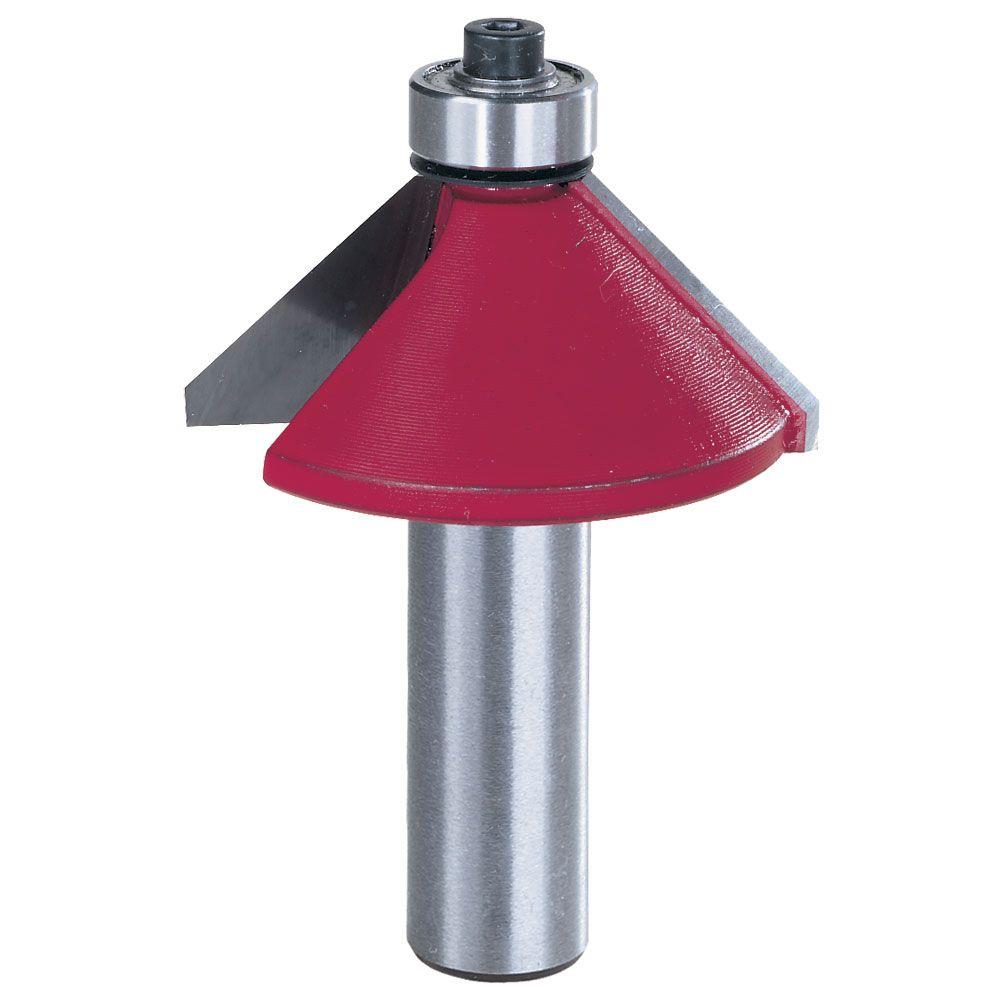
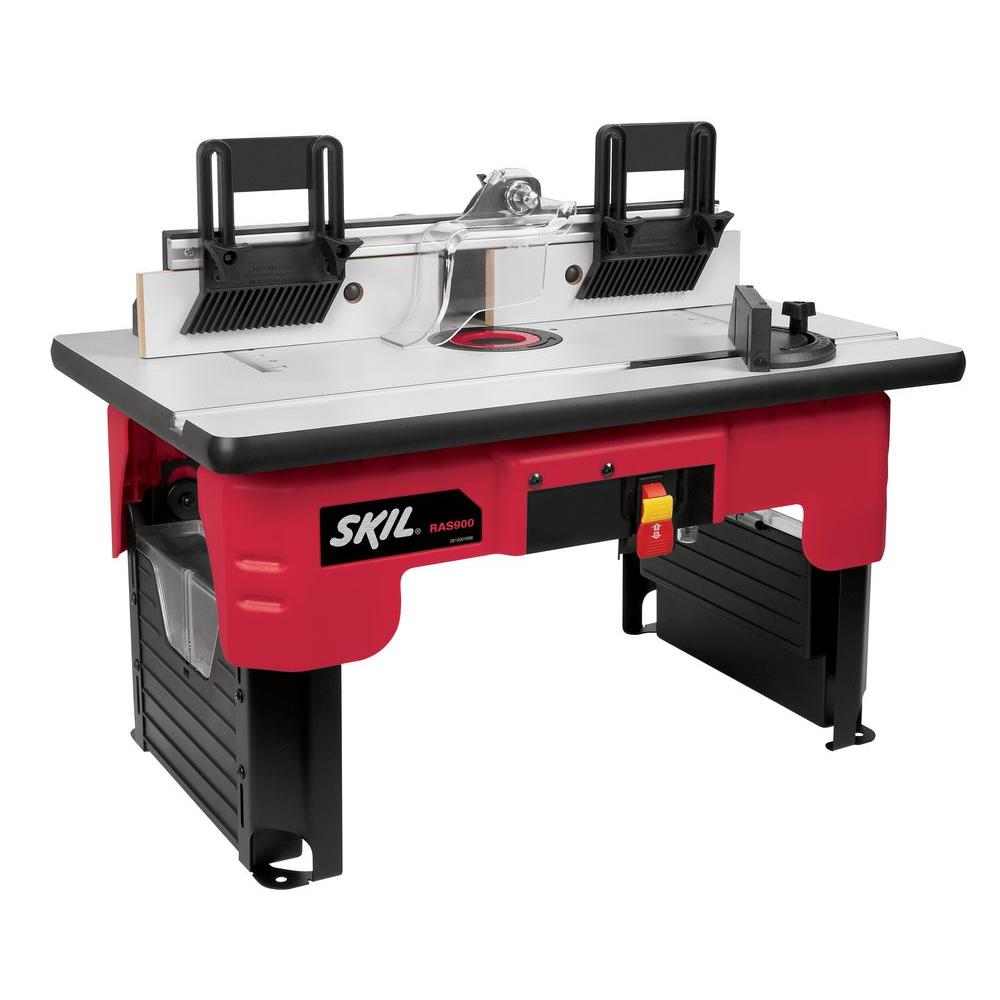
Use the chamfer bit to rout both edges on one side of the board. Make sure to set your router table fence so that it lines up with the edge of the nut on the top of the bit. These boards will be the center vertical boards in each shutter.
Select four more boards and route one edge on each. These boards will sit adjacent to the center board so that it creates 2 grooves on either side of the center board.
Step 2: Build Shutter Frame
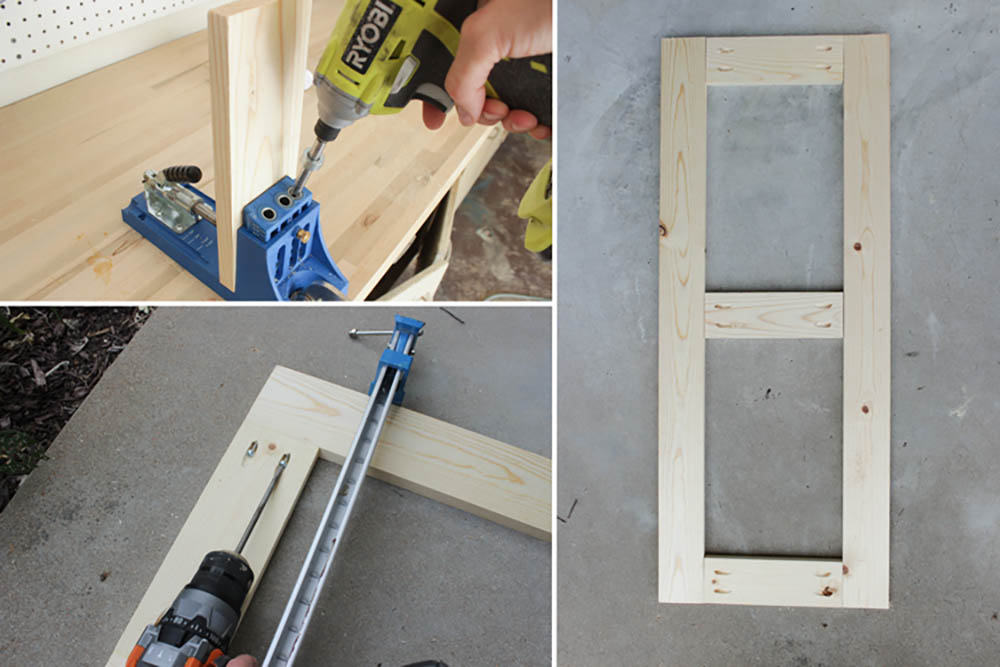
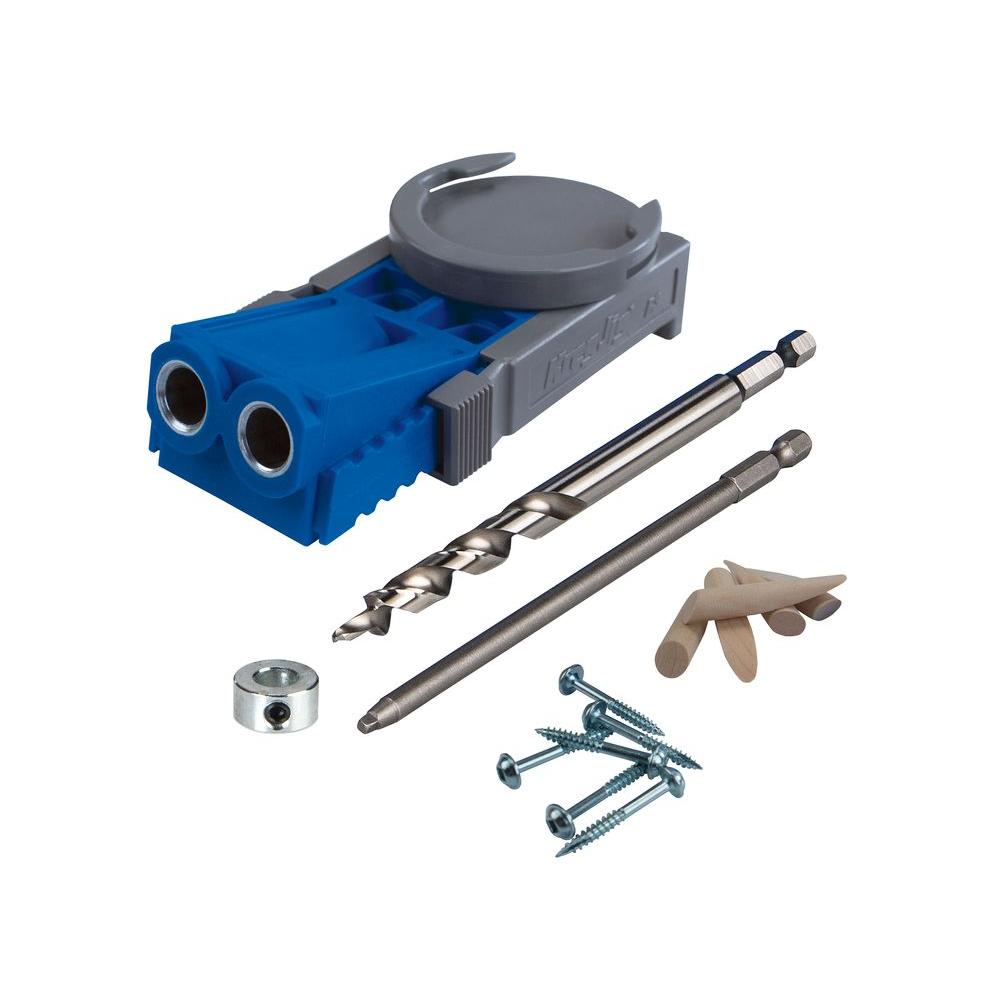
Drill two ¾ in. pocket holes on either end of all six boards that are 11 in. long.
To build the first shutter frame, place two stiles (the vertical pieces) parallel, and all three rails (the horizontal pieces) between them, with two of them flush with either end of the stiles. Make sure the pocket holes are facing up.
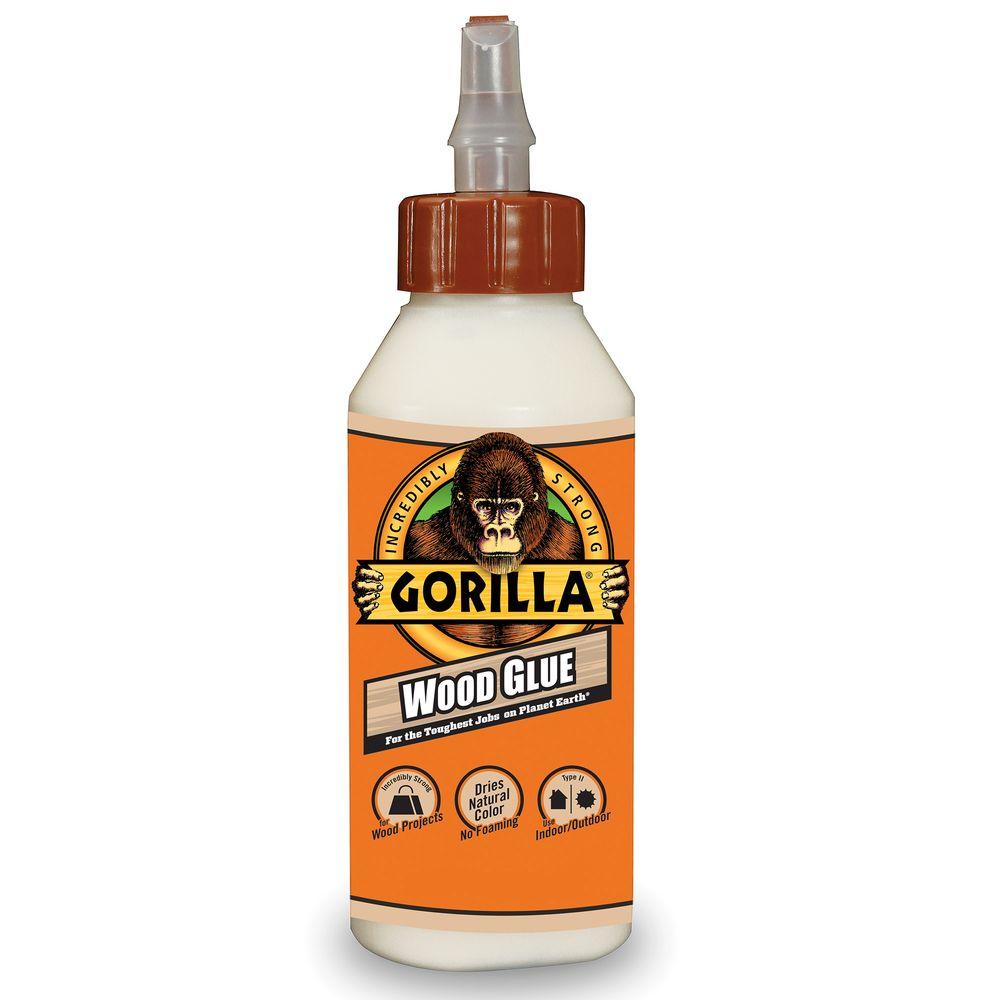
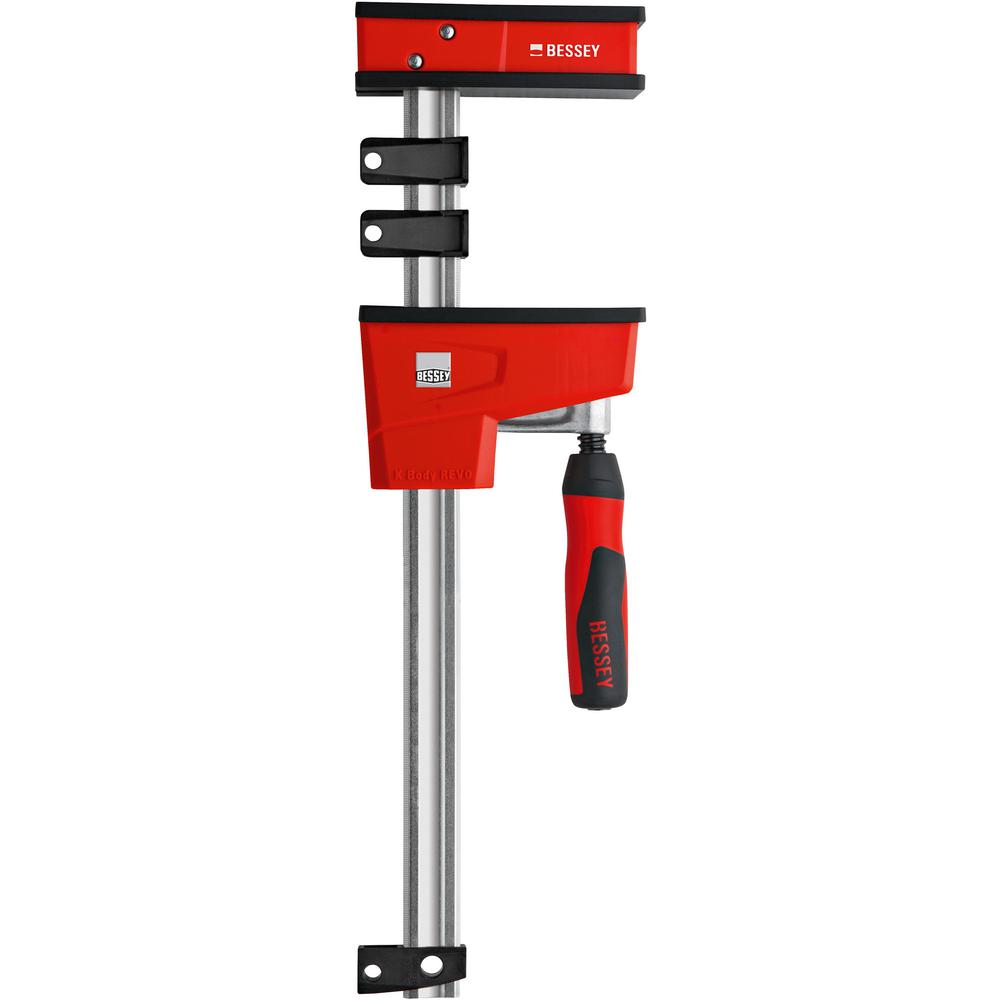
Apply wood glue to both ends of the top and bottom rails. While using the clamp to ensure the rails are tight between the stiles, attach them together using 1¼ in. pocket hole screws into the top and bottom rails. After the rails are attached on either end, measure and mark the center and attach the center rail at that point on both sides of the stiles.
Repeat this process for the other shutter.
Step 3: Attach Planks to Back of Shutter
Measure and mark the center of the top and bottom rails. Place the board that was routed on both edges centered over that mark.
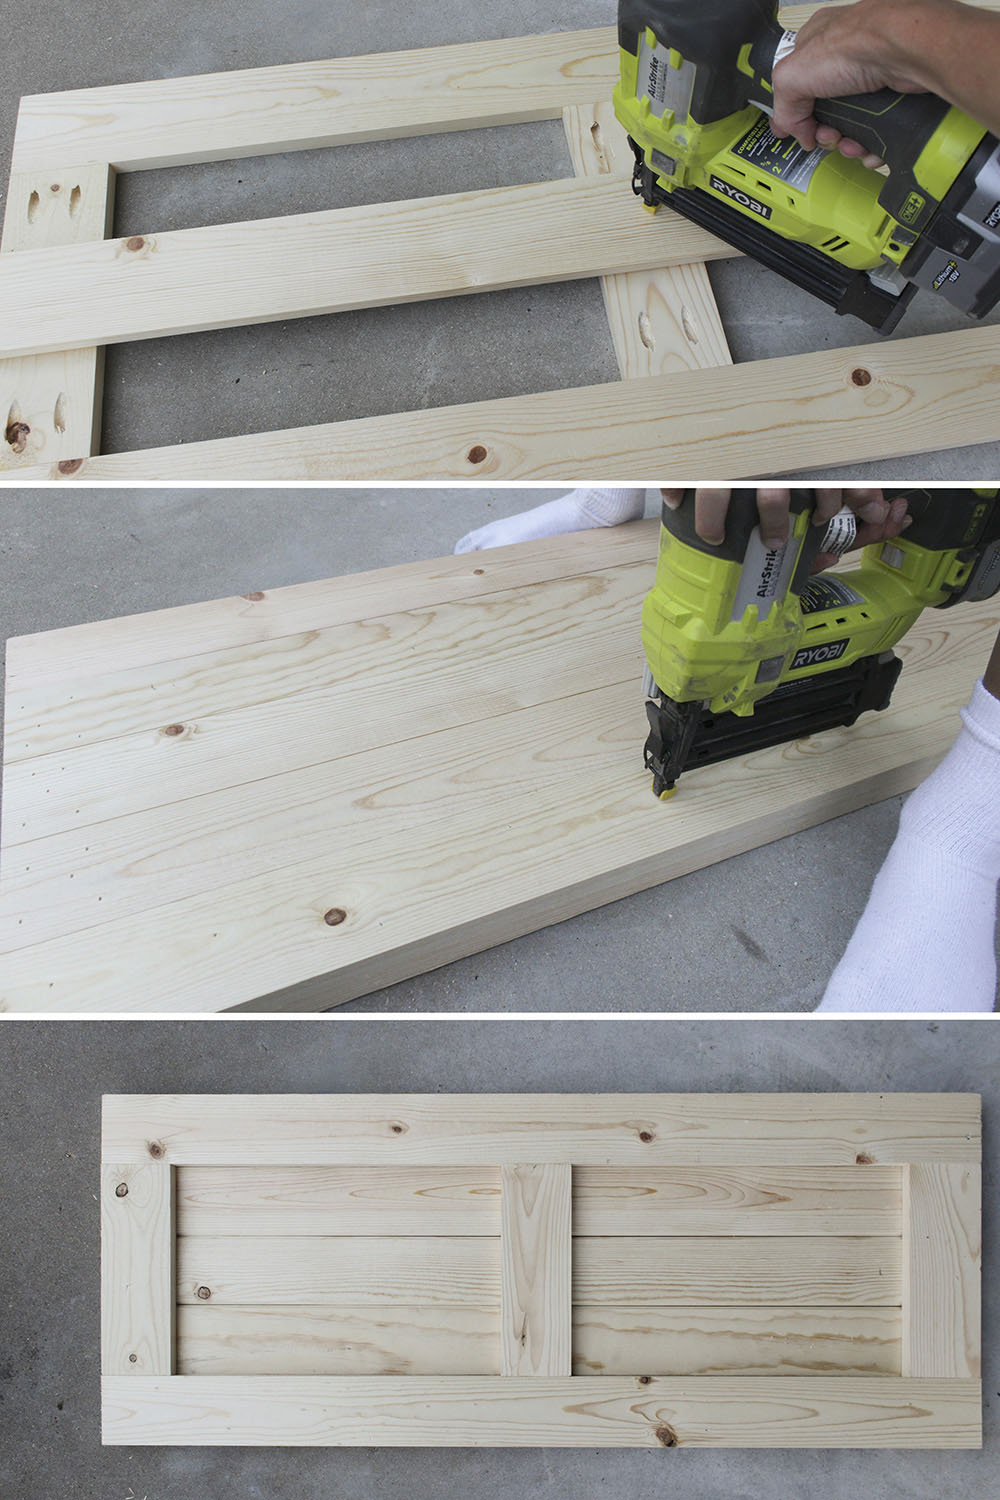
Apply wood glue to all three rails and drive several
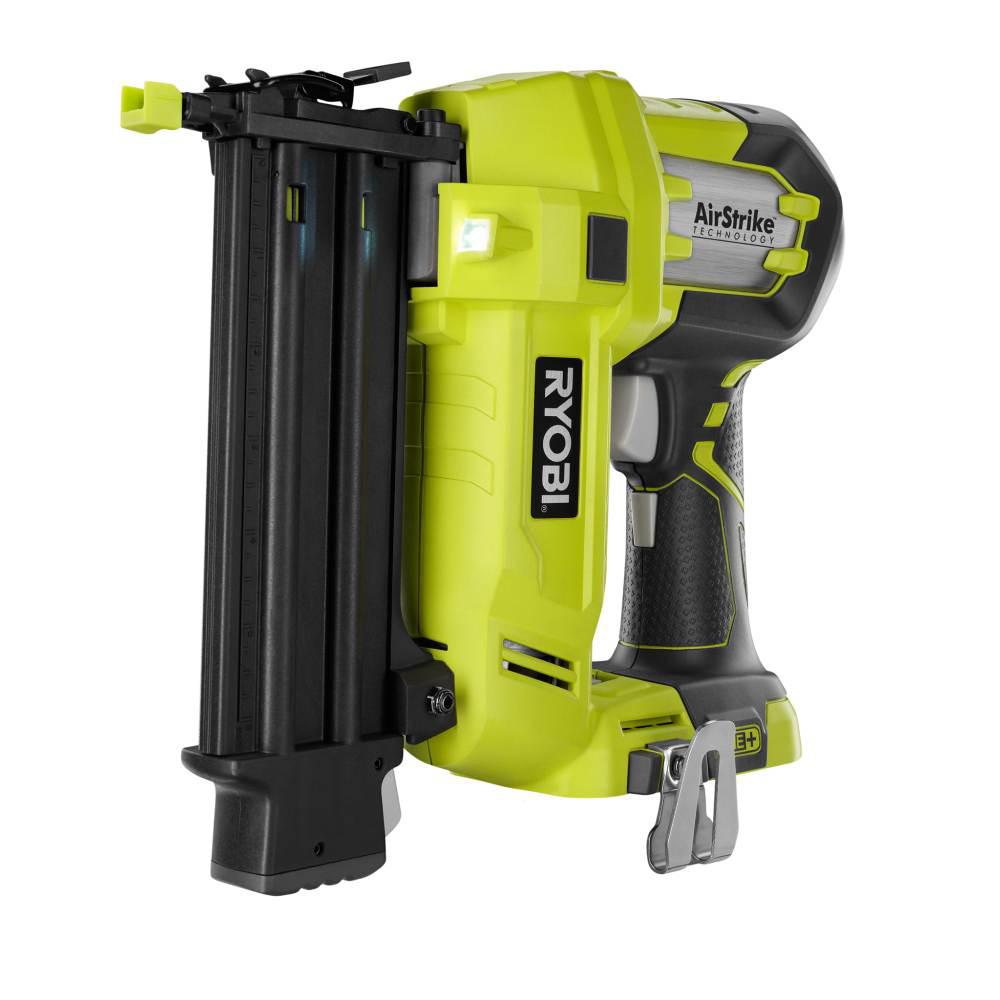
1¼ in. nails, into the center board at the top, middle, and bottom (where it meets the rails).
Place the adjacent boards next to this center board, making sure the routed edges meet each other and create that little “V” groove on the other side. Use wood glue and nails to attach these boards in the same manner.
Attach the remaining boards on either side using wood glue and several nails. For an 18 in. wide shutter, there will be a slight (¼ in.) difference between the frame width and the five board width of the planked back.
Repeat this process for the other shutter.
Step 4: Stain or Paint Shutter
If painting the shutters, you can fill large textured knots in the wood with wood filler.

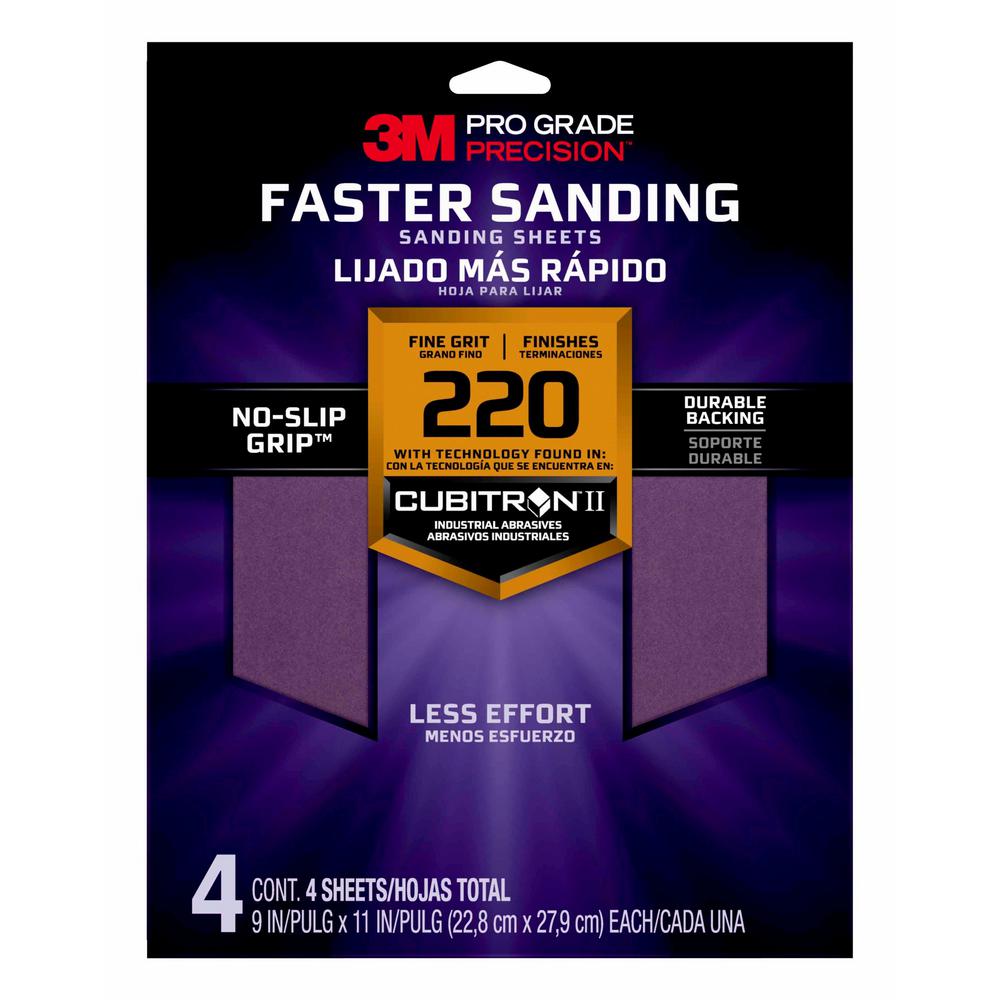
Sand the surface of the shutters smooth to remove any splinters or rough spots.
Apply two coats of exterior high quality paint and let it dry completely.
Step 5: Remove Old Shutters or Remove Old Rails
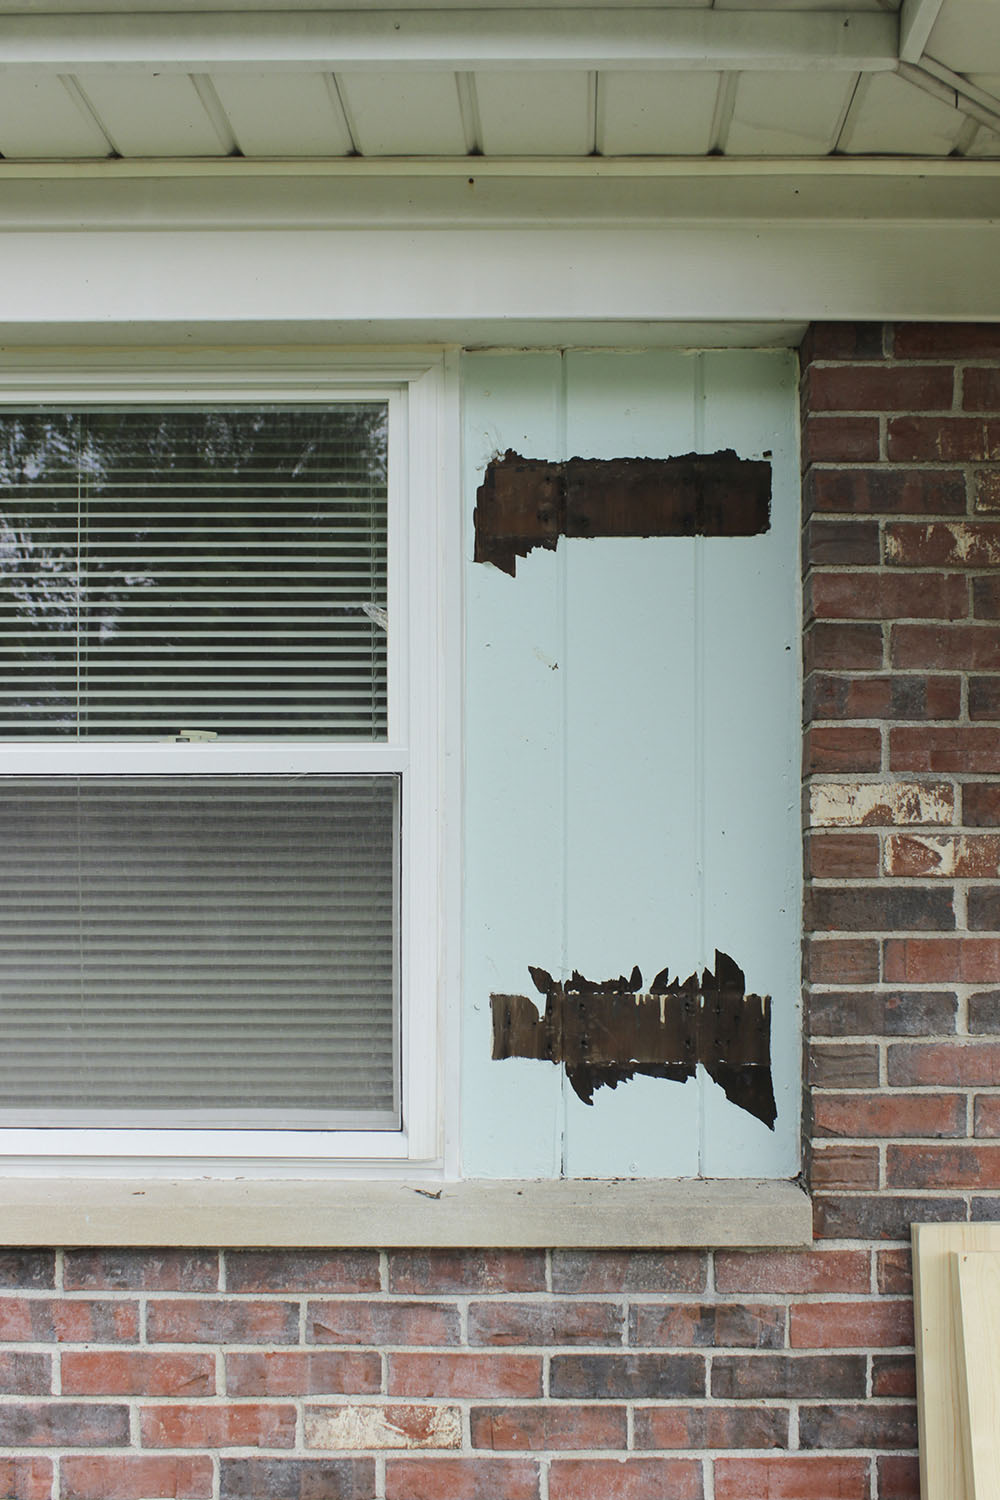
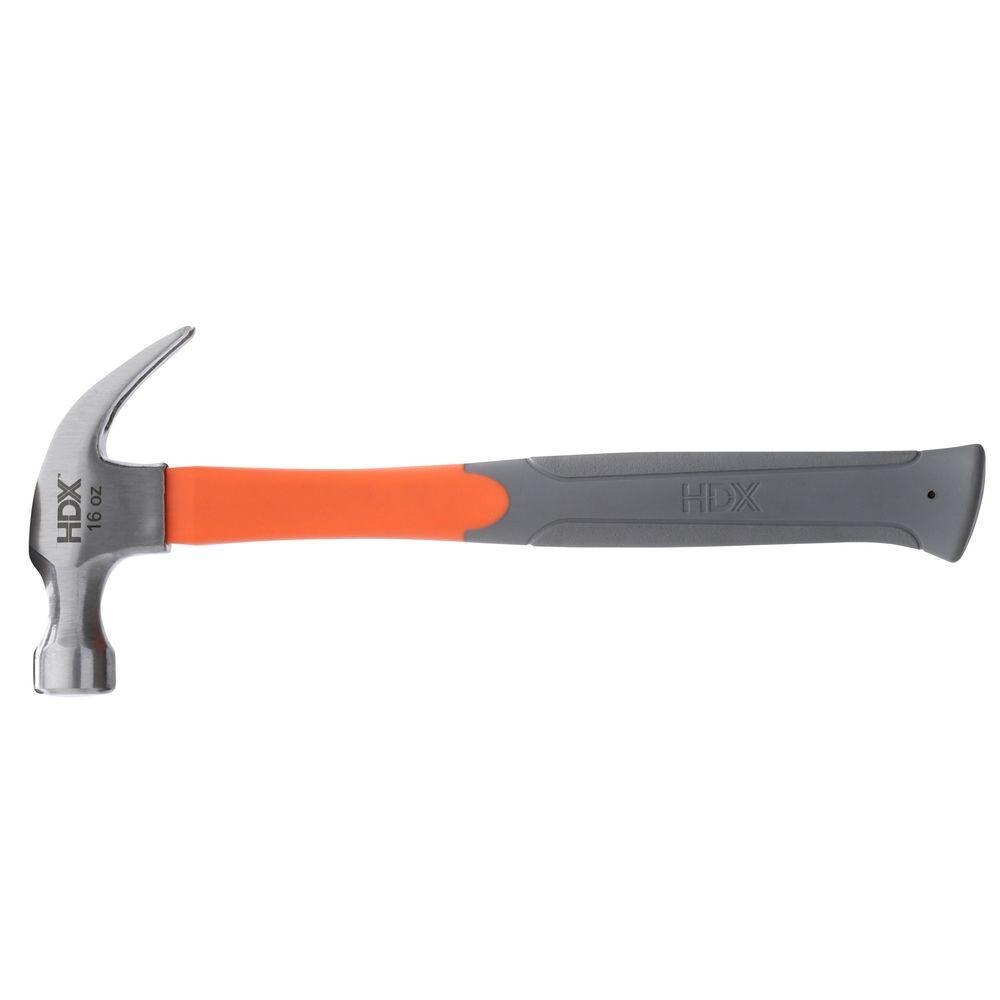
Use a hammer to pry off old rails if you’re installing the new shutters on top of the old shutters.
If you’re removing shutters that are not in a window inset, mark the top and bottom of the shutters with chalk so you know where to place the new shutter. Then, use a screwdriver to remove screws attaching the old shutters to the house.
Step 6: Attach New Shutters to House
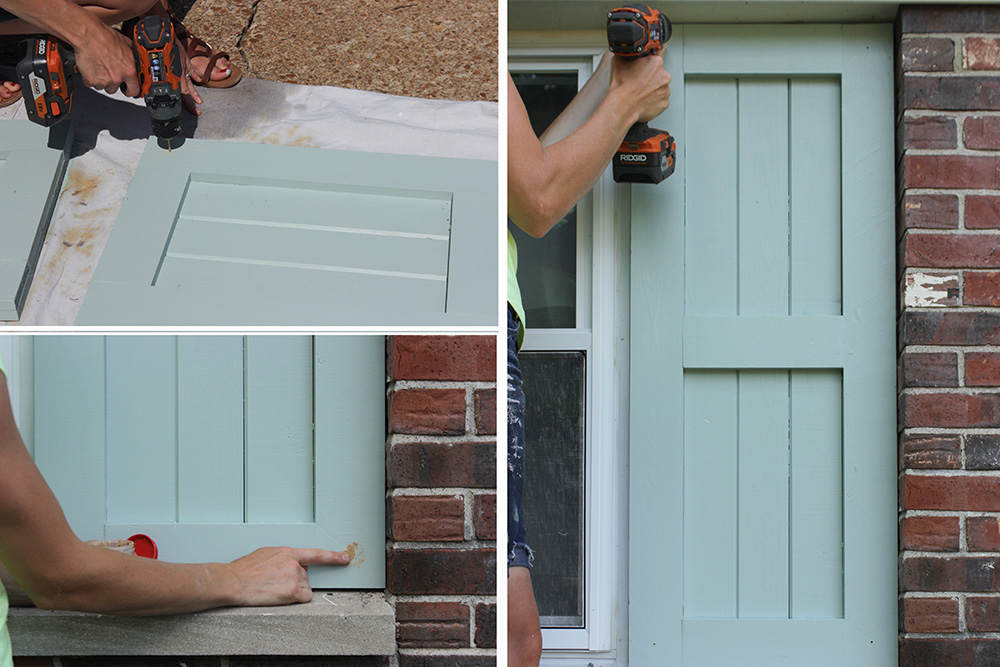
Using a 7/64 drill bit, pre-drill four holes in each corner of each shutter, about 1 ½ in. from both edges. If attaching the shutters to a brick facade or anything other than wood, you will want to have someone hold the shutter in place, making sure it is level and lined up with the chalk lines, and pre-drill holes into the facade using a concrete/masonry bit.
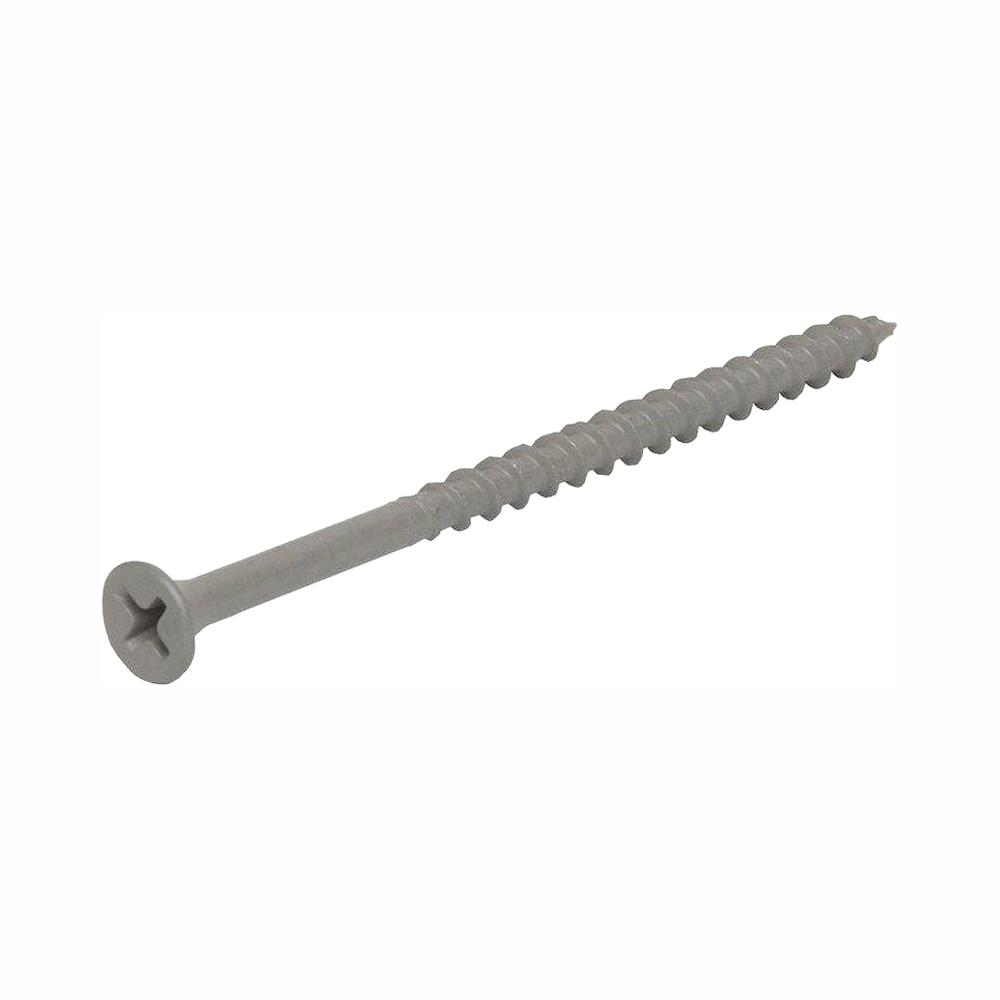
Attach the shutters into the house using 3 in. exterior wood screws. Drive screws in a little extra so that the holes can be filled with wood filler and once dry, painted or stained over.
Step 7: Attach Decorative Gate Hinges
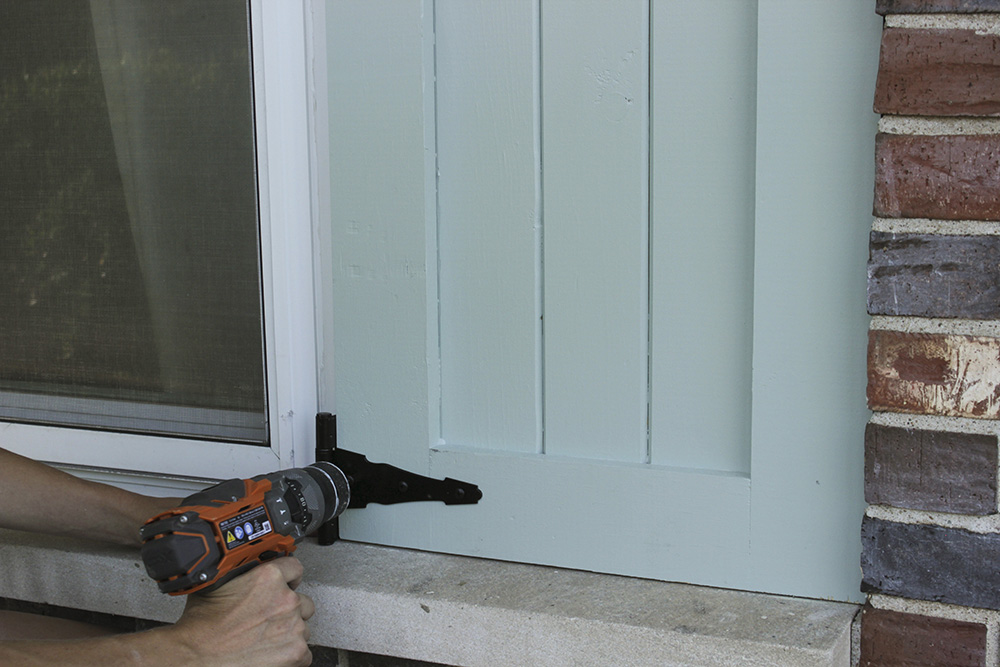
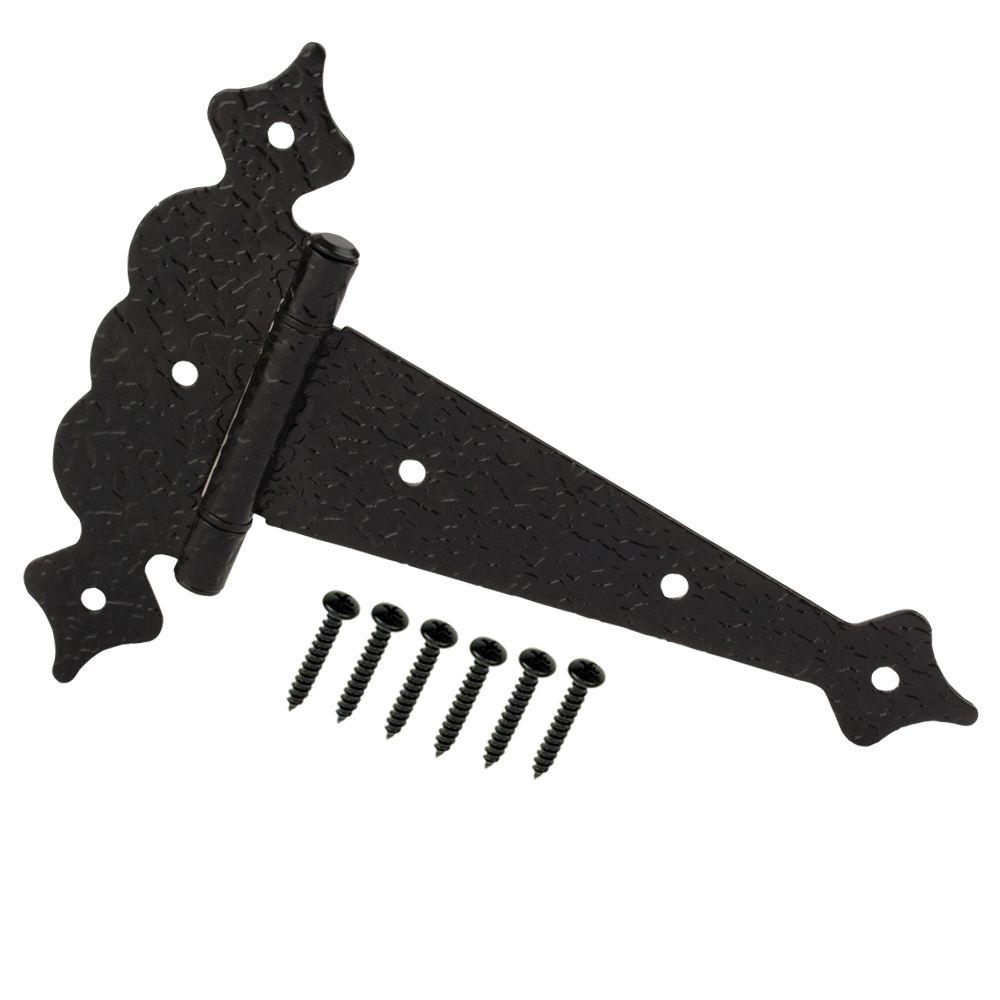
Place the gate hinges flush with the bottom, closest to the window and mark the screw-holes on the hinge. Pre-drill holes at those marks using the 7/64 drill bit. Do the same for the top and the other shutter. Attach the hinges using a cordless drill and the screws provided with the hinges.
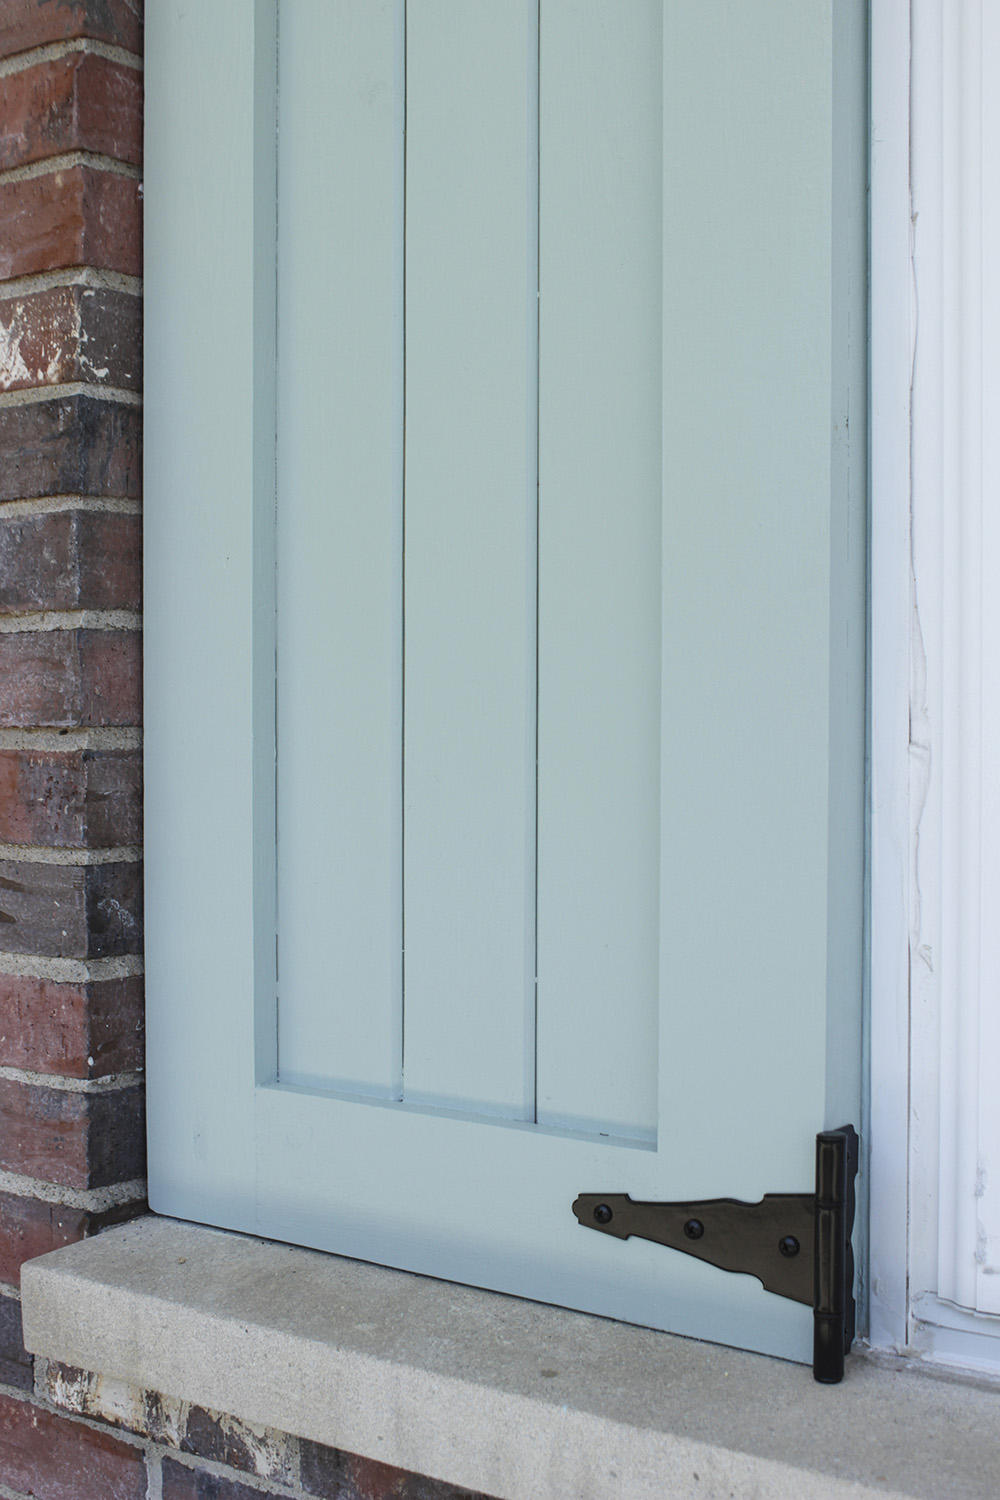
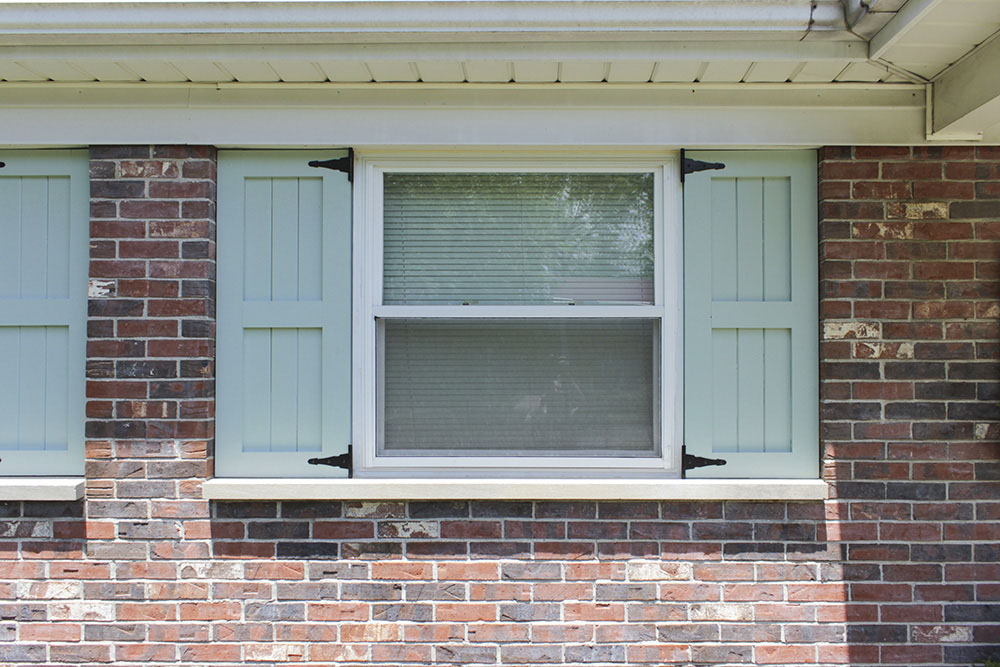
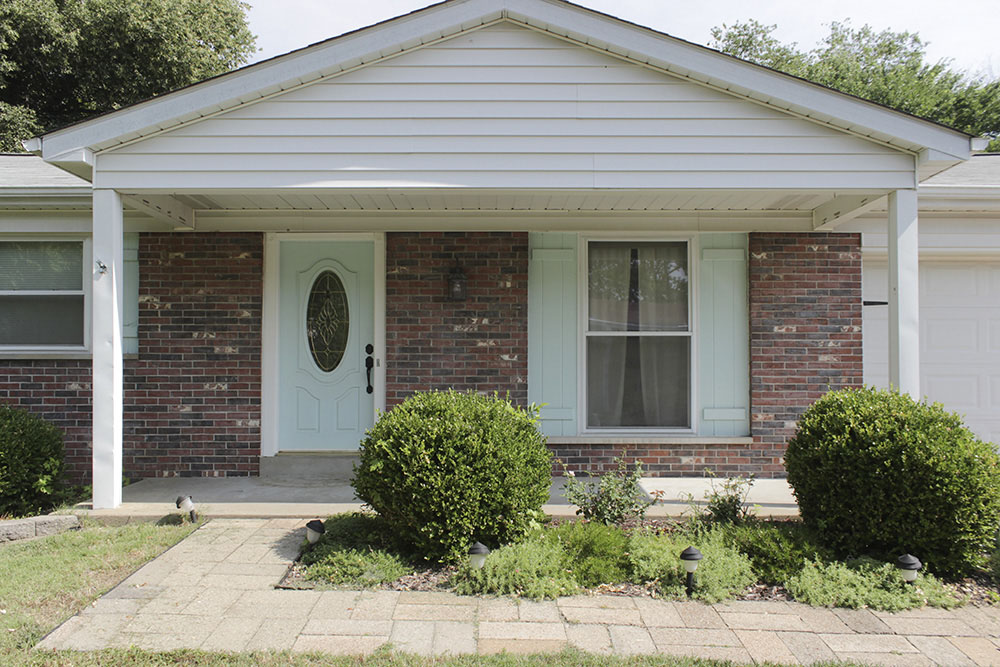
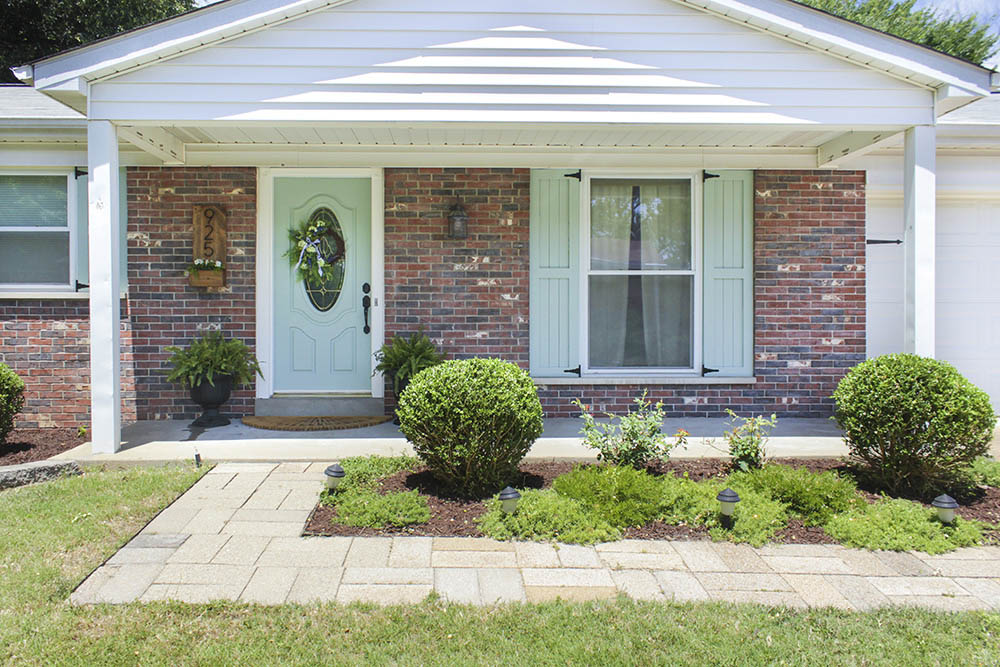
While the “before” was rather sad, the “after” really looks much more updated and modern, with the classic design of the craftsman style shutters.


And there you have it! Two brand new shutters installed!
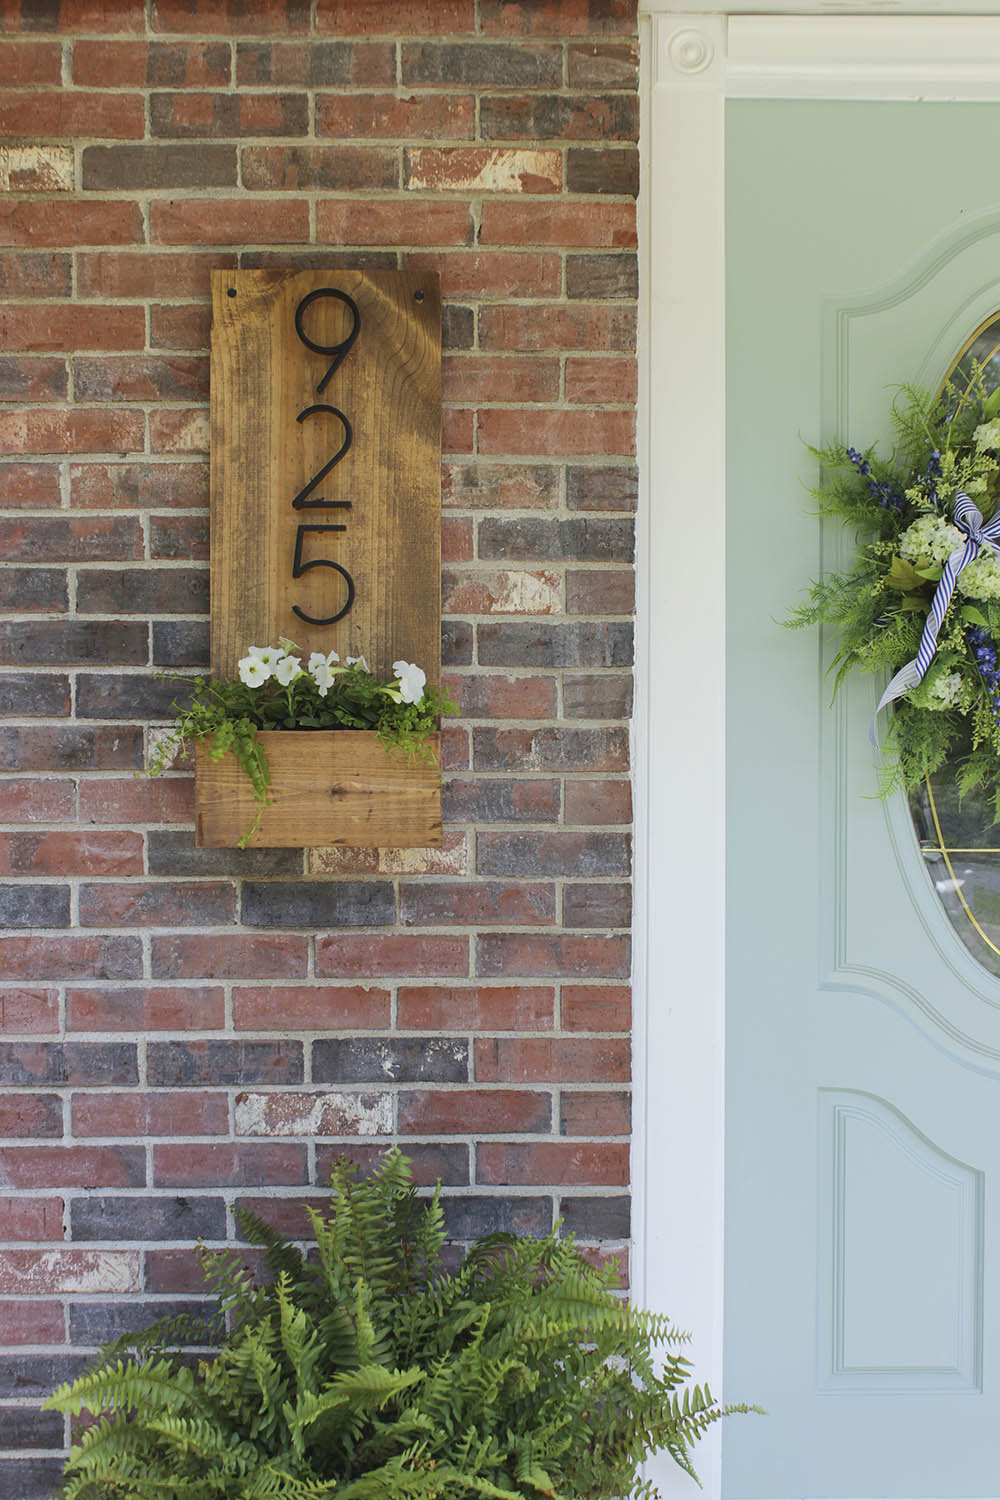
In addition to building these shutters, I went ahead and painted our door to match the same color, added a wreath and a decorative number sign by the door. The cedar sunburst door mat is one I made as part of The Home Depot DIY Workshop and the tutorial can be found on my blog here.
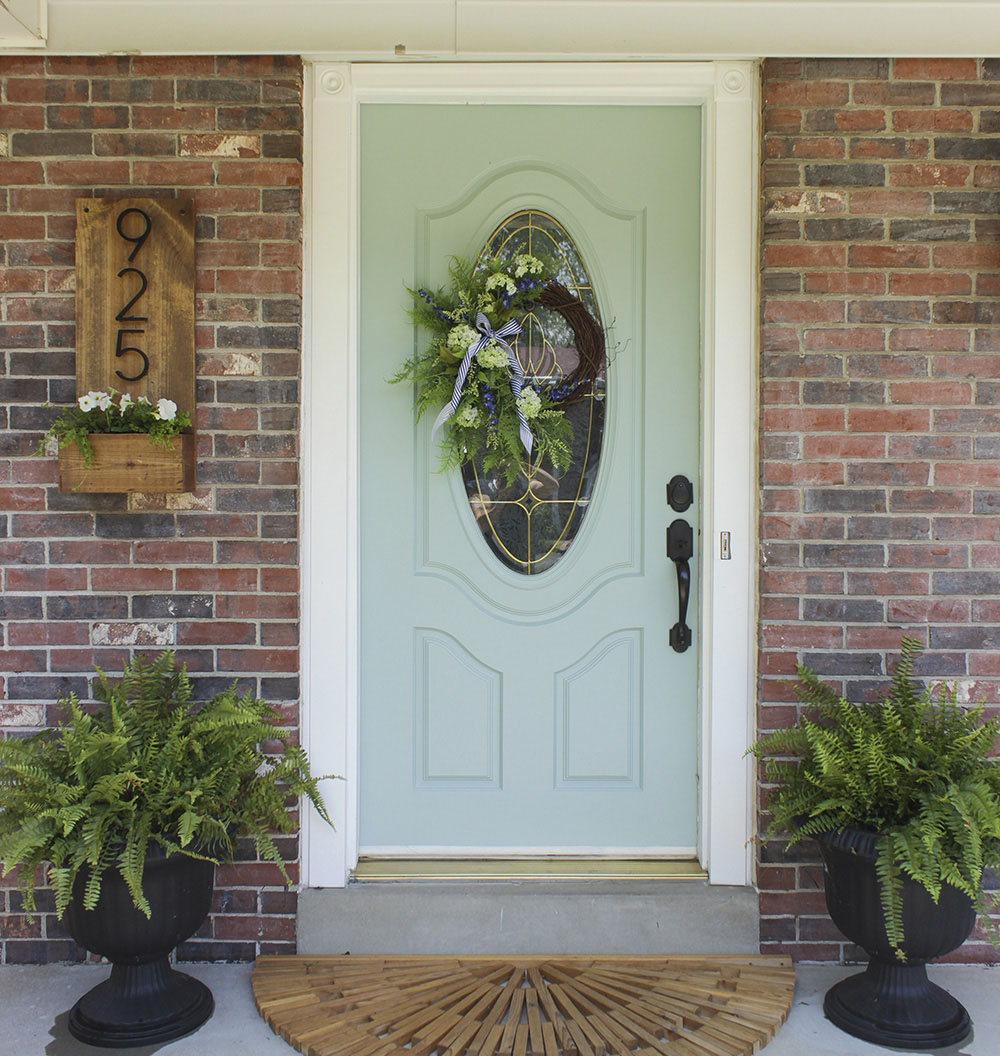
I will have a tutorial up soon for this number sign with planter!
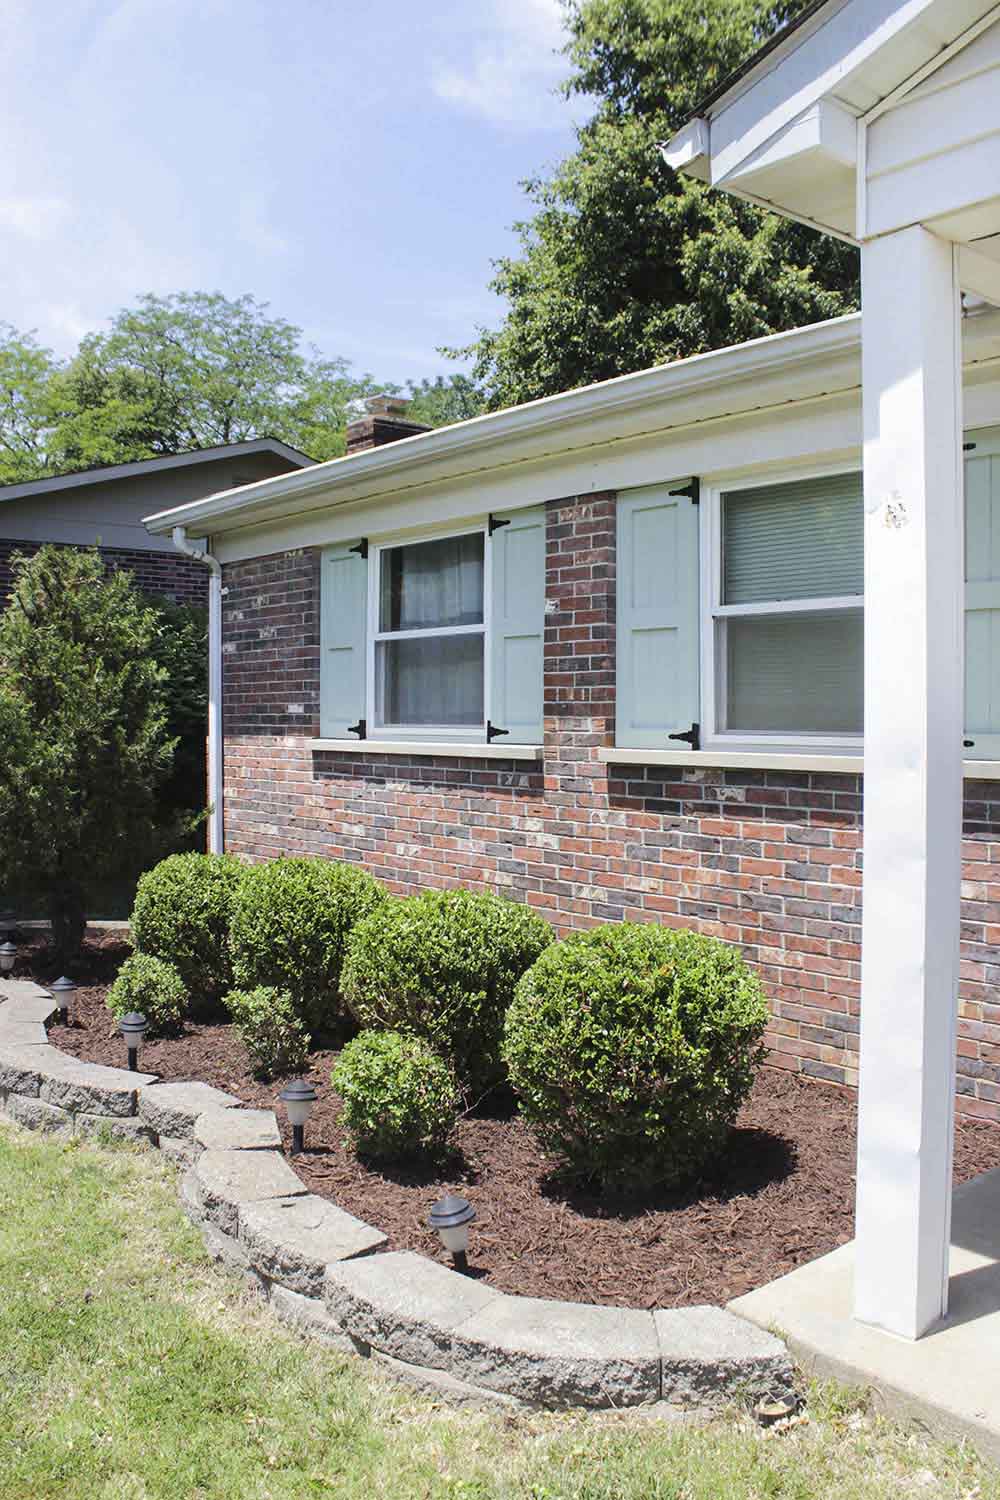
The flower beds by our house that were filled with overgrown boxwoods, got a nice trim and a fresh layer of brown mulch.
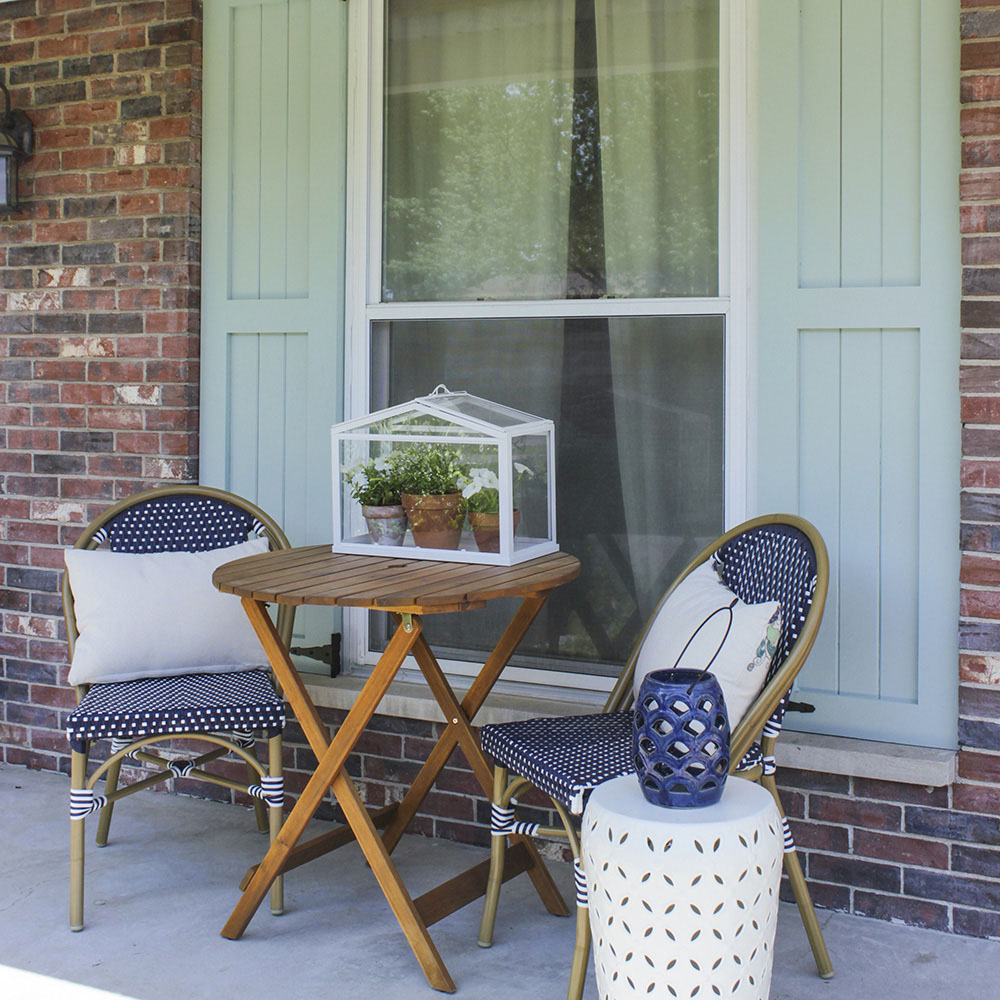
I also added back onto the porch my little bistro table and chairs. I love how the shutters look next to them!
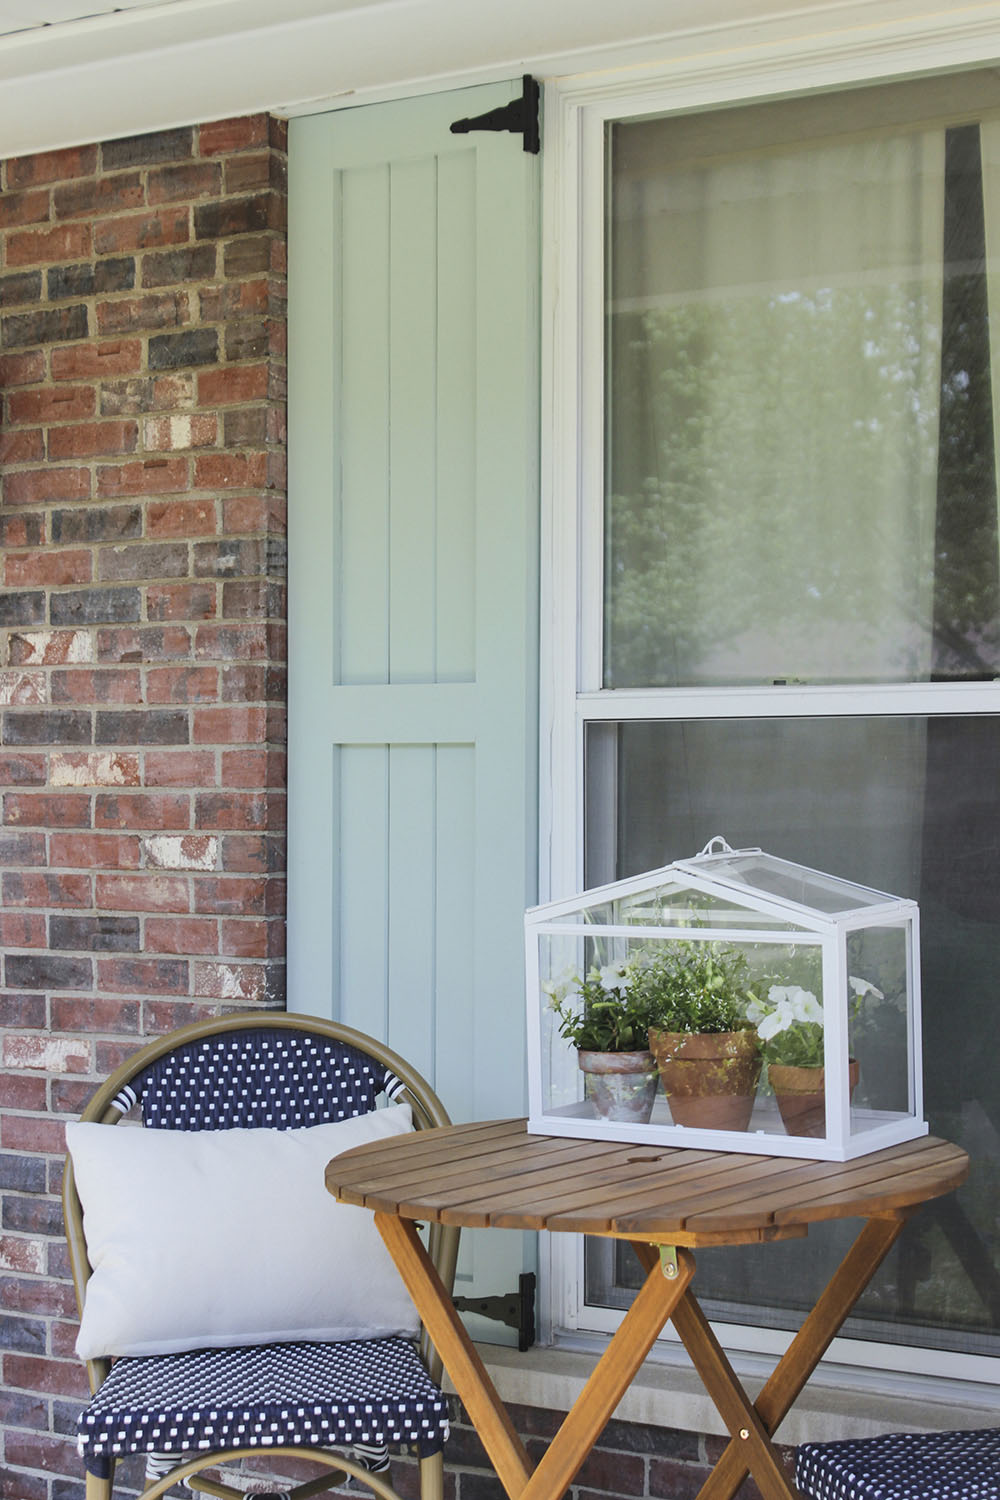
One last before and after so you can see how much curb appeal is added for less than $100 in lumber!
Read more about Rachel’s DIY Shutters on her blog.
Rachel Pereira employs her artistic passion through hand-painted furniture makeovers, budget-friendly interior design, and DIY home decor and crafts on her blog, Shades of Blue Interiors. She lives in St. Louis with her husband and three children.
This post was created in partnership with The Home Depot. The author may have received compensation for this article and associated images or video, potentially in the form of products and/or services. All expressed opinions and experiences are the author’s own words.

