DIY Holiday Plywood Tree
Last updated August 21, 2024

Ashleigh is a YouTube content creator whose journey began in September 2017.
She started this creative outlet to express her love for all things DIY, including furniture refinishing and home decorating. Ashleigh is originally from Columbia, SC, currently living in Georgia with her husband, two baby girls, and two dogs. She enjoys being able to share her creativity to inspire others to create budget-friendly DIY's while incorporating her fun and easy to follow step-by-step instructions. You can see more of her work over on her YT channel Ashleigh Lauren and Instagram @_ashleighlaurn.
A Note From The Home Depot
Need a chic and stylish way to dress up your home for the holidays? Ashleigh Lauren has you covered! You just need a quick trip to The Home Depot - Ashleigh has all the steps for you below!
Table of Contents
DIY Holiday Wooden Tree: Steps
DIY Holiday Wooden Tree: Steps
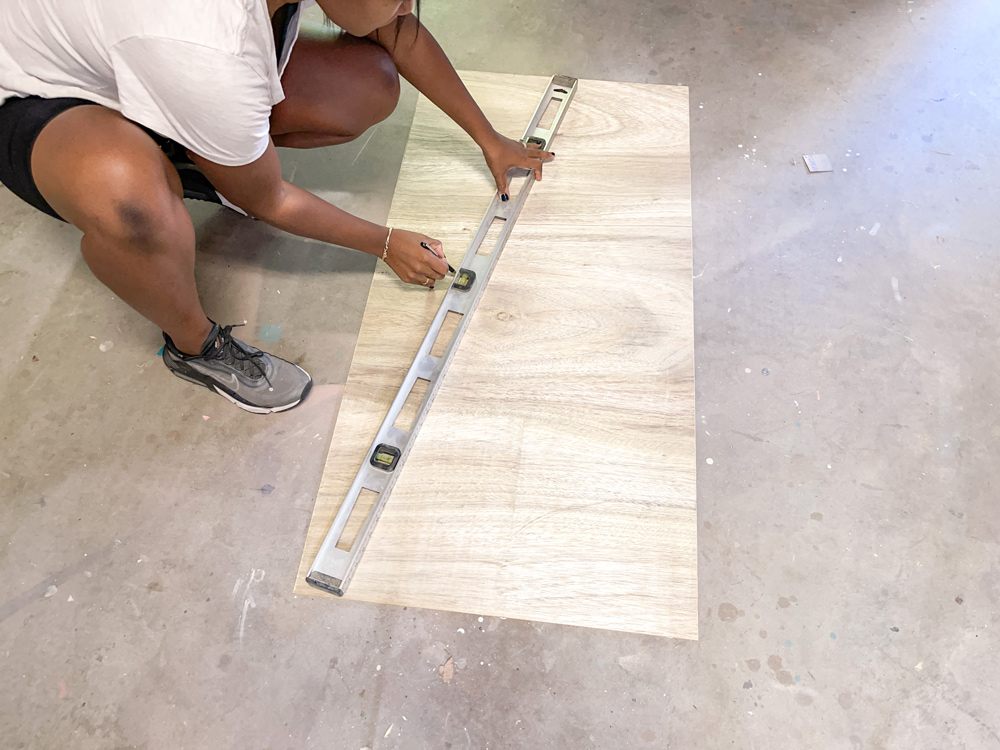
This project is an easy and fun one to do. There are so many ways that you can create the shape of your tree, but I'm going to keep it simple and do a straight cut creating a non-traditional holiday-styled tree. The first thing you should do before cutting out the tree is to draw out the design on your piece of wood. The plywood I'm using measures at 2 ft X 4 ft. I used my level to help create my triangle. I began by placing one end at the corner of the plywood's base and traced upward to the center.
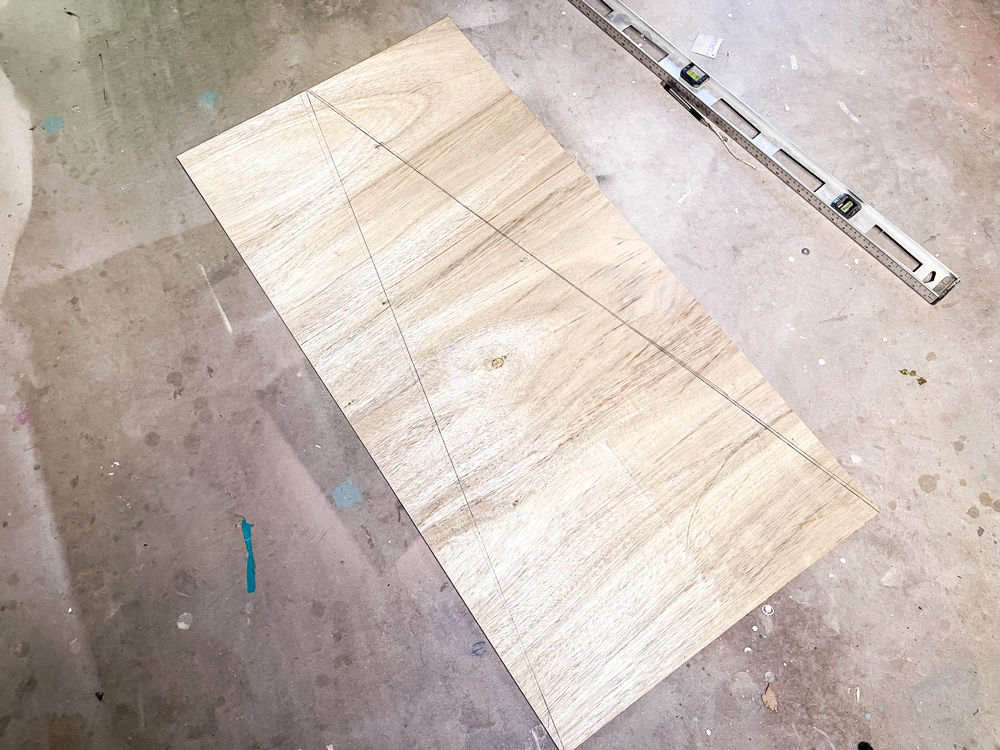
I repeated this step for the opposite side. Once finished, I removed my level and revealed my simple drawing of the tree.
The next step is to cut this out. To cut, I used my wood clamps and secured the plywood to my work table. I then used my jigsaw, and I carefully began to cut out my wood.
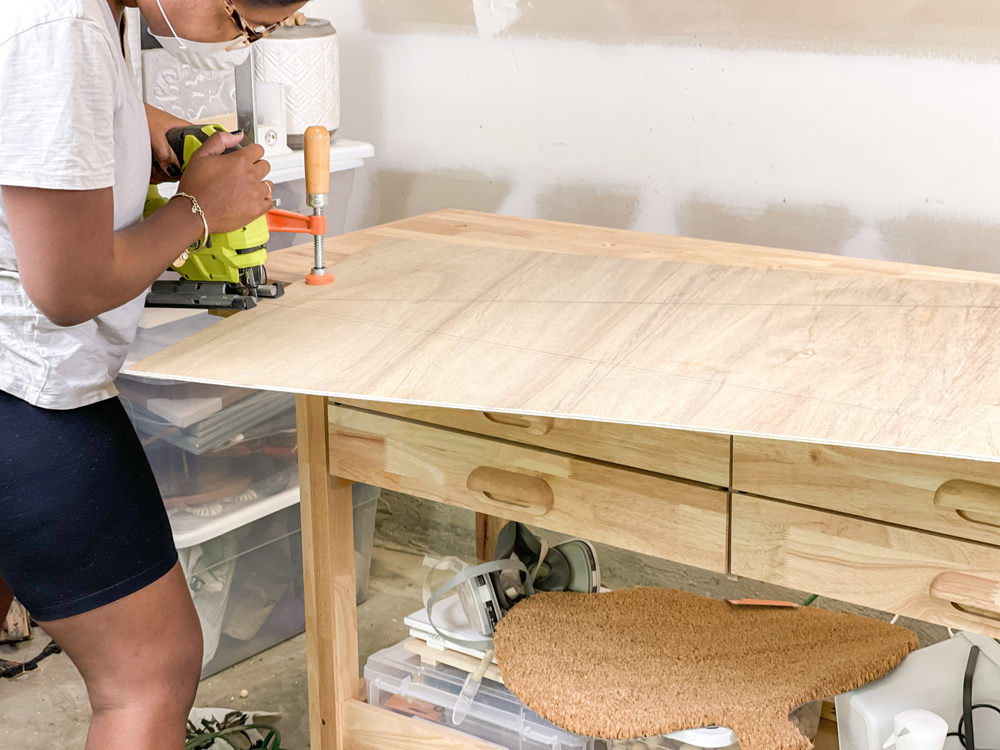
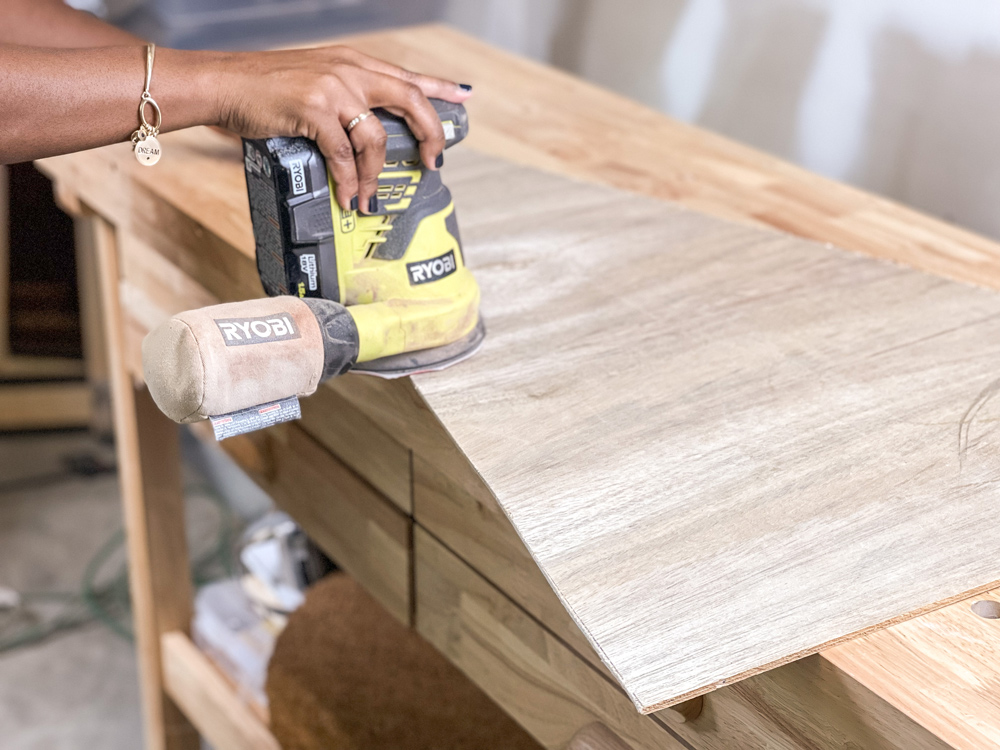
After I cut my tree out, I then took my orbital sander to sand smooth my edges.
Next, I wiped my tree clean using a microfiber cloth, and then I began to add my removable wallpaper. You can choose to paint, stain, add stencils, fabric, or contact paper to decorate your tree. The possibilities are endless. I used a scraper tool, knife, and scissors to help apply the wallpaper. When adding the paper, I carefully started from the bottom, and I adhered it in small sections making sure I removed any bubbles using my scraper tool. Take your time with this step. If you have any areas that still need to be covered, you should then line up any excess wallpaper to cover those areas.
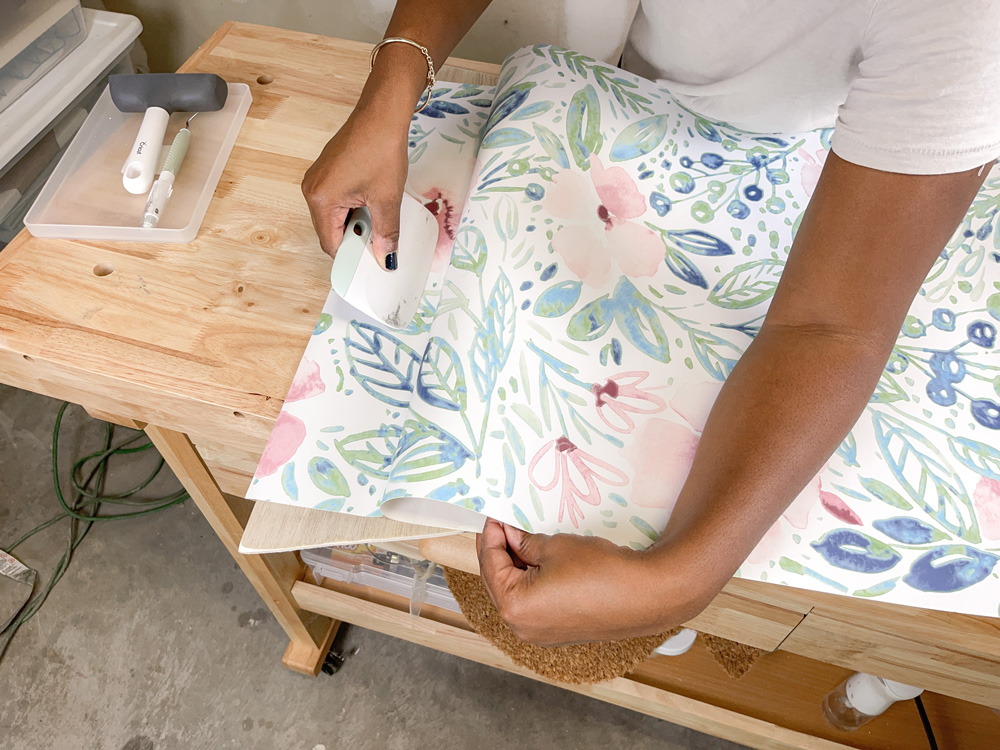
After your wallpaper is attached, you will want to remove the excess by carefully using a knife.

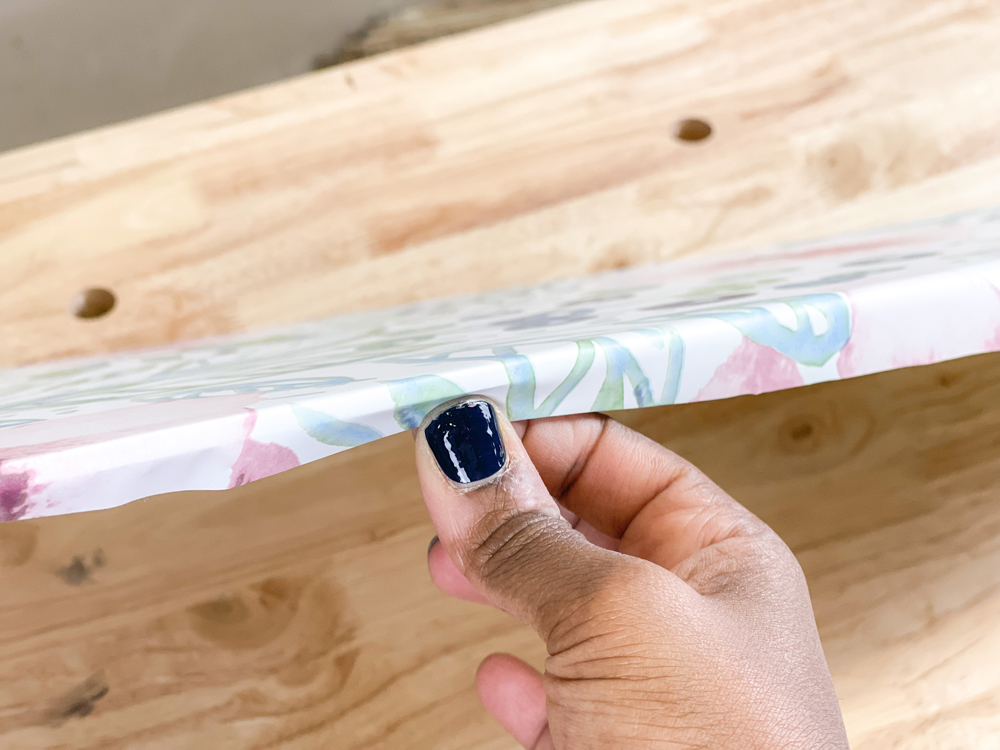
After, you will need to wrap the excess wallpaper around the back by smoothing the edges with your fingers and attaching them to the back.
Next, you will begin to attach the fairy lights. I used 10 ft warm white lights for my tree. The length of these fairy lights was the perfect length for the size of the tree I cut. I attached the lights to the sides using my hot glue gun. Adding the lights to the side will give the illusion that they wrap around my tree. I decided to arrange them in a zig-zag pattern. I started from the bottom up, but you can choose to swoop the lights as well to create a more classic look.
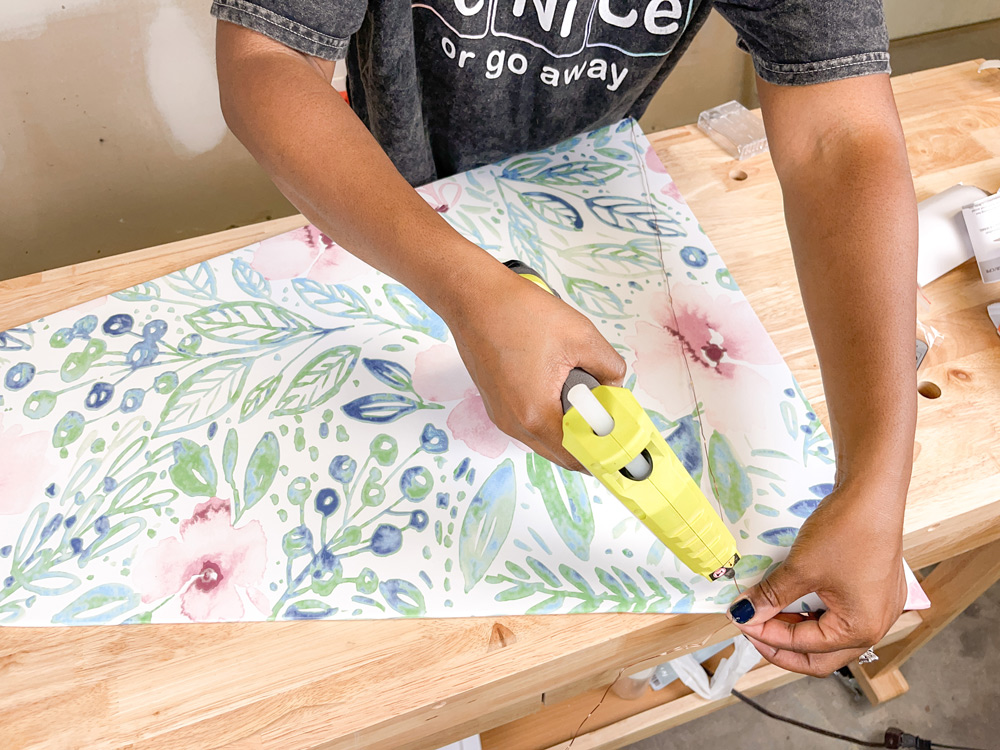
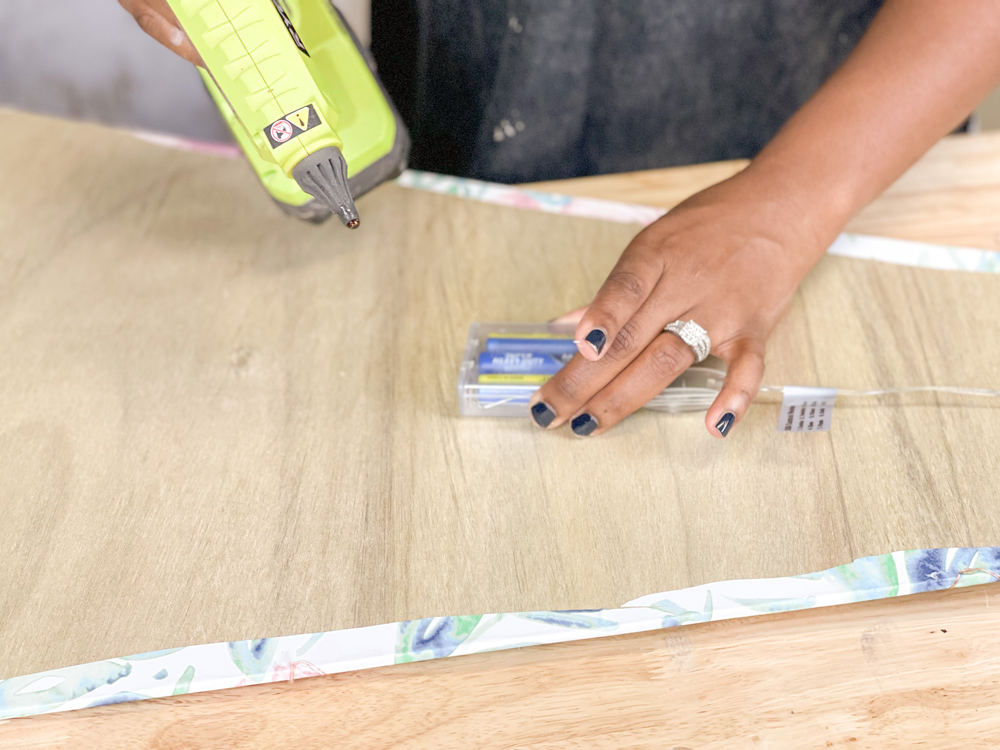
After the lights are attached, you will then need to hide the battery pack in the back. I attached it to my back using hot glue. Before you add them, make sure you have the battery pack faced upward to where you can easily change out batteries when needed.
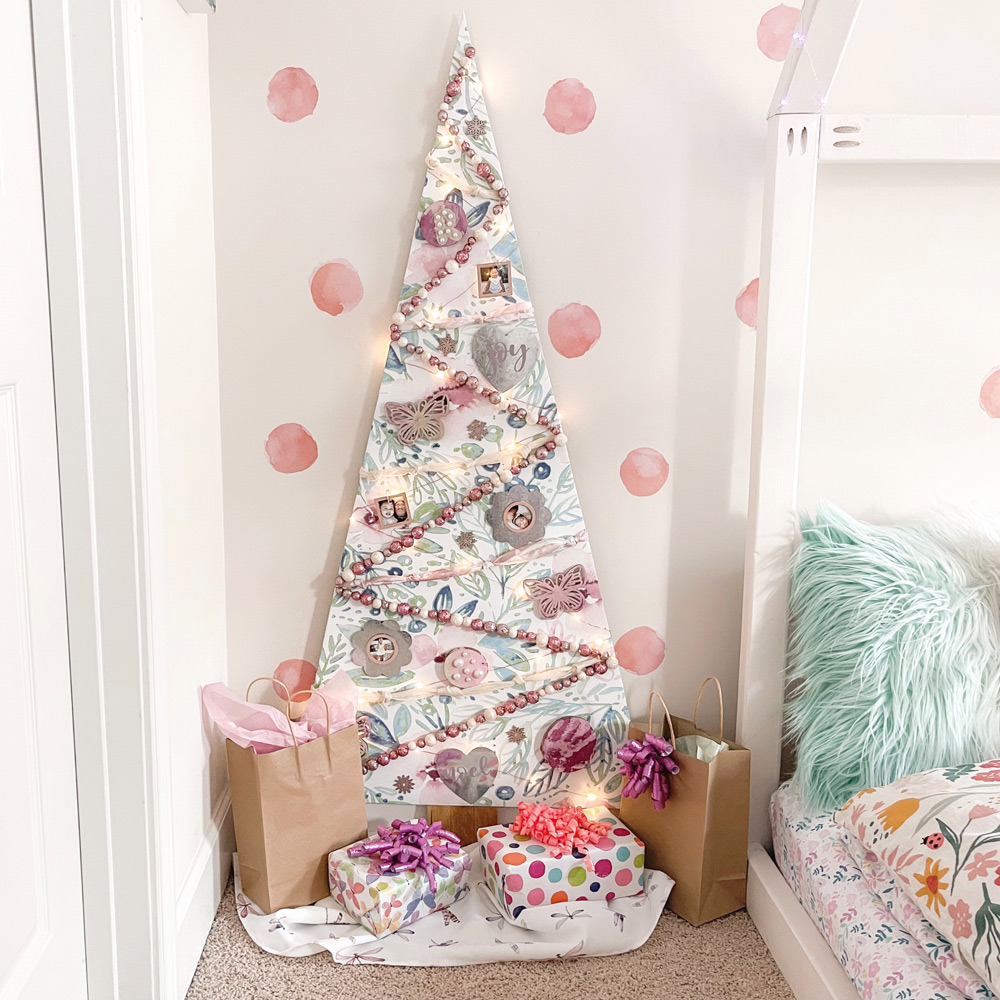
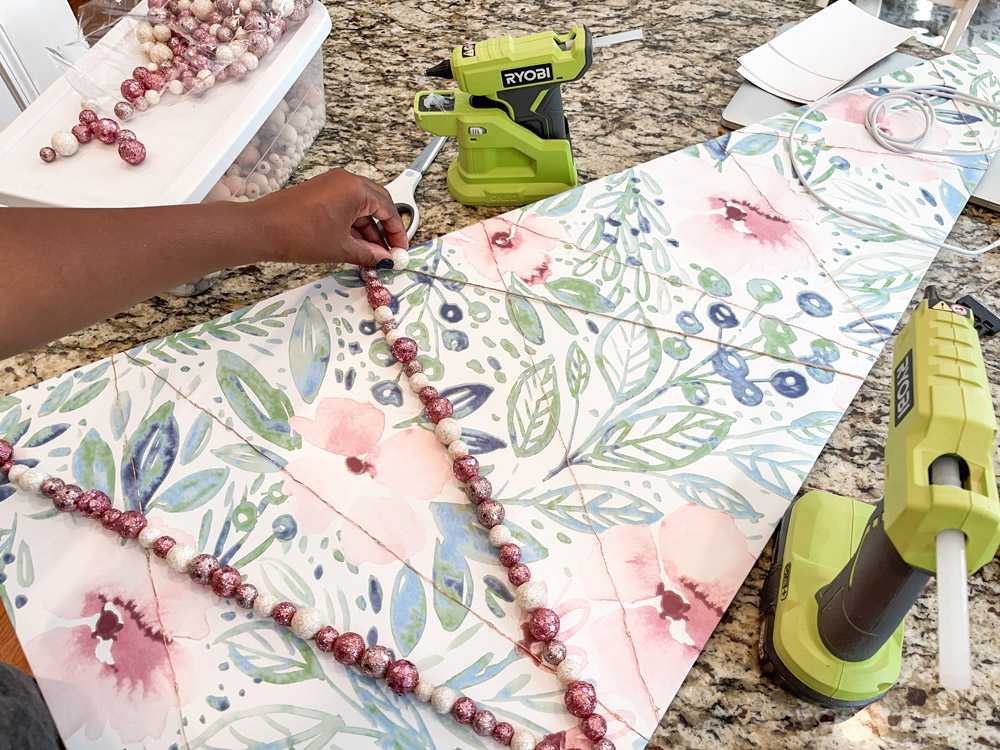
Here comes the fun part of adding decorations to the tree. I used foam balls to add a little sparkle to this tree since this will be for my girls. You can also attach wood beads or ribbon so the tree can have garland around it, or you can opt only to add lights.
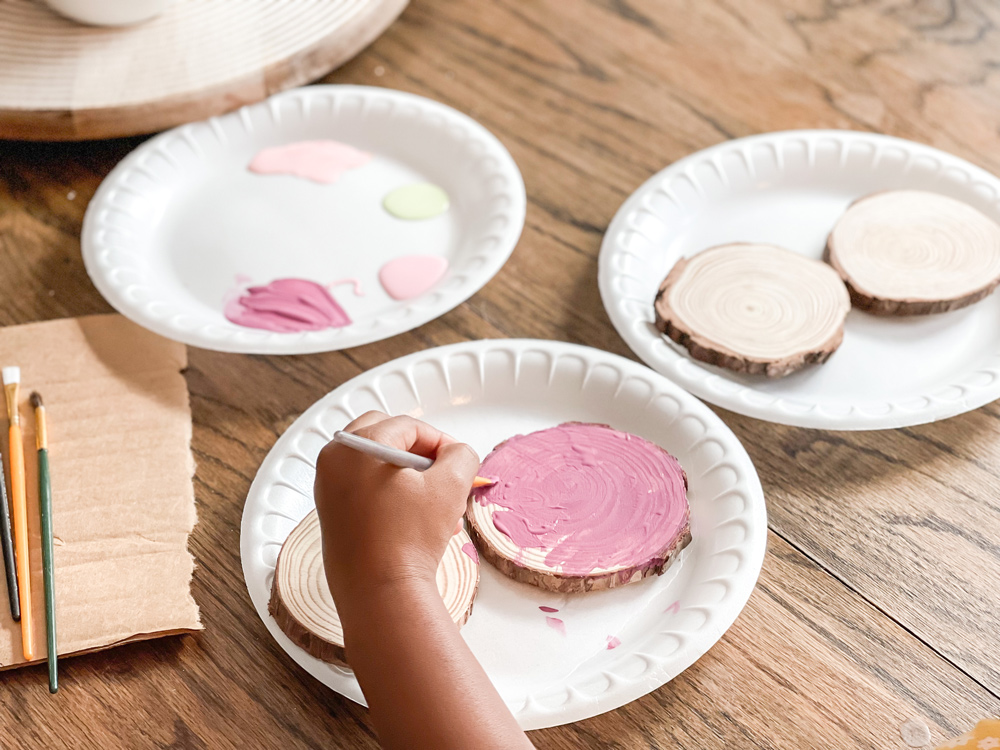
If this tree is for children, it's nice to get them involved by creating ornaments to add to the tree. My daughter had so much fun painting various styled ones using wood slices and other flat objects to decorate the tree.
I also added pictures of my girls to the tree to personalize it a little more. You can add fun frames around each one and attach them using hot glue, or you can cut pictures out and attach them using the clothespins provided with the fairy lights.
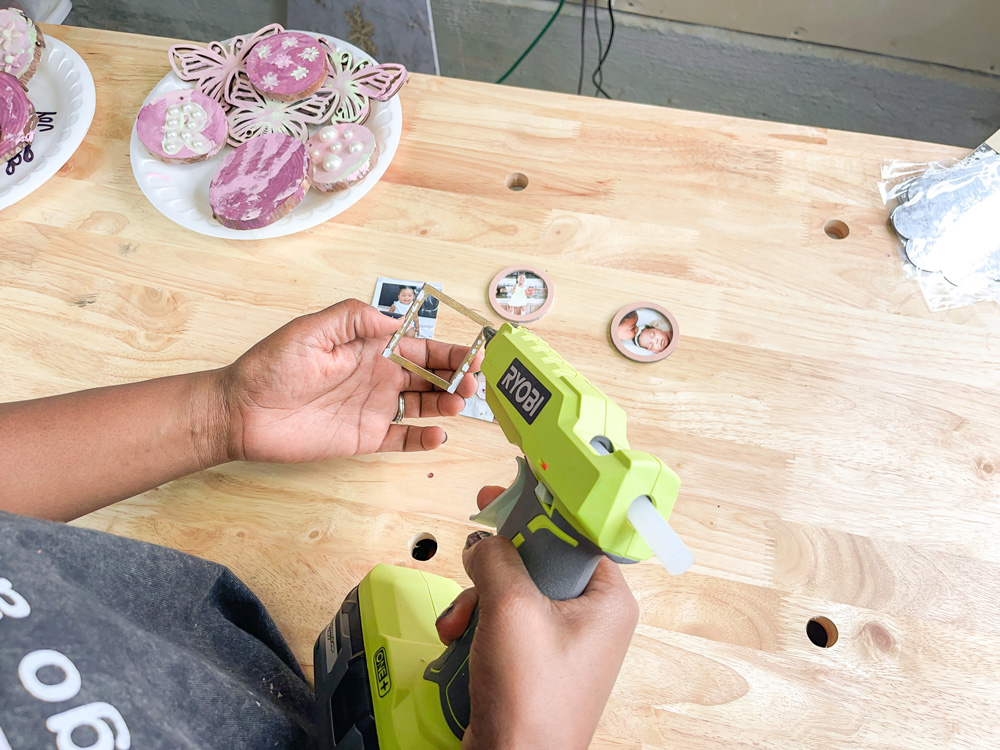
You can also attach photos to the center of your ornaments. I used my hot glue to add them.
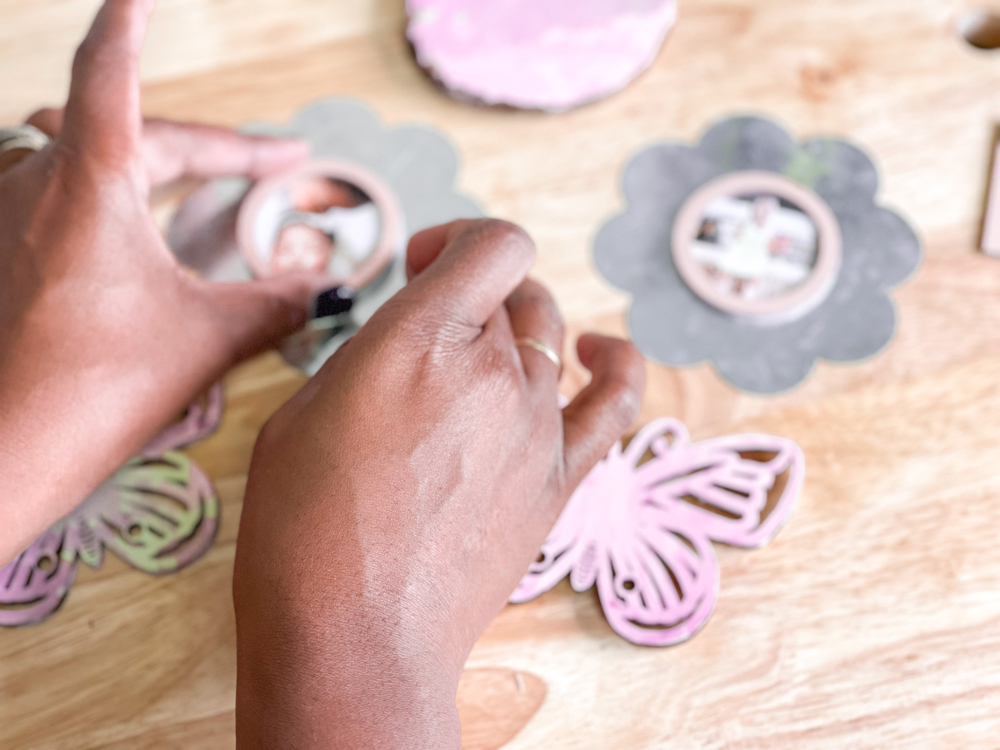
Next, I added velcro to the back. Attaching the velcro to the back creates a way for the ornaments to be repositioned and switched out. I added each piece by adding the strips provided together and then cut them down to the sizes I needed for each one.
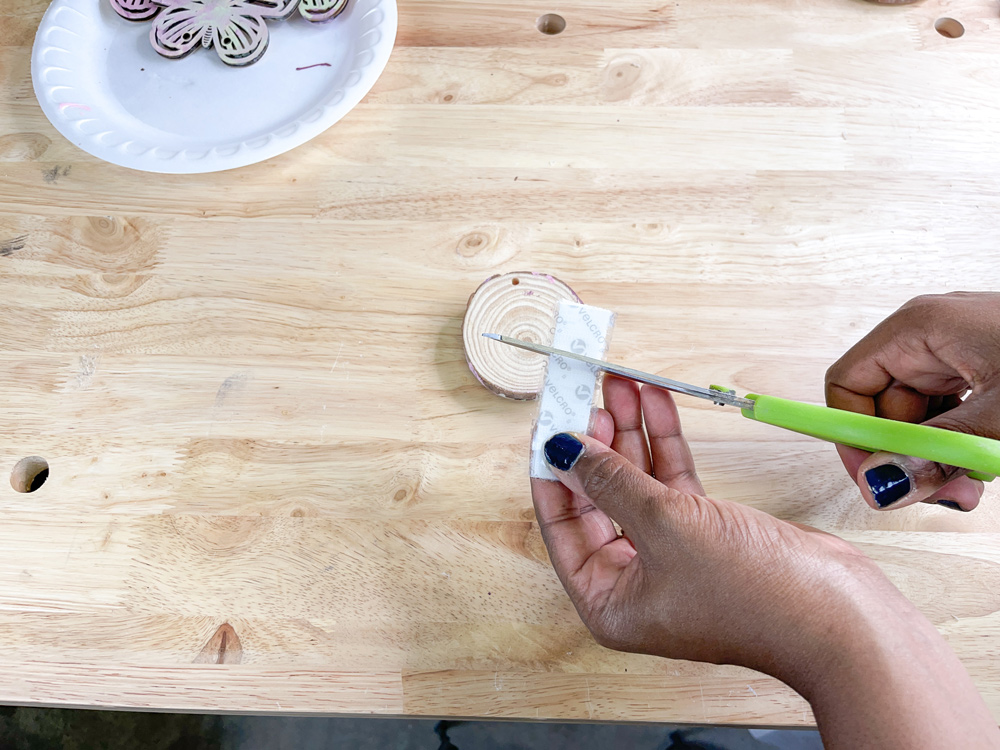
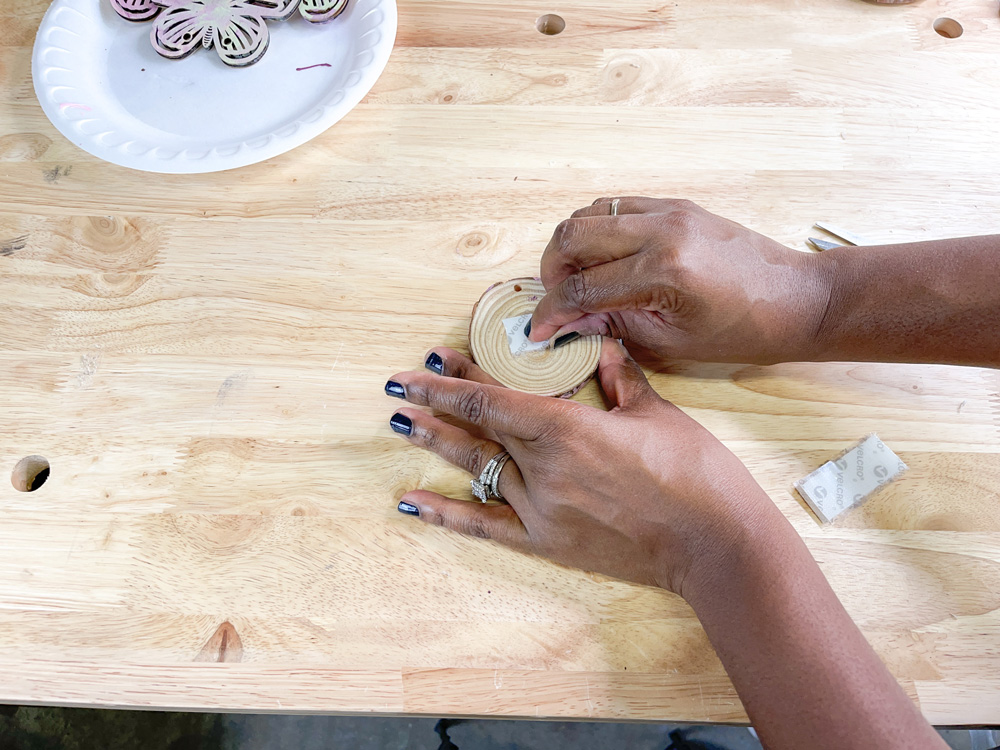
Once I cut out each piece, I attached them to the back, peeling back the covering and adding the velcro to the center.
I then added each ornament to the tree. Go crazy or stay minimal!
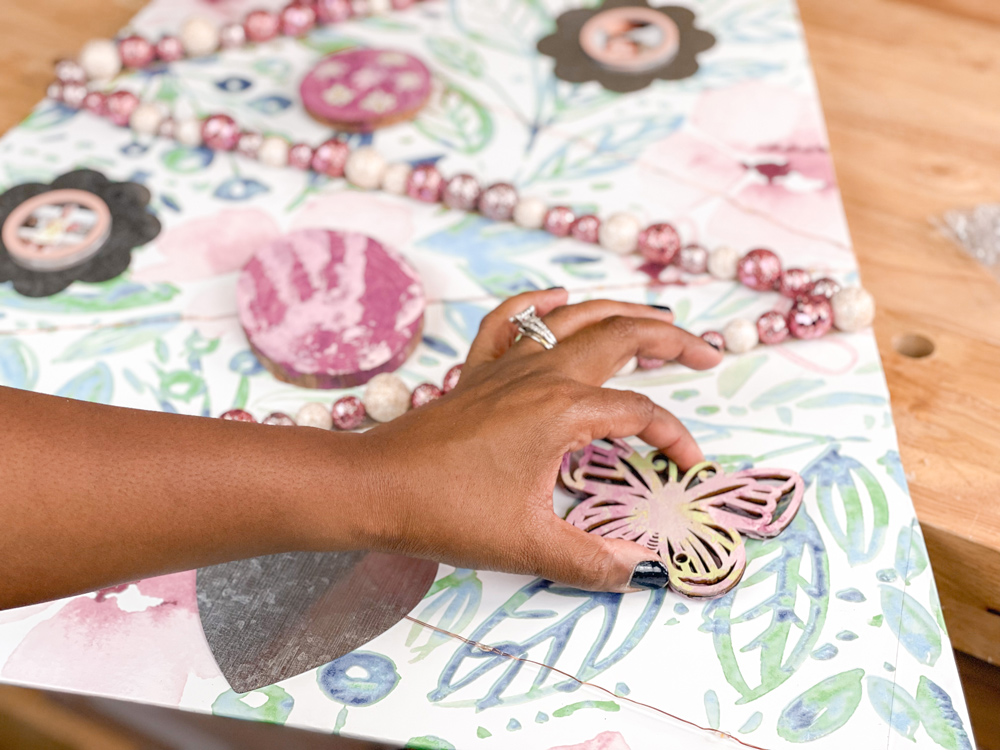
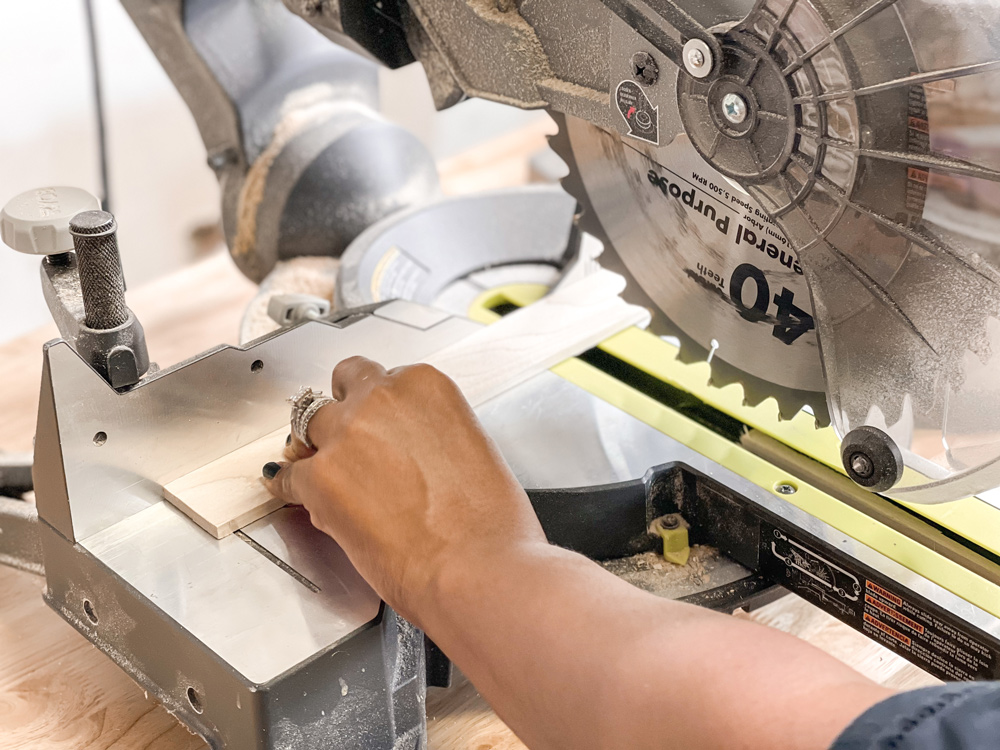
After I attached the ornaments, I started to work on the detachable trunk. I used a poplar board to create this. I cut each board down to my desired size, and I cut out four strips.
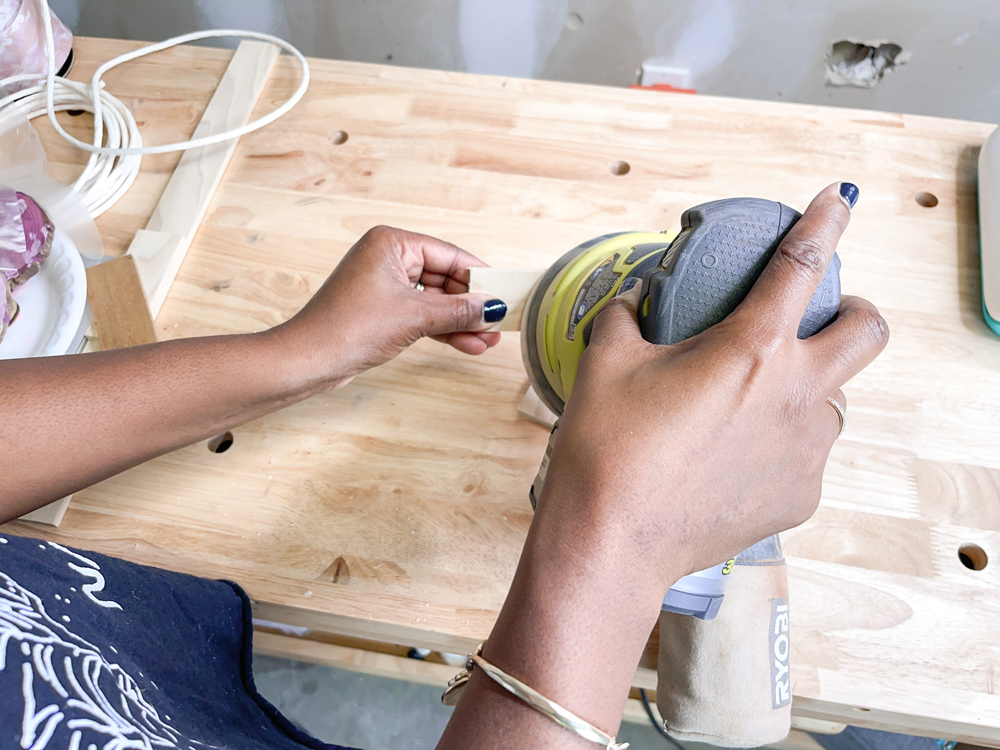
I then took my orbital sander, and I sanded down each piece.
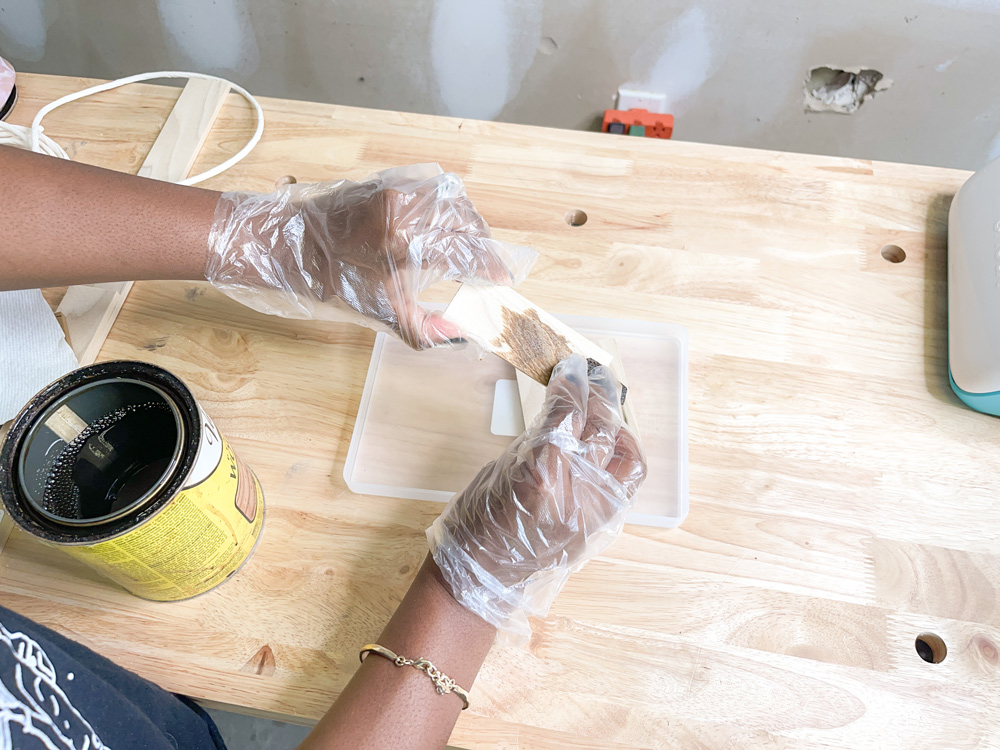
I took my favorite stain, Golden Oak, and I applied that to each strip. You can paint or stain the wood pieces.
Once dry, I attached my three strips using wood glue. If staining, make sure you do that process first before applying stain so that you can ensure max penetration of the chosen stain color.
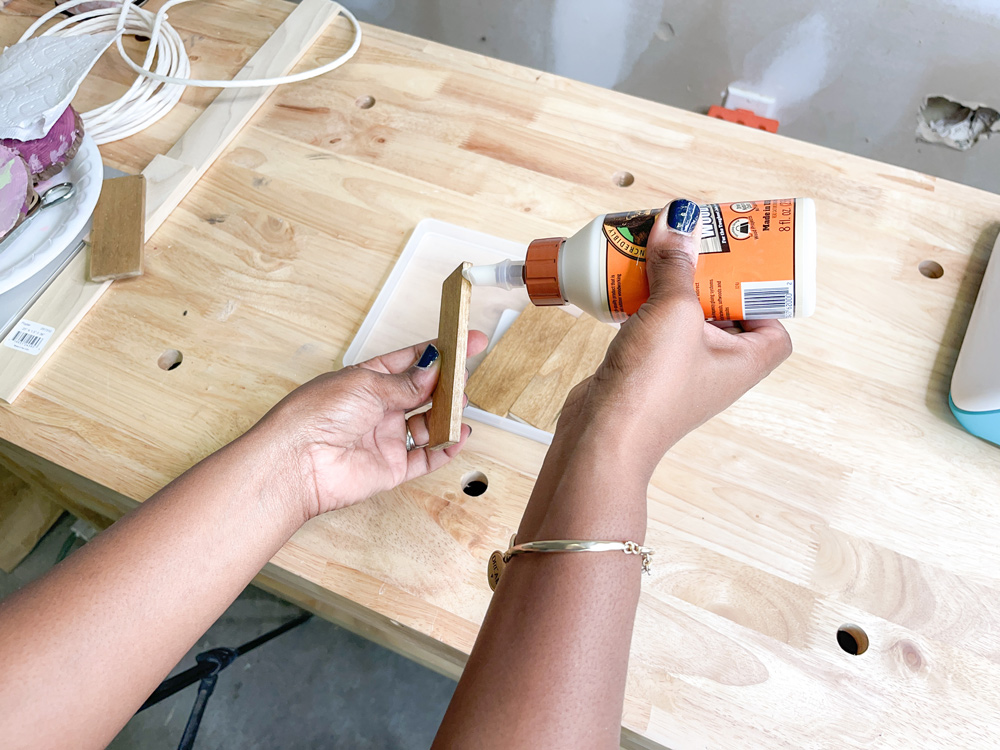
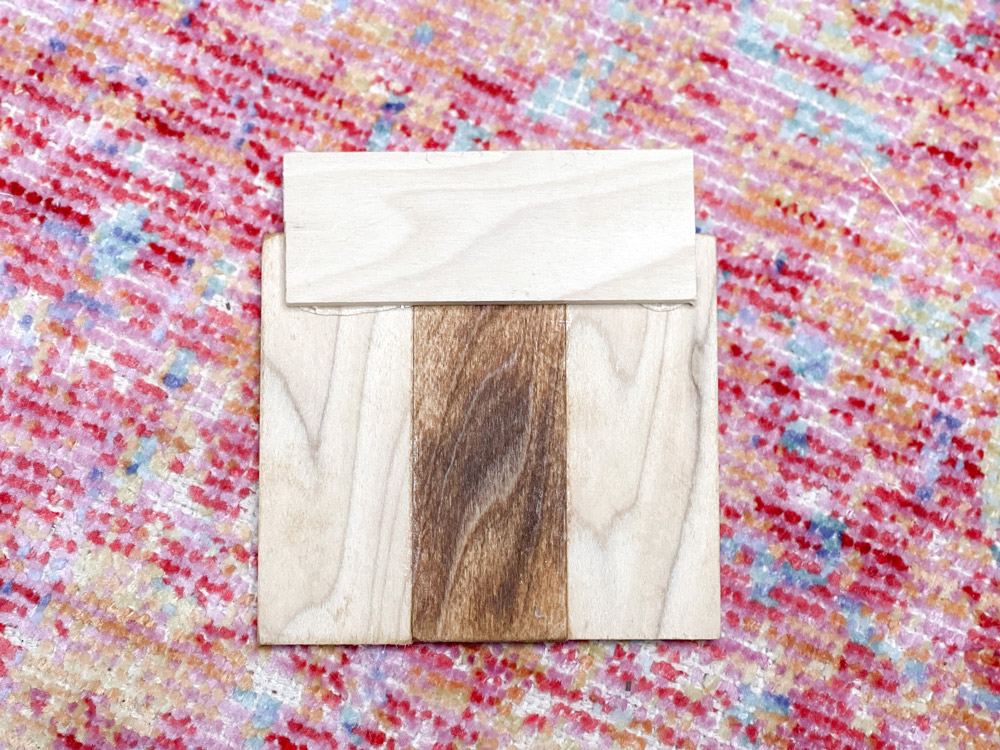
I then took that fourth piece and attached it to the back using my wood glue and a glue gun. Before gluing, I added the wood halfway to the back of the base of the tree. I then added the trunk on top of the horizontal piece and traced where it was attached. To make sure once it is in place, it will be in a perfect position vertically.
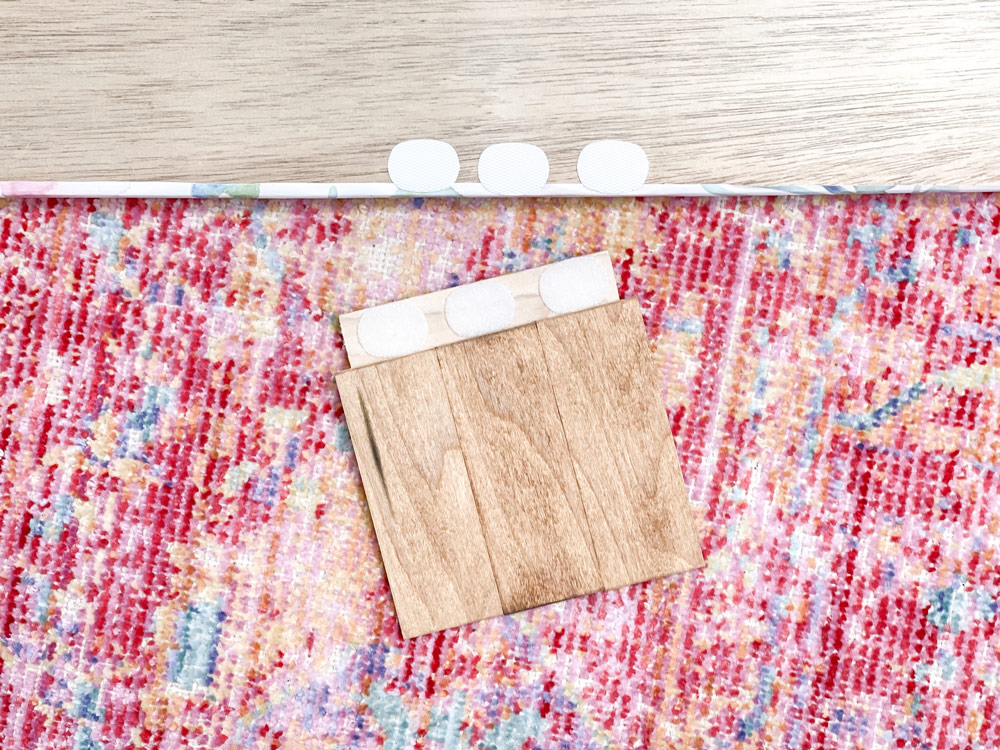
I used industrial strength velcro to attach the trunk to my base the same way I added the velcro to each ornament.
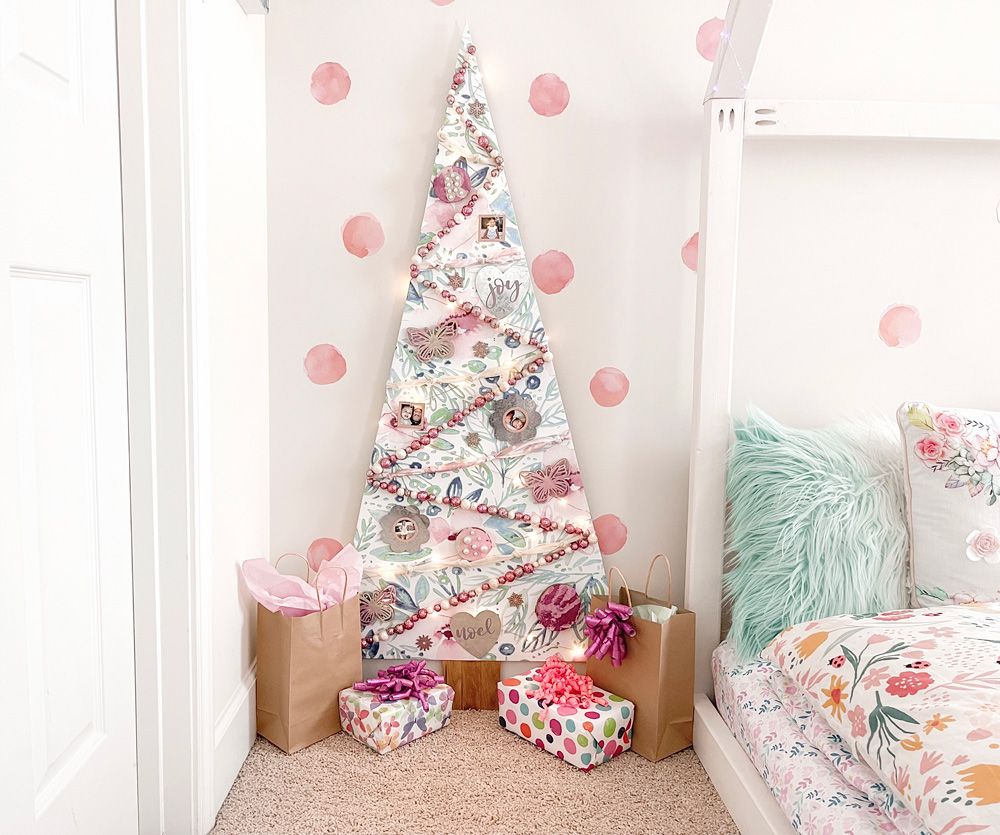
And voila!! That is it. You will then have a simple, plywood holiday tree to decorate for the holiday. Yours may not be so glitzy as mine, but that is the beauty of doing DIY projects to make them your own. As I mentioned previously, there are so many ways that you can create this tree. If you are looking for a space saver, party decorations, unconventional decor ideas, or a fun project to do with the kiddos, this tree has all those areas covered. Remember to have fun with this project, and don't forget to tag me if you create one of these this holiday season!
This post was created in partnership with The Home Depot. The author may have received compensation for this article and associated images or video, potentially in the form of products and/or services. All expressed opinions and experiences are the author’s own words.


