How to Create a Rolling Veggie Garden

Last updated August 21, 2024

Lauren Peacock recently moved to rural north Georgia to renovate a 1970s A-Frame cabin. Previously a social media manager, Lauren is now focused on homesteading and a small fresh-cut flower farm full time.
A Note From The Home Depot
Consider starting your garden from seeds this year. Read on to see how Lauren Peacock of The Peacock’s A-Frame created a rolling vegetable garden so you can start your seeds indoors and then roll the cart outside after your last frost.
Table of Contents
How to Create a Rolling Veggie Garden
Step 1: Determine Measurements
Step 2: Cut and Build The Base
Step 3: Add The Trim
Step 4: Build The Top of Your Rolling Veggie Cart
Step 5: Sand and Fill Holes
How to Create a Rolling Veggie Garden

Growing your garden from seeds requires a few more steps than beginning with a starter plant but can be even more rewarding when growing your own food. This rolling herb and veggie kitchen cart will make your raised garden bed more mobile, making transplanting your seeds even easier. Because it is mobile, you can simply roll the cart outside after your last frost rather than transplanting your seeds to a new bed.
Step 1: Determine Measurements
Measure your space. You won’t need light to start the seeds, but your seedlings do need light once they’ve germinated. Find a wall near a window that provides adequate light for seedlings.
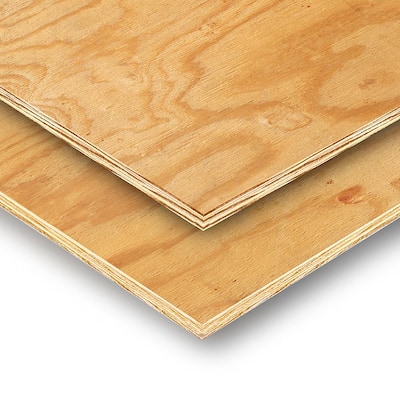
Here is the cut list used for this project:
- (4) 4x4x16 in. (base posts)
- (2) 2x4x14 in. (base supports)
- (2) 2x4x36 in. (base)
- (1) 2x2 15/16x36 in. (base)
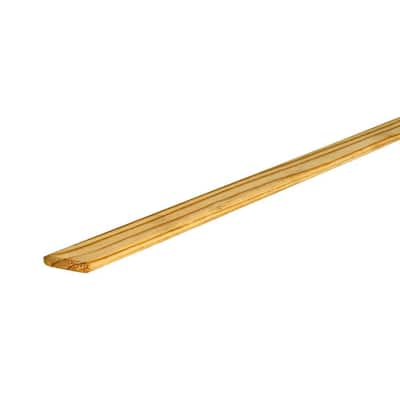
- (2) 1x6x14 in. (trim)
- (2) 1x6x38 1/8 in. (trim)
- (4) 2x4x12 in. at 22 ½ degrees
- (2) 1x6 to 38 3/8 in. at 22 ½ degrees
- (2) 1x6x42 ½ in. at 22 ½ degrees
- (4) 1x6x13 ¾ in.
Step 2: Cut and Build The Base

For our space, our final cart is 54 in. wide. To begin, cut down a 4x4x8 post to four (4) 4x4-ft. x16-in. heights.
Cut two (2) 2x4 at 14-in. Attach one 2x4 to the 4x4s. Use a square to make sure these are level. Repeat.

Cut two (2) 2x4 at 36 in. Using a table saw, rip one (1) 2x4 to 2 15/16 in. Note that if you built this rolling cart to 12- or 16-in wide at the base, you would not need to rip one. Attach the 2x4s and ripped boards to the 4x4 posts to build the base of your planter.
Step 3: Add The Trim

Cut two (2) 1x6s to 14 in. Cut two (2) 1x6s to 38 1/8 in. This will act as trim, covering the 2x4s on your base as well as providing more stability.
Step 4: Build The Top of Your Rolling Veggie Cart

Begin by using your miter saw to cut four (4) 2x4s to 12 in. with 22 ½-degree angles. These will be the supports for the planter.

Then, cut two (2) 1x6s to 38 3/8 in. with a mitered edge at 22 ½ degrees for the first side of the planter. Attach one of these boards to two of the previously cut (2) 2x4s.

Save the second board to build the back side of the cart.
Ensure that the 2x4s allow enough space for the 1x6 sides to be attached once the face has been completed. Also ensure they are squarely attached to the base.

Now, cut two (2) 1x4s to 42 ½ in. These boards are for the top of the cart.


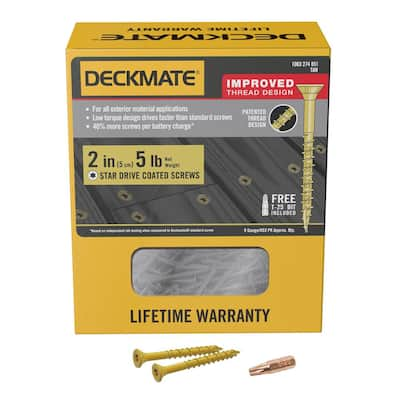
Repeat these steps to build the back side of the veggie cart. Then, attach the front to the base. Drill straight down into the angled 2x4. Drill at least 2-3 screws into each 2x4. Attach both the front and back sides.

Next, cut four (4) 1x6 to 13 ¾. These will be the sides. Attach.
Step 5: Sand and Fill Holes

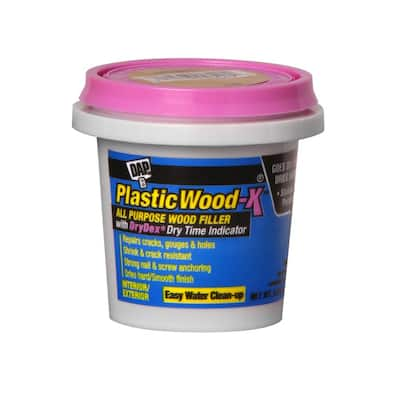
Because this wood is pressure treated, there may be imperfections in the wood. Sand down and fill the holes from the screws with wood putty or plastic wood.
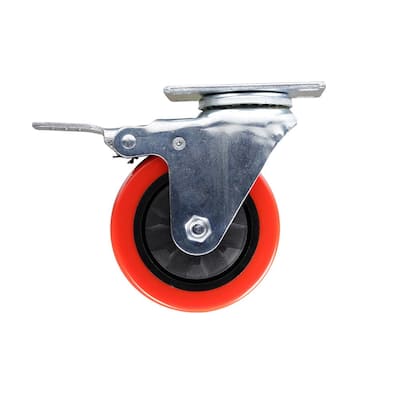
Step 8: Add The Wheels


Flip the cart over to attach your castor wheels. Then, attach an additional 2x4 cut down to 14 in. to provide additional stability. Pre-drill holes for the lag bolts, then use a ratchet or socket to tighten the screws. Repeat for all 4 wheels.
Step 9: Stain
Use a stain rag or brush to stain your cart. Find out tips on how to stain wood.
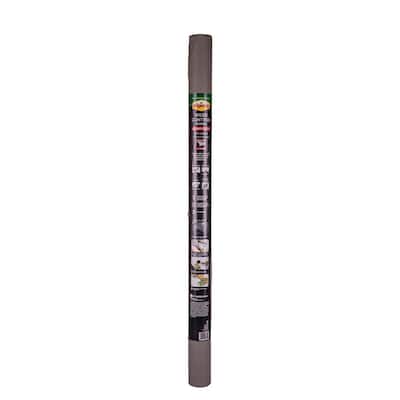
Step 10: Line The Planter and Fill with Soil
Line the inside of the cart with a garden liner. Staple the liner with a staple gun to ensure it does not move when pouring soil. Then, fill the cart with soil. On the top layer of soil, mix in seed starter.
Step 11: Plant Your Seeds

In this project, we used lavender, rosemary, lettuce, broccoli and pansy seeds. Follow the instructions on the seed packet to ensure you are planting to the right depth and spacing.
Cover your seedlings with plastic. In this case, we built a small hoop that creates a greenhouse effect.
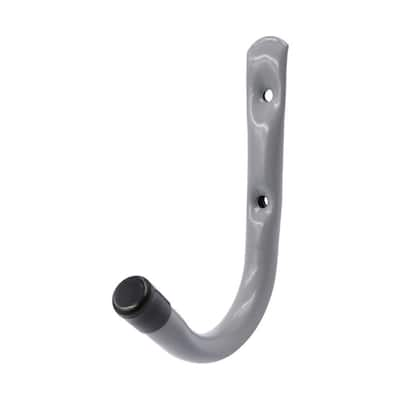
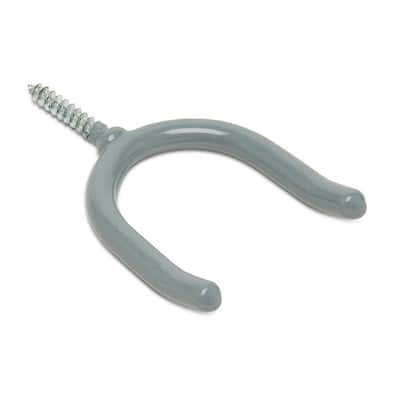
Step 12: Add Hooks
This step is optional. Add hooks to your cart for your most-needed gardening tools, like a spade, pruner and gloves.
Step 13: Moving The Cart Outside

Most flower and vegetable seeds germinate best when the soil's temperature is 70 to 75 degrees. Move the cart outside on warm days over 70 degrees. If your region experiences a freeze, ensure the cart is rolled safely back indoors for the duration of the freeze. After your last frost, you can move the cart outside full time.
This post was created in partnership with The Home Depot. The author may have received compensation for this article and associated images or video, potentially in the form of products and/or services. All expressed opinions and experiences are the author’s own words.