How to Build a Modern Style TV Console

Last updated August 21, 2024

Shara's blog Woodshop Diaries showcases her remodeling projects, DIY furniture building tutorials, and plenty of other DIY projects she comes up with along the way.
A Note From The Home Depot
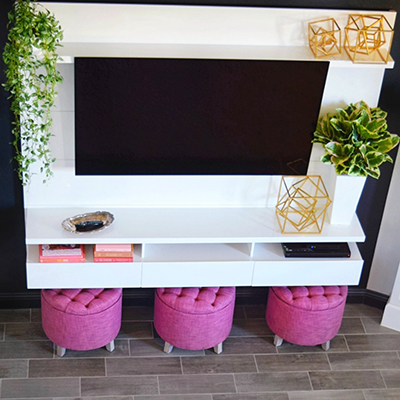
A DIY TV console doesn’t have to be difficult! Shara McCuiston of Woodshoop Diaries built this modern DIY TV console in seven simple steps. Read on to find out how to make it yourself.
Table of Contents
Modern DIY TV Console in Seven Simple Steps
Cuts
Step 1: Build Two Side Panels
Step 2: Construct the Cabinet Frame
Step 3: Add TV Cabinet Dividers and Bottoms
Step 4: Add Drawers
Modern DIY TV Console in Seven Simple Steps

Building your own piece of furniture is not only satisfying when you step back and say “I built that!” But, it’s also a great idea when you want a custom size or custom designed piece. After getting some inspiration from a TV cabinet I recently spotted in a magazine, I decided it would be fun to build a DIY TV console with glass paneled doors to display favorite items. It’s easier than you think, and I’ll show you how below!
Cuts
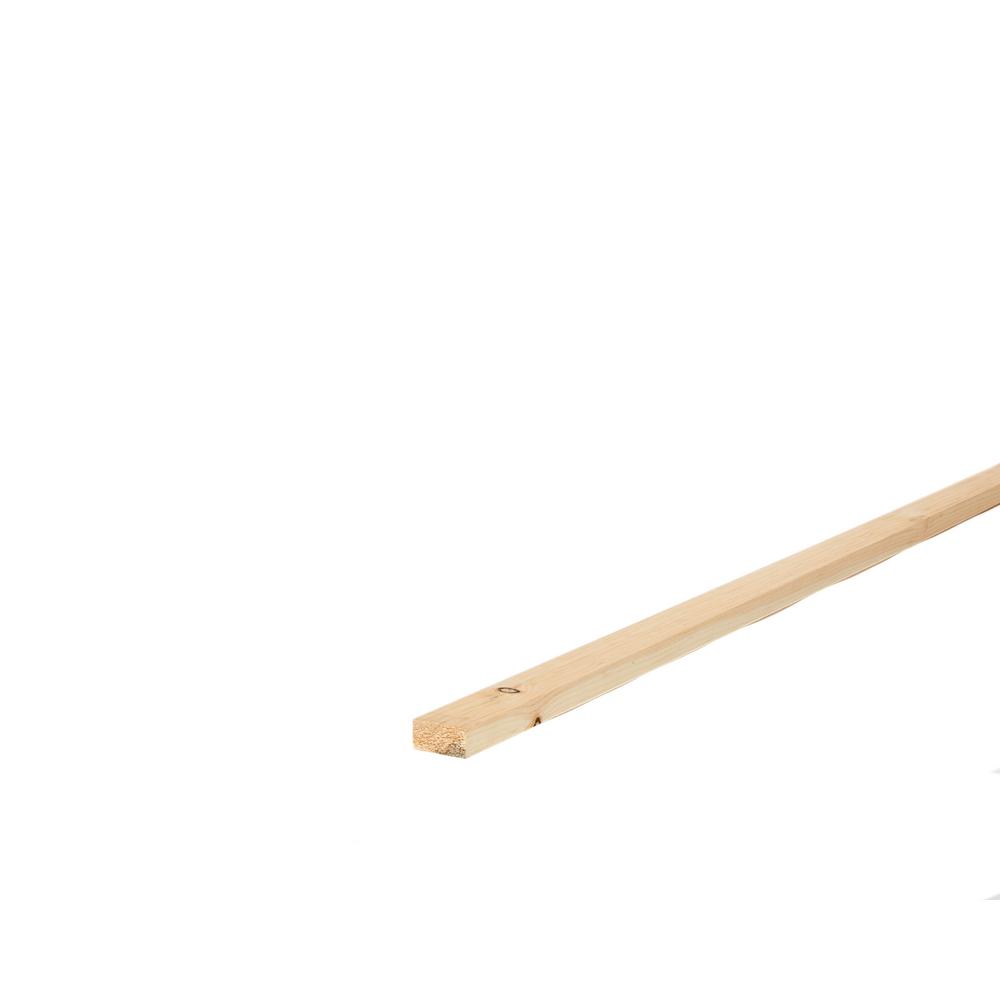
2 x 2 Boards
- (4) 2 x 2 legs at 31 in. long
- (4) 2 x 2 frame pieces at 48 in. long
- (6) 2 x 2 frame pieces at 16 in. long
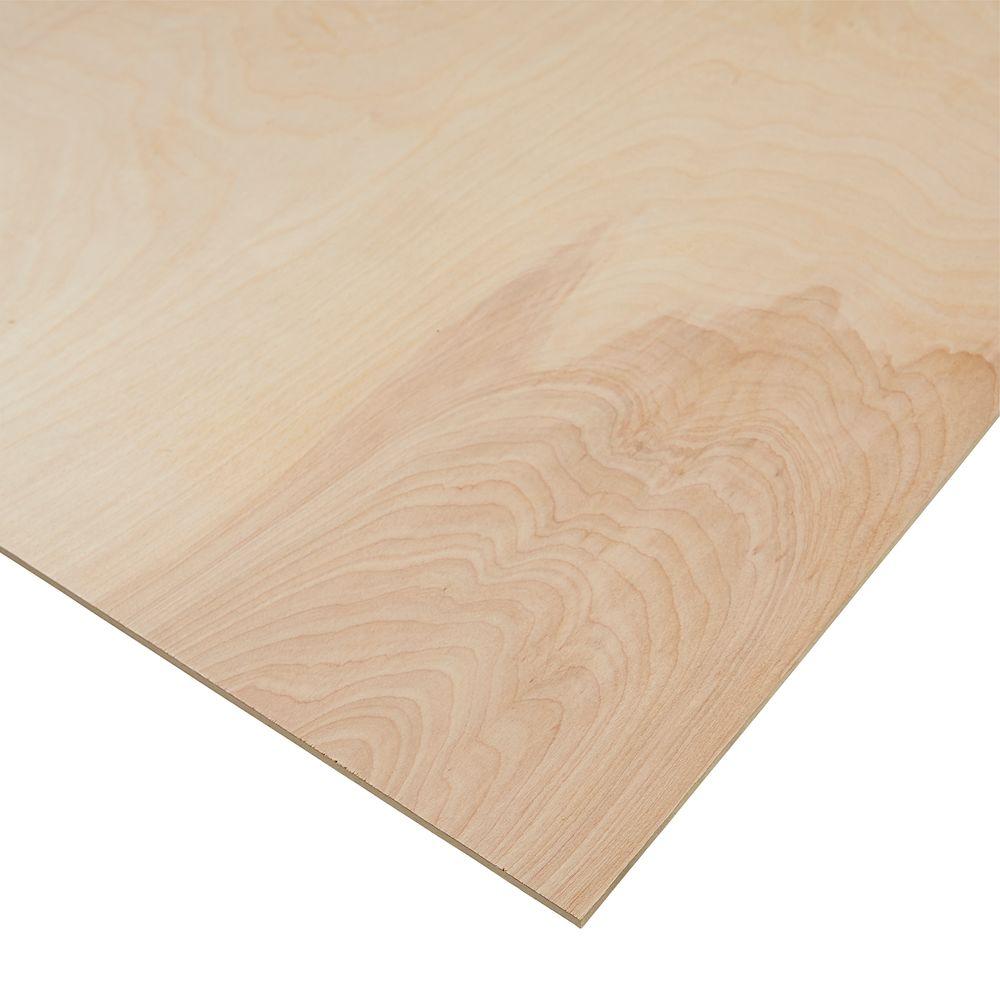
Plywood Panels
- (2) ¾ in. plywood panels at 16 in. x 23 ½ in. (cabinet sides)
- (1) ¾ in. plywood panel at 16 in. x 48 in. (cabinet top)
- (2) ¾ in. plywood panels at 19 in. x 24 ¼ in. (cabinet vertical dividers)
- (2) ¾ in. plywood panels at 18 ¼ in. x 14 in. (outside cabinet bottoms)
- (1) ¾ in. plywood panel at 18 ¼ in. x 18 ½ in. (middle cabinet bottom)
- (1) ¼ in. plywood panel at 17 in. x 49 in. (cabinet backing)
Plywood Pieces
- (6) ¾ in. plywood pieces at 6 in. x 16 in. (three drawer sides)
- (4) ¾ in. plywood pieces at 6 in. x 11 ½ in. (two outside drawer front and back)
- (2) ¾ in. plywood pieces at 6 in. x 16 in. (middle drawer front and back)
- (3) ¼ in. plywood pieces cut to fit for drawers (see step X)
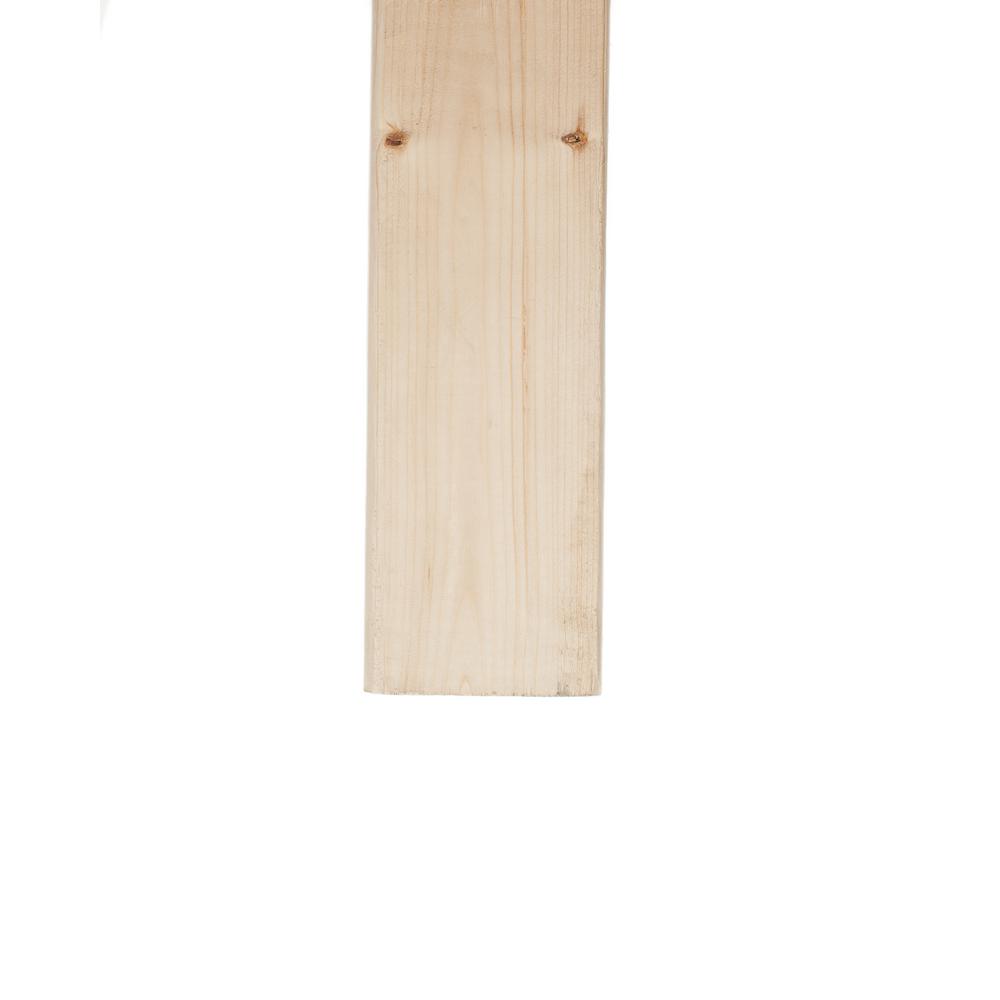
1 x 2 Boards
- (6) 1 x 2 boards at 7 ¼ in. (size drawer front sides)
- (6) 1 x 2 boards at 15 ¾ in. long (three door sides)
- (8) 1 x 2 boards at 10 ¾ in. long (two outside door and drawer front top and bottom)
- (4) 1 x 2 boards at 15 ¼ in. long (middle door and drawer front top and bottom)
- 1 x 2s cut to fit for door pane design
Step 1: Build Two Side Panels

First, if you purchased 2 x 2s, pay attention to any rounded corners and try to make sure these face toward the back or inside of the cabinet. To avoid rounded corners, you can also purchase 2 x 4 studs instead and use a table saw to rip them down to 1½ in. widths to get nice square corners if you prefer.
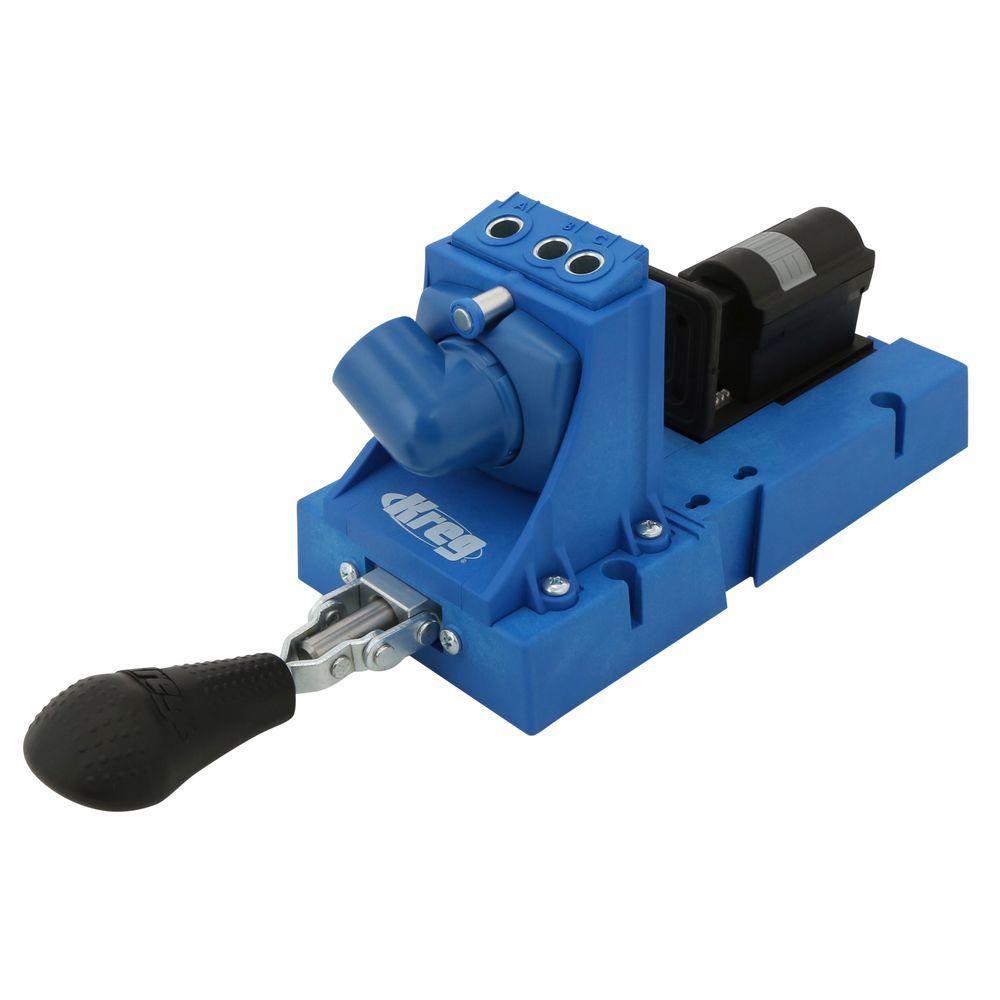
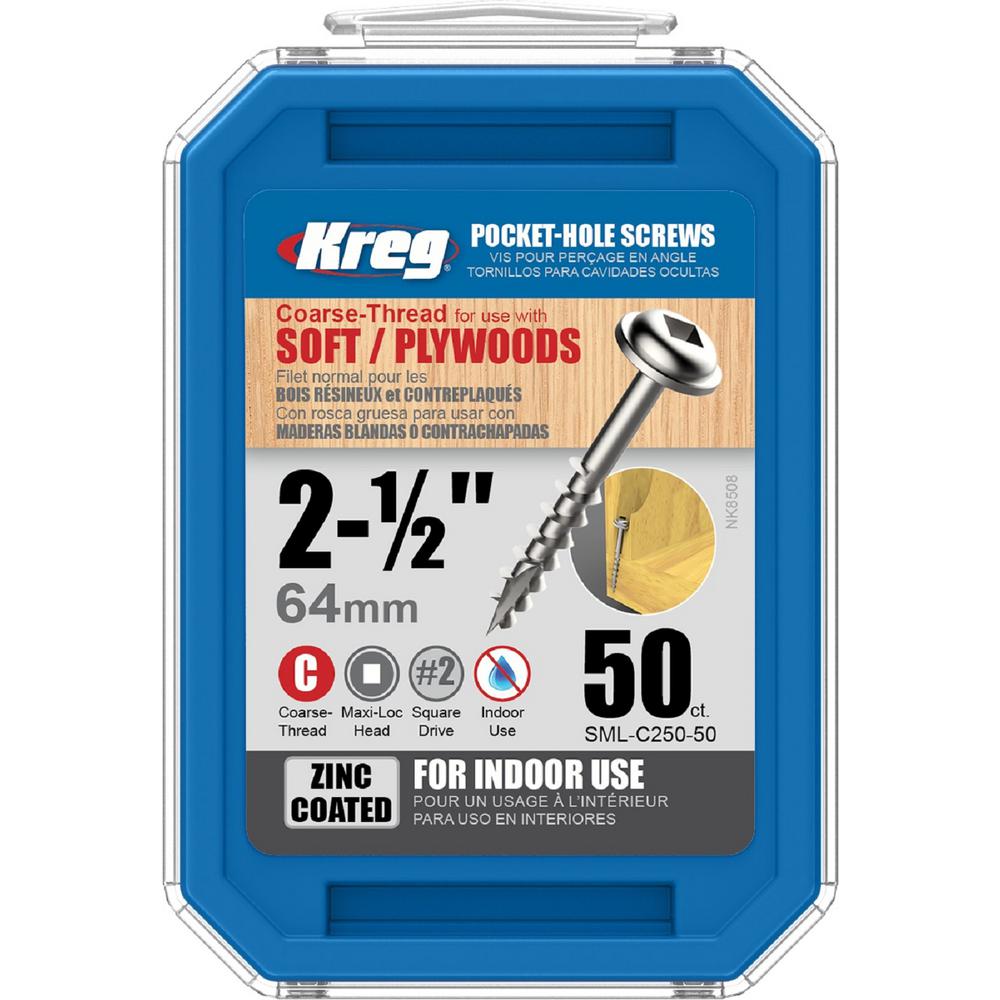
Follow the cut list to cut four 2 x 2 legs. Then, cut out your 16 in. long frame pieces (you will use four now and two in step 2). Using a drill and pocket hole jig, drill 1 ½ in. pocket holes into both ends of each frame piece (not the legs).


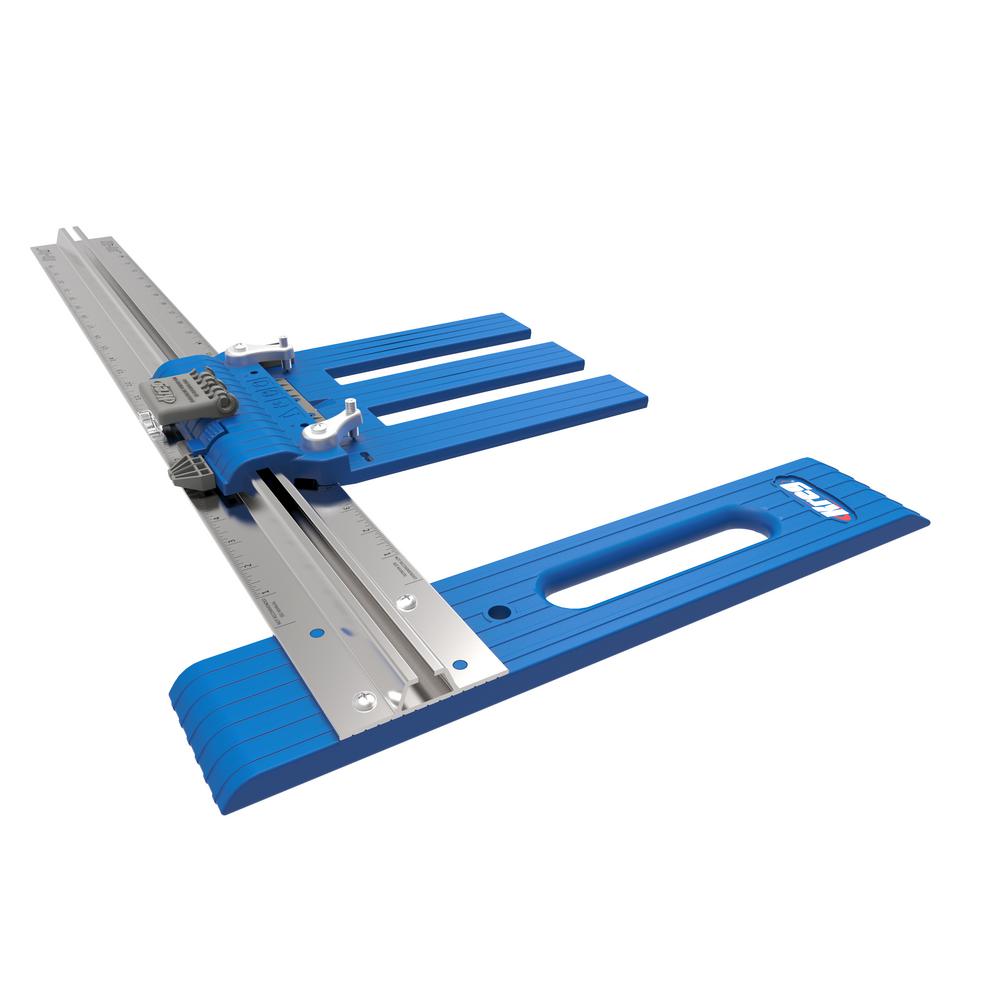
Then, using a Kreg Rip Cut and a circular saw, rip a piece of 16 in. wide ¾ in. plywood off of your full sheet. Cut this into three pieces according to the cut list above—one piece at 48 in. long and two pieces at 23½ in. long.
Using a pocket hole jig and a drill, drill ¾ in. pocket holes around the inside edges of the small plywood panels.

Assemble these panels and the frame pieces together like shown using 2½ in. pocket hole screws on the 2 x 2s and 1¼ in. pocket hole screws on the plywood holes. Now you have your cabinet sides!
Step 2: Construct the Cabinet Frame

In step 1, you made the sides, but now we will finish the frame. Following the cut list, cut your 48 in. frame pieces and drill 1 ½ in. pocket holes into both ends of each piece.
Also drill ¾ in. pocket holes along the edges of the 48 in. long plywood panel leftover from step 1 and assemble the rest of the frame like shown using 2 1/2 in. pocket hole screws on the 2 x 2s and 1 ¼ in. pocket hole screws on the plywood holes. Make sure the bottom 2 x 2s are lined up with the side panel 2 x 2s. And make sure your plywood top is flush or close to flush with the top of the 2 x 2s. I left a very small lip on mine.

To finish out the frame, add 16 in. long 2 x 2s (left from Step 1) like shown using 1½ in. pocket holes and 2½ in. pocket hole screws. These should be 14 in. in from the outside. Check for square when attaching!
Step 3: Add TV Cabinet Dividers and Bottoms

Following the cut list, cut your two cabinet divider pieces.
Carefully notch out the top front and back corners using a jig saw. They should fit flush to the top. It’s best to trim a little at a time and test it out. You can always cut more off, but you can’t put it back if you cut too much! Don’t attach yet, just dry fit it.

Drill pocket holes along the top and bottom edge and add edge banding to the front edge of these two divider pieces. This will cover the plywood edges for a cleaner look. The preglued kind is easy to apply with aregular iron. I recommend using some tin foil to protect the iron from any glue.

Attach these dividers between the top plywood piece and the bottom 2 x 2 braces like shown using 1¼ in. pocket hole screws. Make sure they are square before screwing together!


Cut the cabinet bottoms according to the cut list and apply edge banding to the front edge. Drill pocket holes along both sides of each piece and attach like shown using pocket hole screws. Attach these so that they are flush with the back of the cabinet and they are 9½ in. from the bottom of the cabinet frame (not the bottom of the legs).
Step 4: Add Drawers

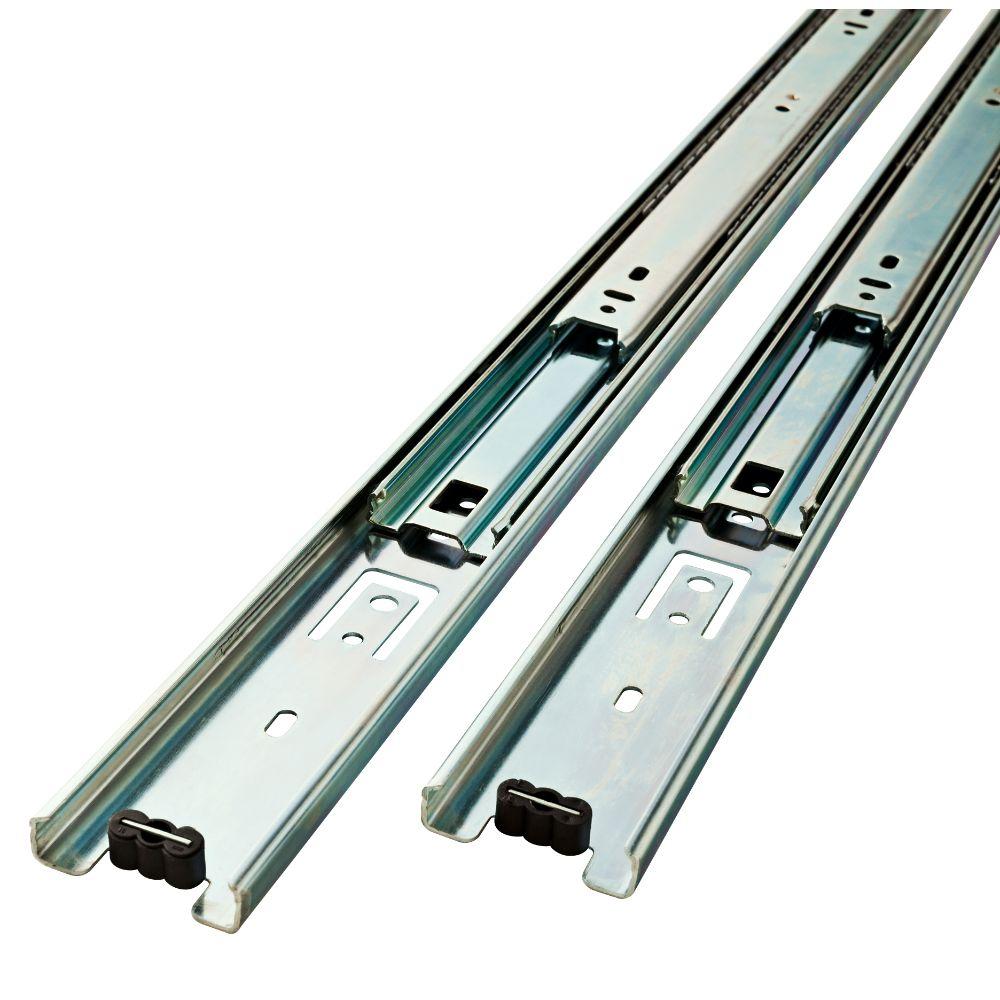
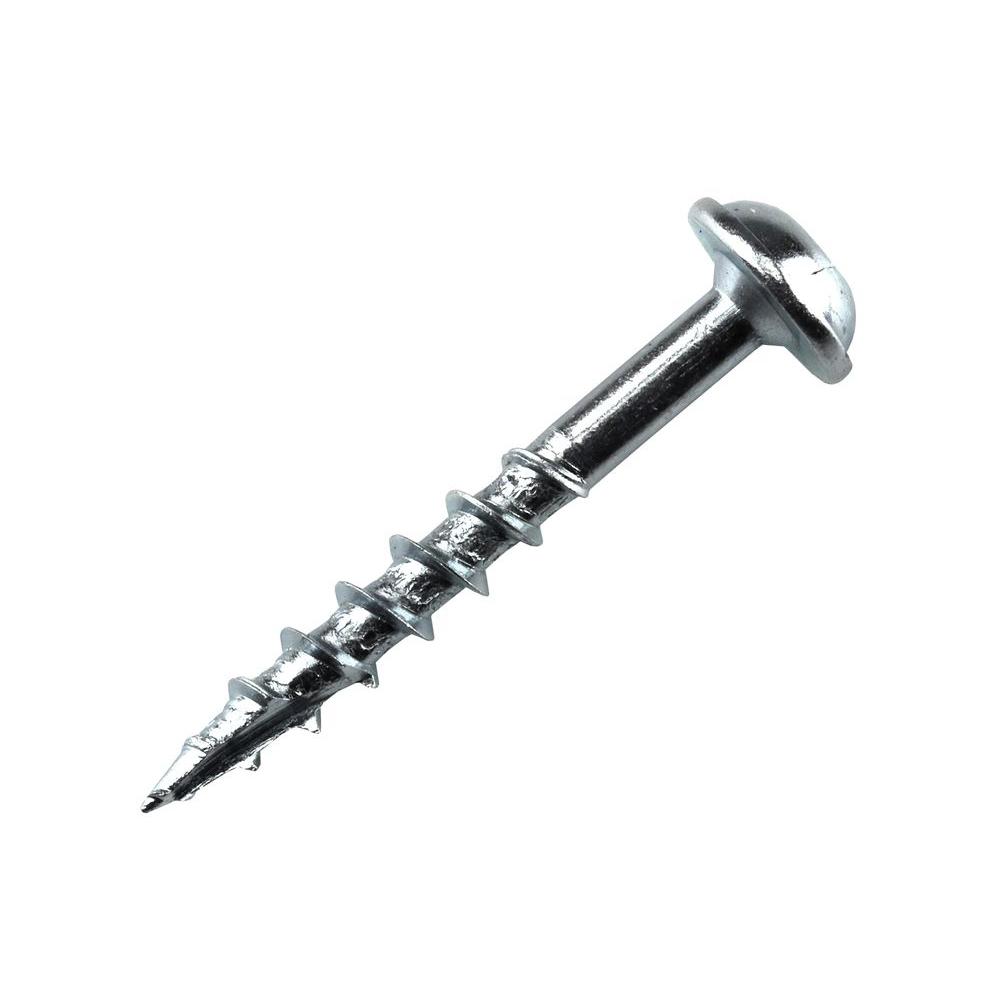
Attach 16 in. ball bearing drawer slides using 5/8 in. wood screws like shown. It’s easy to use a spacer placed across the bottom 2 x 2s of the frame to line up your drawer slide with. Make sure they are ¾ in. inset from the front so the drawer fronts added later will be inset.

Now it’s time to build your drawers. Follow the cut list but, measure first and make any necessary adjustments. Total drawer widths should be 1 in. narrower than the drawer opening.
If you have a router or table saw, you can cut a dado about ½ in. from the bottom of the drawer pieces to slide your drawer bottom. If you don’t have these tools, that is fine, you can nail on your bottom instead.


Then, assemble using glue and brad nails, or wood screws, whichever you prefer.

Before you add the fourth box side, be sure to cut your bottom if you cut dados and slide it in place. Cut ¼ in. plywood to fit however deep you cut your dados.
If you didn’t use dados, cut a piece of plywood the size of your box and glue and nail (or screw) to the bottom.

Add these drawers in place like shown.

Cut 1 x 2s to fit around the drawer edges and glue and/or nail into place. Leave about 1/8 in. gap on all sides.
Step 5: Add Backing

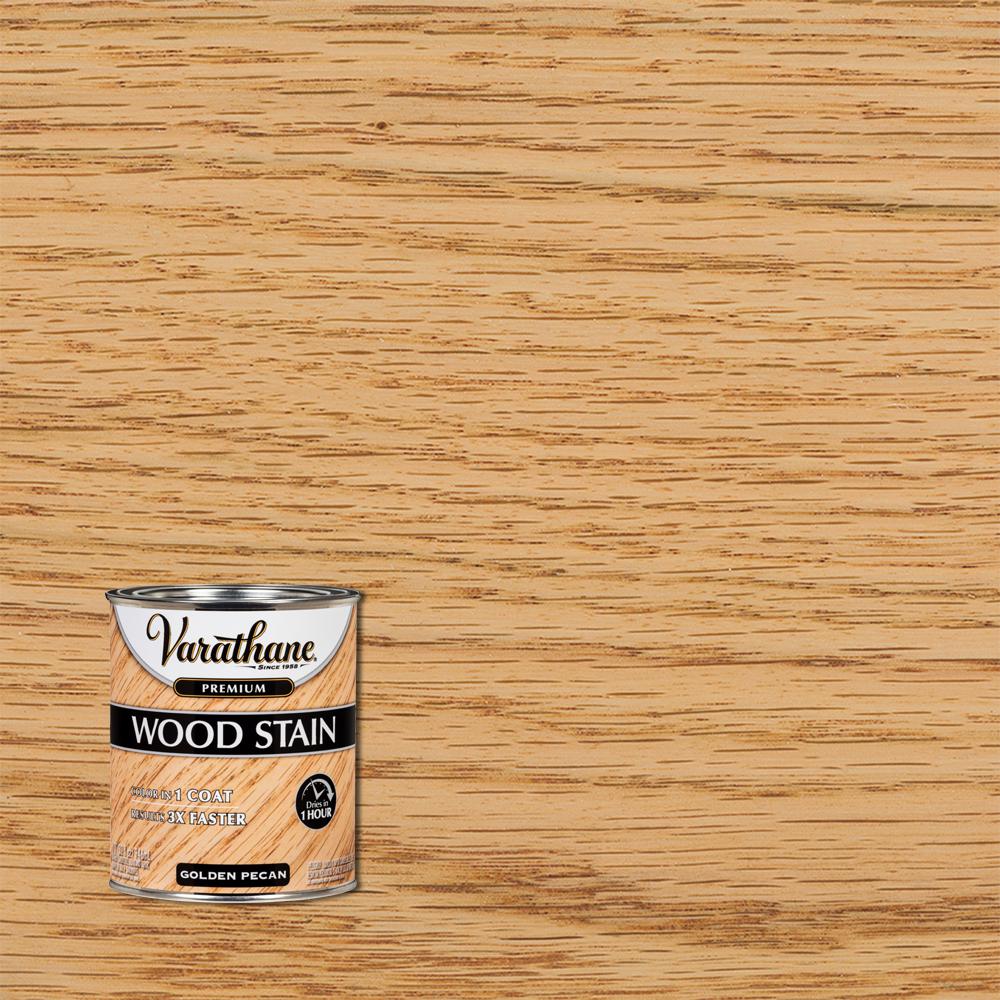
It’s easiest to go ahead and stain and/or paint at this point. Once you have this part finished, simple cut your backing piece according to the cut list and nail or staple in place. You only have to cover the cabinet part, not the drawers.
Step 6: Add Cabinet Doors

Measure your cabinet door openings and make any adjustments to the cut list door pieces as needed. Cut these door pieces and glue together into frames. Make sure the door sizes will fit your openings.
Once the glue is dry, you can use a router and a rabbet bit to cut along the inside of the door opening for the glass to fit.
If you don’t have a router or don’t want to do that part, you don’t have to, it just makes it a little cleaner.

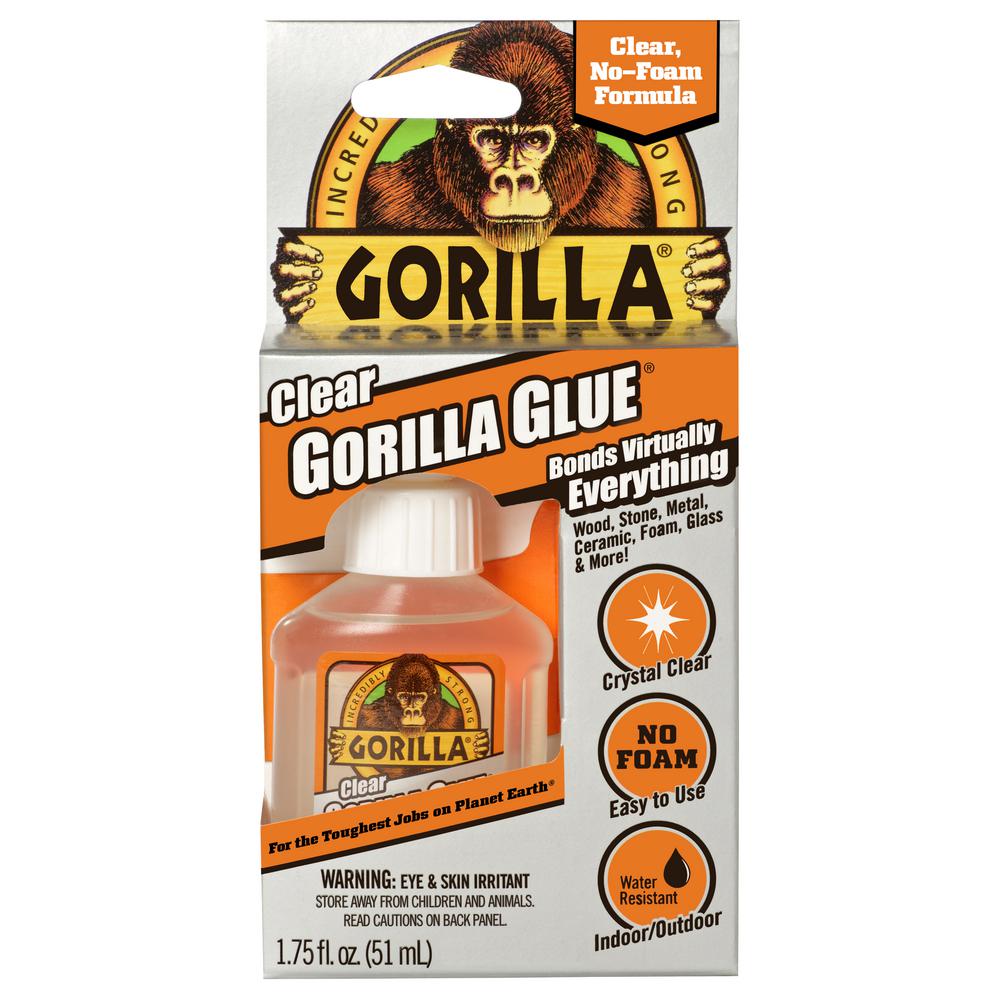
Order glass to fit these doors. If you cut a rabbet groove, make sure you get glass that will fit inside the groove. Otherwise, just get it large enough to cover the inside hole plus 1 in. on the side and 1 in. on the bottom. You can purchase glass panels and have them cut at most local Home Depot stores.Before attaching the glass, it’s easiest to go ahead and stain and/or paint.
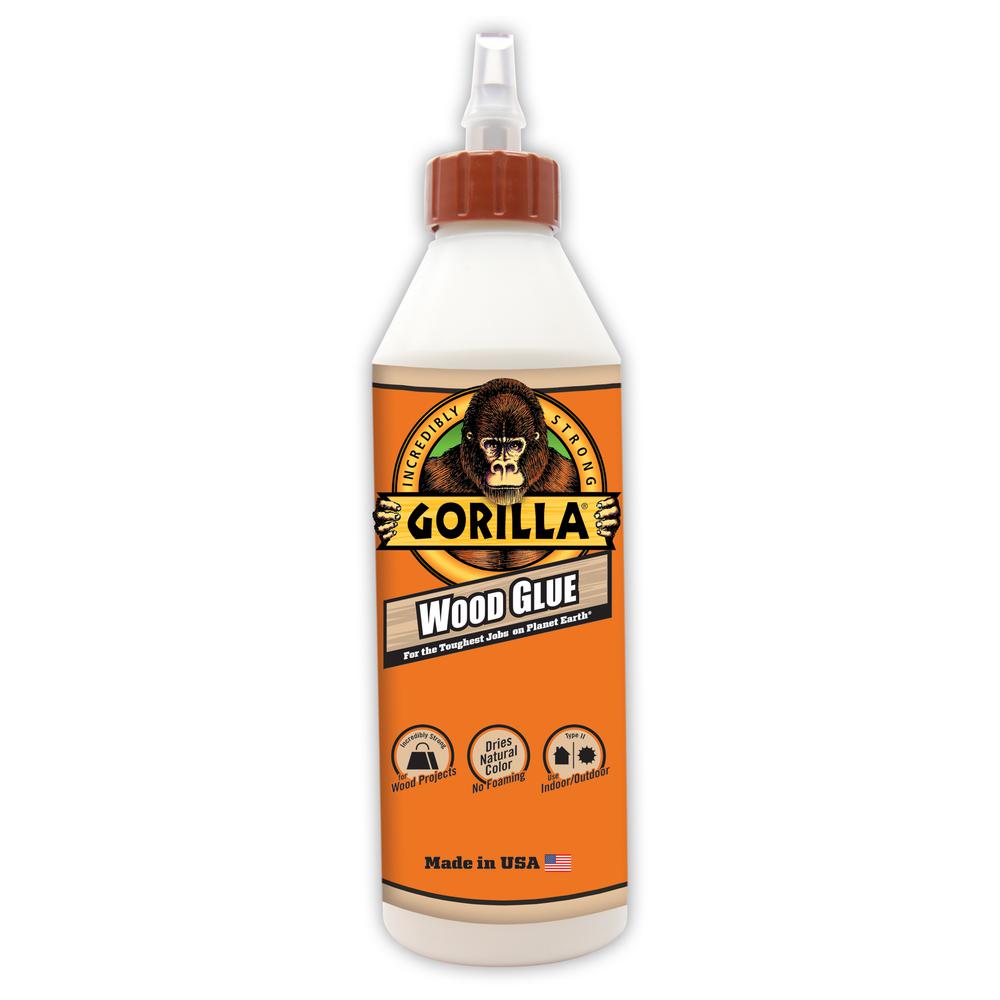
Use clear Gorilla Glue to glue around your groove or around your opening and place the glass panel in place. Set a heavy object on top to hold it down good until it dries. Do this for all three doors.
As an optional step, once the glue is dry, you can cut to fit pieces to create a paneled look and glue these on top of the glass as well.
Once the glue is dry, use small cabinet butt hinges to attach doors in place.
Step 7: Finish

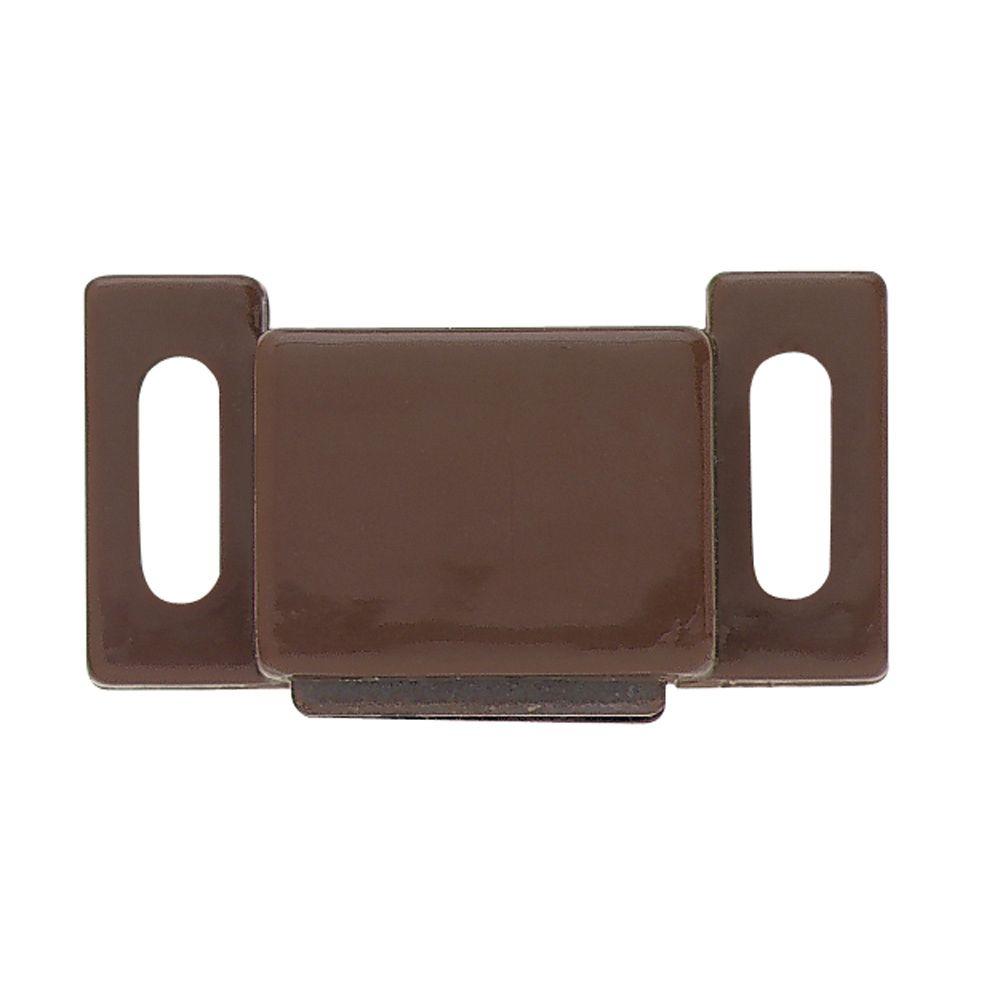
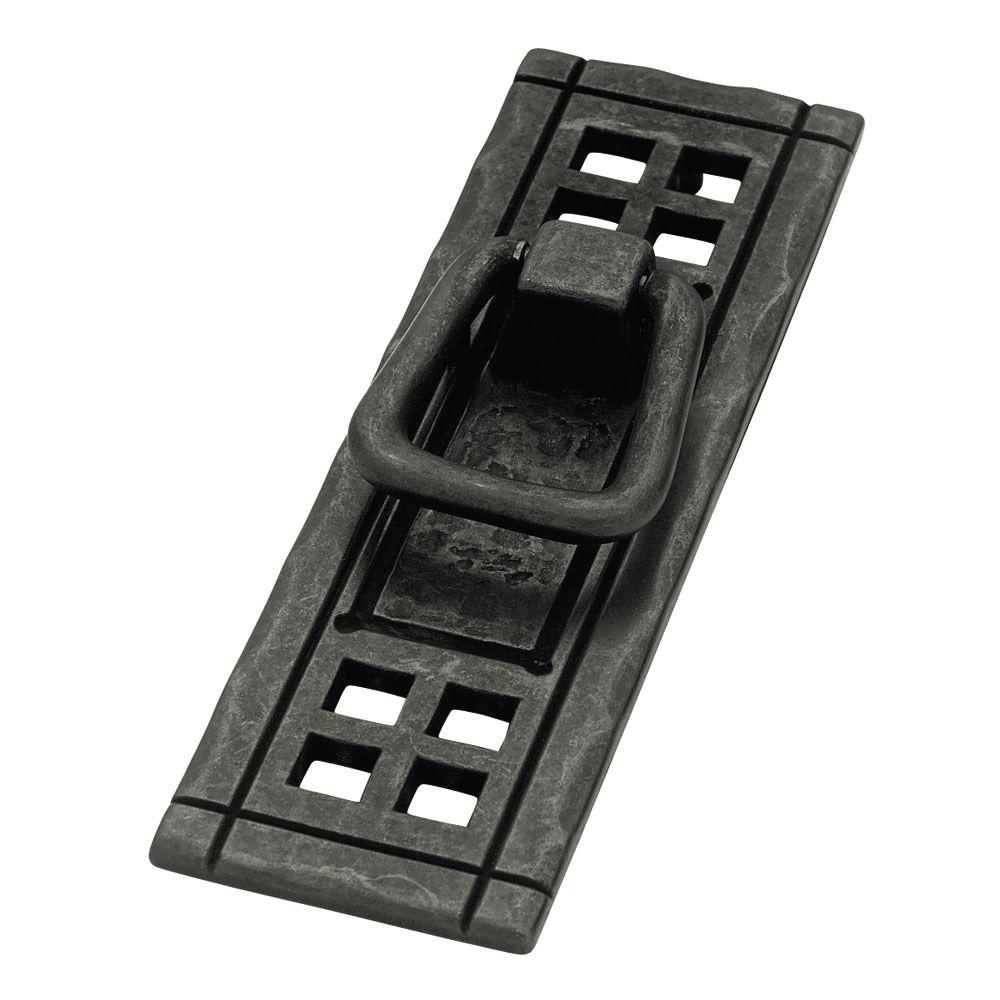
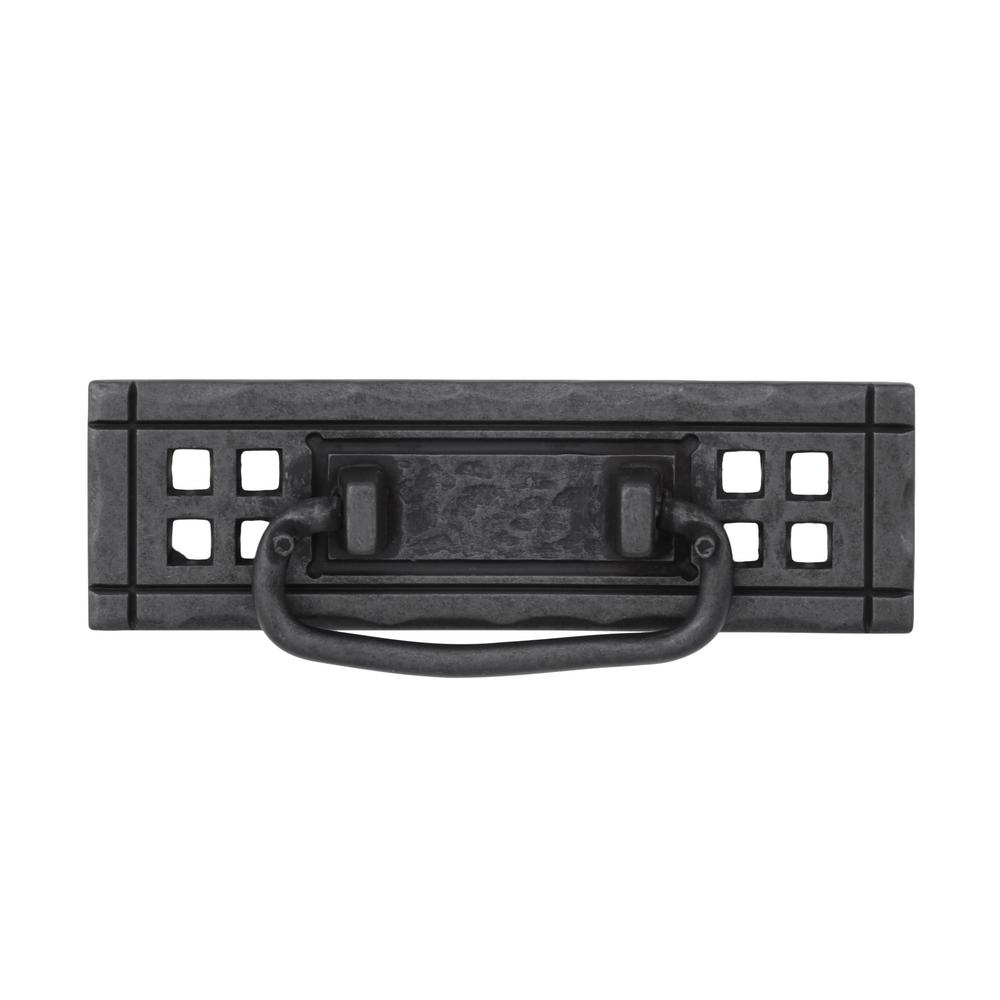
Stain or paint any spots you haven’t done yet and add a protective clear coat like a poly or wax. Add hardware to the doors and drawers and magnetic catches to hold your doors in place. I used these Liberty mission style pulls to compliment this style.

Once you have your hardware in place, step back and admire your new DIY TV console!

Shop lumber at The Home Depot to build your own DIY TV console.
This post was created in partnership with The Home Depot. The author may have received compensation for this article and associated images or video, potentially in the form of products and/or services. All expressed opinions and experiences are the author’s own words.